Огромная благодарность Автору sweetdreamscakeapp за Мастер-класс
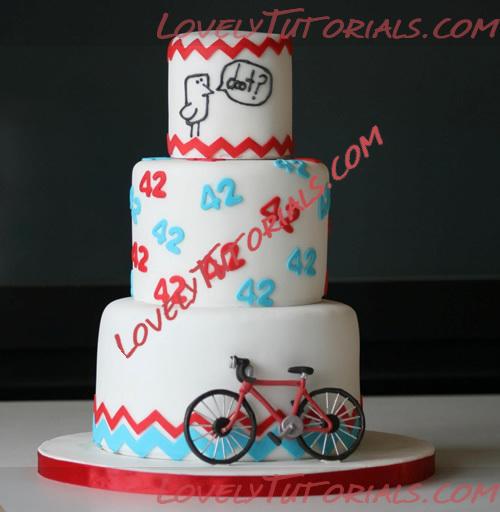
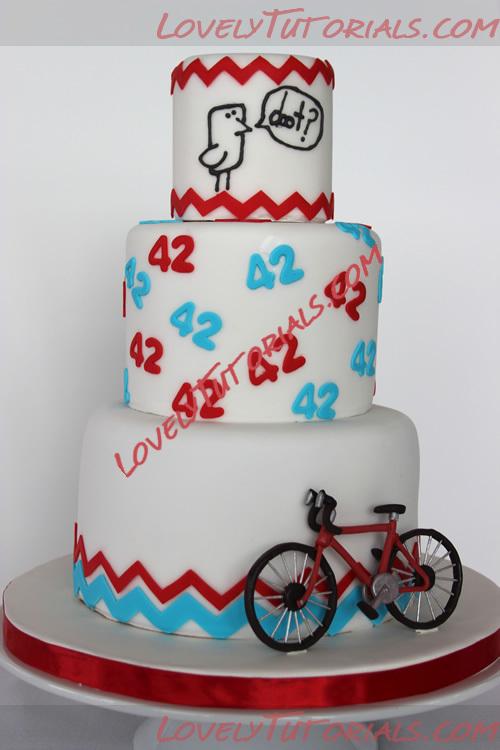
A few weeks ago a friend of mine celebrated her one year anniversary with her boyfriend. She asked me if I would make a special cake for them that would symbolize some personal things in their relationship. The three things that had to be on it were a hand drawn bird saying the word “doot?” (from a picture she provided), multiple number “42″�?s and a bicycle. Although I don’t know the meaning behind all of these things I thought it would be fun to incorporate them all into a tiny tiered cake for the two of them. It is hard to tell in the picture but this was a small cake, in relation to most tiered cakes. The top tier was only 3″ round, the middle 5″ and the bottom 7″. To give it a modern look I added a few Chevron stripes around the top and bottom cakes.
My favorite part of this cake was the little gumpaste bicycle.
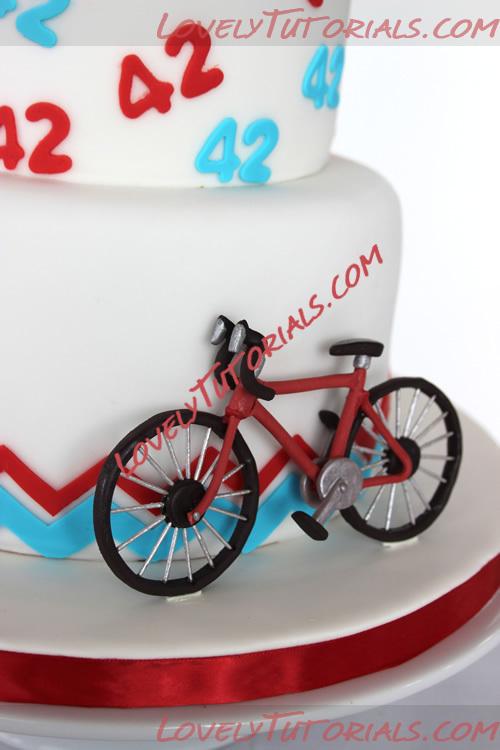
Don’t you want to just hop on and take a ride?
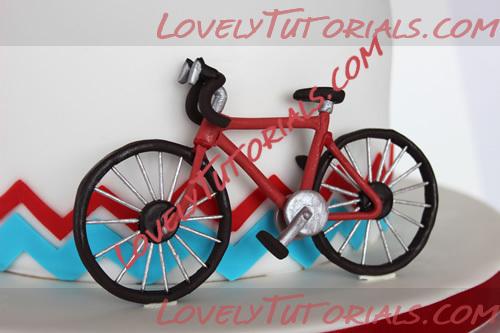
I thought I’d share with you how I made it.
My first step was to figure out how tall it needed to be. Since my cake was 4″ tall I decided to make it about 3″ tall.
Next, I went online and found a picture of a bicycle then printed it off and sized it so that it was the correct height.
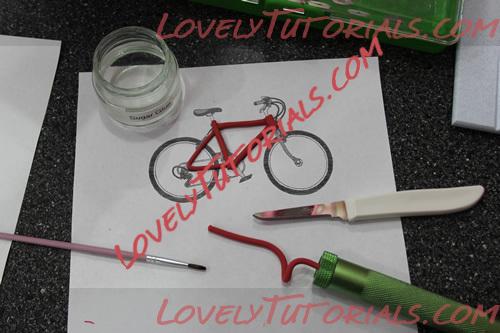
I like to use modeling chocolate for most of my cake figures but I had to use gumpaste for the bicycle because it had such thin pieces that I was afraid they would melt in between my fingers while I worked with them. I colored some gumpaste red then pushed it through my clay gun

with a round disc. I laid the pieces on top of my pattern and cut them to the sizes I needed. Using a paint brush, I brushed on a little sugar glue to attach the pieces together. (Sugar glue is made by mixing 2 Tablespoons of warm water with a 1/4 teaspoon of Tylose powder

and allowing it to set in a refrigerator over night. You can also make it by placing a small piece of gumpaste in a container, adding some warm water to it and allowing it to sit overnight.) I dusted the paper with some cornstarch before laying the bike pieces on top of it to keep them from sticking.
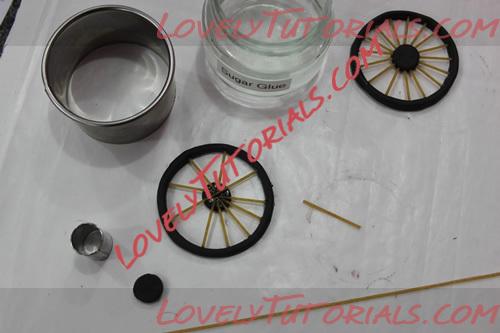
For the wheels, I rolled out some black gumpaste and used a circle cutter

to first cut out the outside of the tire and then a size smaller cutter for the inside of it. (You only see one of those cutters in this picture.) I used a very small circle cutter

to make the center plate of the tire. I laid that circle in the center of the tire and brushed some sugar glue on it.
Next I took some dried spaghetti and used that for the spokes. The first piece I cut to the full diameter of the circle, dipped the ends into the sugar glue, then stuck each end into the tire and laid its center on the middle plate. This diameter piece holds everything together. From there I cut the rest of the pieces so that they were only half the diameter long and stuck one end in the glue then stuck it into the tire and laid the other end up against the first piece on the plate. I continued adding spaghetti pieces until I filled the tire with spokes. Once they were all in place I cut another circle piece of black gumpaste, brushed sugar glue on it and laid it on top of the first circle.
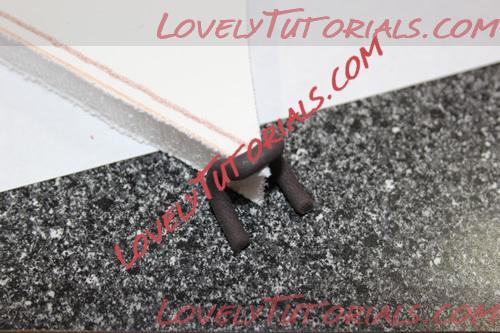
For the handle bars I pressed some black gumpaste through the clay gun, shaped it, then laid it over a scrap piece of foam board to dry.
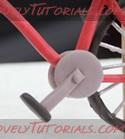
I forgot to take pictures of the pedals but for those I cut out circles of gray gumpaste then attached strips of gumpaste for the bar and then a piece of black gumpaste for the foot pedal. I took a small ball of gumpaste and pressed it down to look like the bolt that holds it all together. Here is a cropped photo of what it looked like once attached. I made two, one for each side.
I then left everything to dry solid overnight.
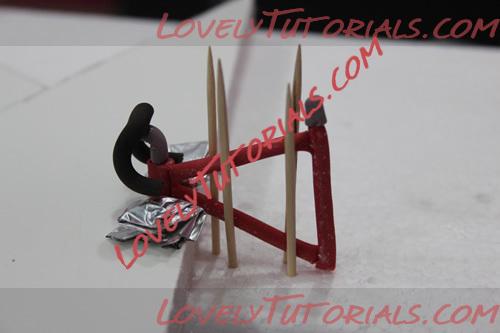
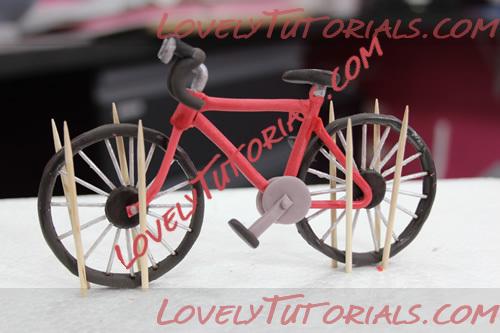
The next day I used some toothpicks, foil and styrofoam to create supports and I placed the bike frame in an upright position. I was now able to attach some gray gumpaste that I had rolled out to form the metal attachment pieces. I adhered them with sugar glue and then attached the handle bars, also with sugar glue. You can see that some of the cornstarch still showed up on the bike but I later cleaned it by using a paint brush, dipped in vodka, to wipe it off.
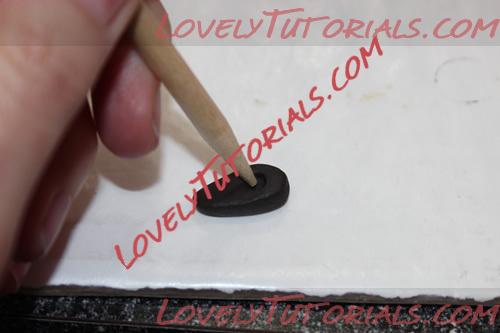
For the seat, I took a ball of black gumpaste and pressed it down, then shaped it into a seat shape. I used my original paper pattern as reference for the sizes of everything. I flipped it over then used a gumpaste tool to press an indention on the bottom of it so that it would settle nicely down on the frame. I then took some sugar glue and attached it to the frame.
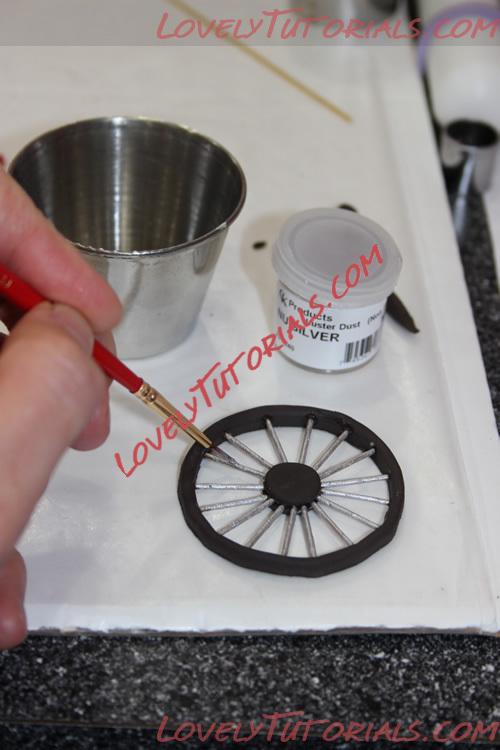
Before adding on the wheels, I mixed some silver luster dust

with vodka and painted all the spokes to give them a metal look.
I also went over the gray pieces on the bike frame and painted those with the dust as well.
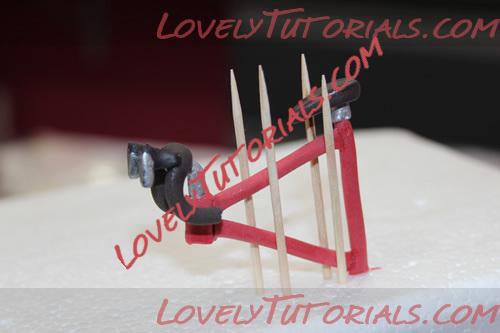
I then took some more black gumpaste and formed reflectors, which I attached with sugar glue, then painted with silver luster dust. You will notice in this picture that I had cleaned off all the cornstarch at this point.
Now came the tricky part, assembling everything. Since it was all so delicate I knew I was going to need something stronger and faster drying than the sugar glue for putting it all together. I decided to melt some red candy melts

and use them as my glue because they hold better and dry very fast. I melted a few of the candy discs then used a paint brush and a tooth pick to attach the melted candy to the pieces. I would hold two pieces together until the candy dried, which was usually just a few seconds.
Once everything was assembled, I finished off the pedal by painting the gray parts with luster dust. It was now done and I was able to attach it to my cake with a small amount of royal icing.
