Apply glue to both sides of each petal, from the base, to half way up the side.
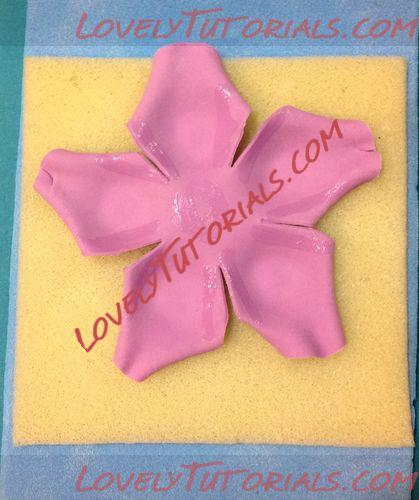
Thread the wire down through the centre of the petals, the attach each petal to the rose along the glued edges, trying not to squish the bowl shape, you should be able to see down into the base of each petal. Overlap each petal slightly if necessary.
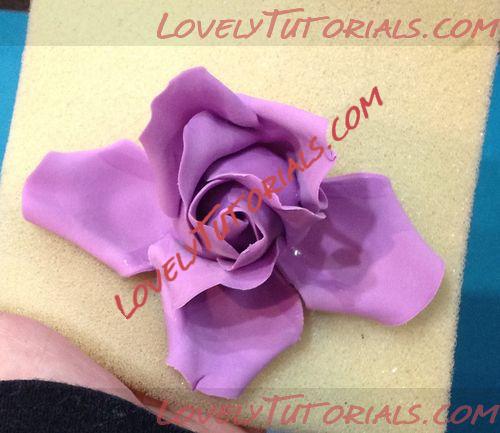
This completes the FOURTH row of petals and makes a HALF OPEN rose. Hang the rose upside down at this stage to firm up.
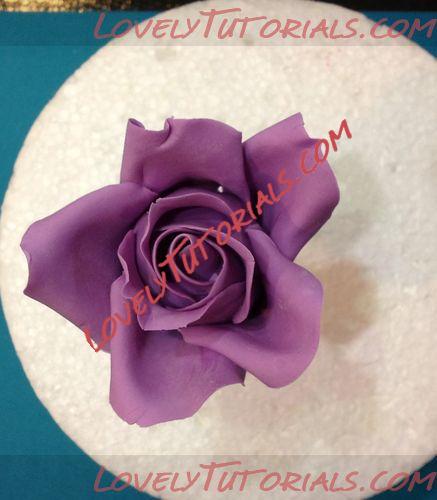
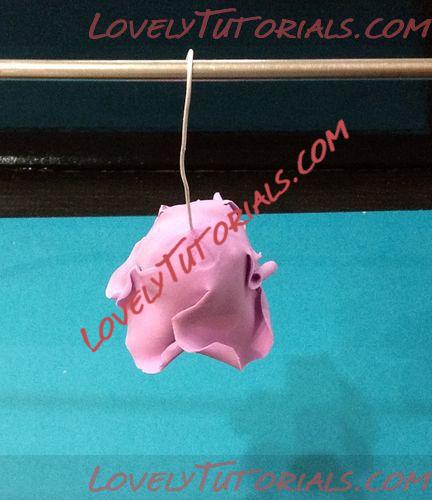
Cut out another set of petals with the larger cutter, this time balling the whole petal to increase its size slightly. Curl back petals as before and attach in the same way, taking care to place the petals over the joins in the previous row. This completes the FIFTH row of petals.
For the SIXTH row- cut 5 lengths of 24 gauge wire. Select a single petal shaped cutter which can span the rose from base to tip.
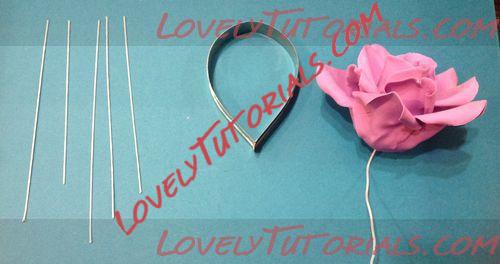
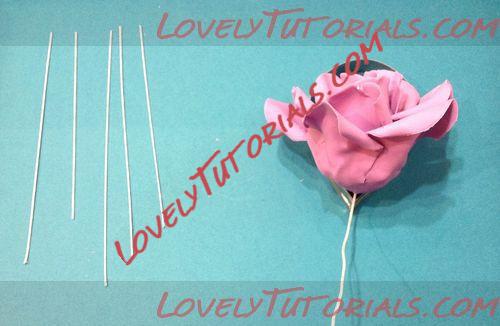
Moisten the tip of the wire with a little glue. Take a small sausage of paste and roll it onto the wire.
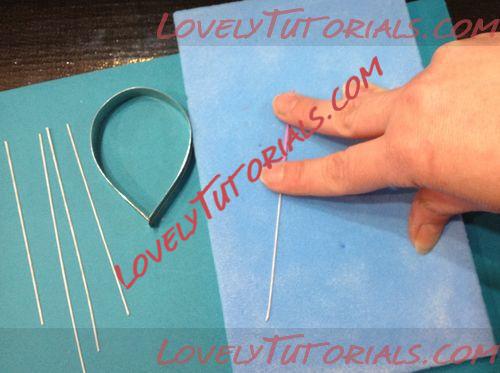
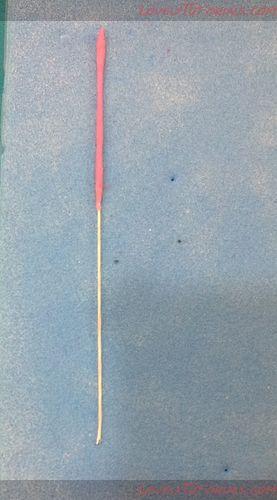
Then bend the paste covered end inside the bowl of a plastic spoon, creating a curve in the wire.
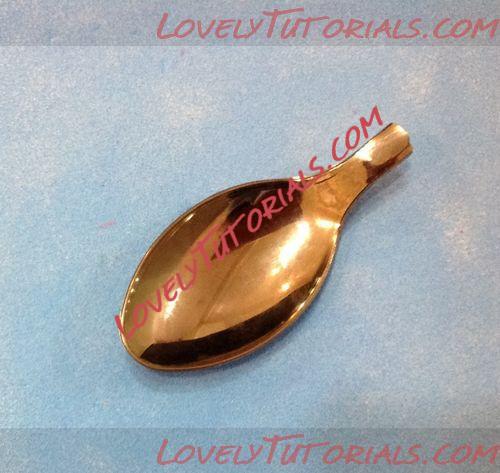
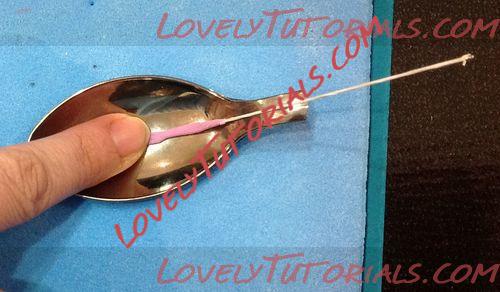
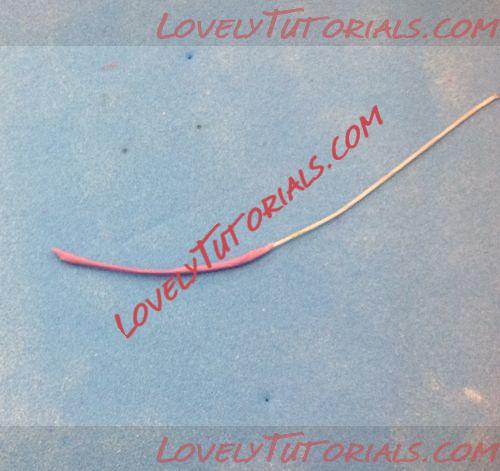
Cut 5 petals with the single petal cutter. Ball the edges and bowl out the bases of the petals slightly. Brush the side curve of the paste covered wire with glue and attach the petal on top- matching curve to curve… (this is the back view- )
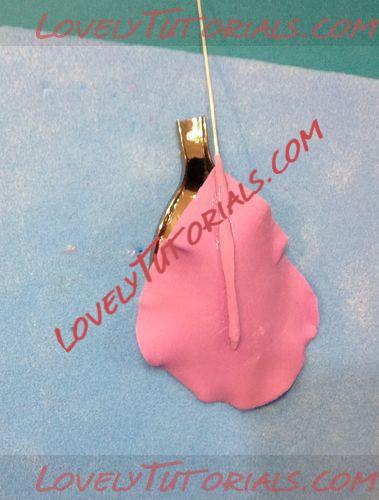
(Front view)
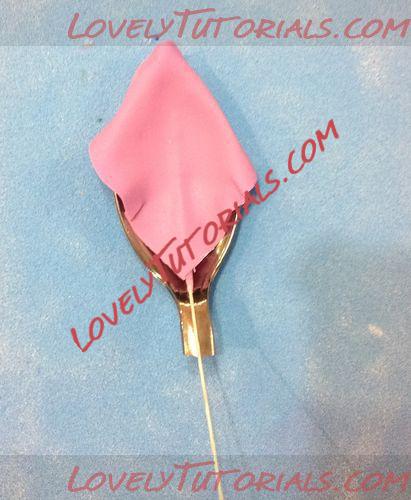
Curl top edges of petals around and behind the spoons. Leave to dry.
Tape petals tightly behind the last row, again, covering the joins between petals in the previous row.
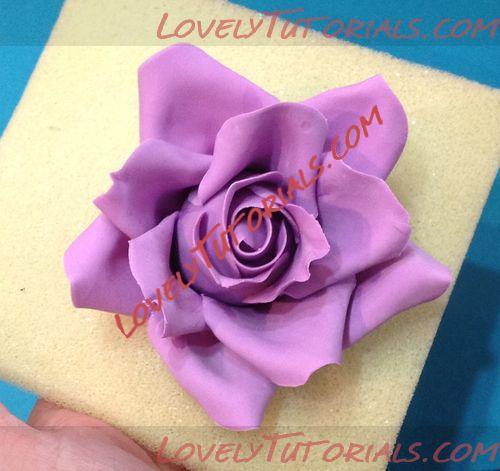
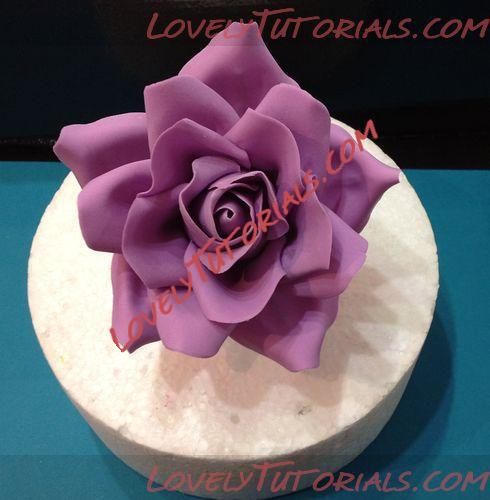
When assembled your rose should look like this-
To finish off the bud rose and the half open rose, cut two calyxes out of green coloured paste. Ball to thin and elongate slightly, then attach to the base of the rose, covering any imperfections.