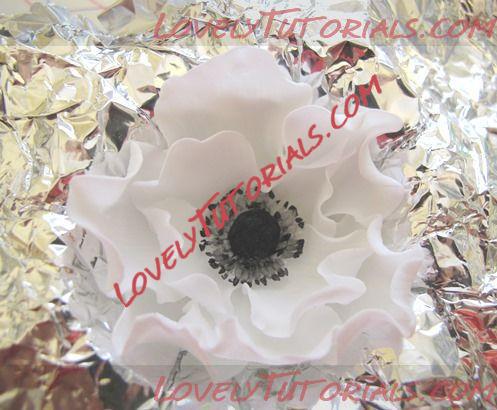
6. Stick the centre of the flower in with a little edible glue or royal icing. This can be done while the petals are drying

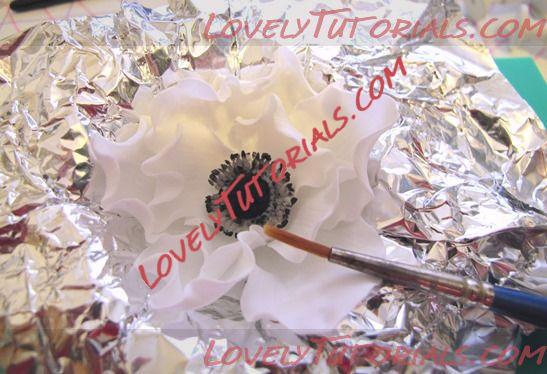
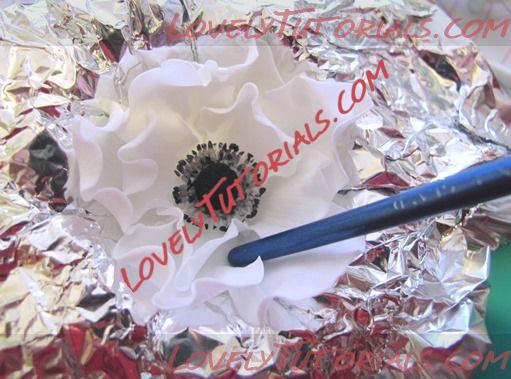
7. To give the flower more strength and stability the larger petals can be glued to one another where they overlap. Apply a little edible glue to one of the overlapping edges (flick it up with the end of the paintbrush first f you need to). Use the end of the paintbrush to seal together. Repeat all the way round.


If the flowers are going between two tiers of a cake then the former shape should sit neatly into the gap without risk of the petals breaking. On the stained glass cake the separator tier is only 1 inch smaller than the tier above and the height of the separator was 2 inches; so the outer diameter of the foil was about 2 inches. The flower shape was also very slightly oblong/fatter across the middle to help it sit better. Depending on where you are using the flower you can customise the former to suit. It will take a few hours to dry or just leave overnight in the former.
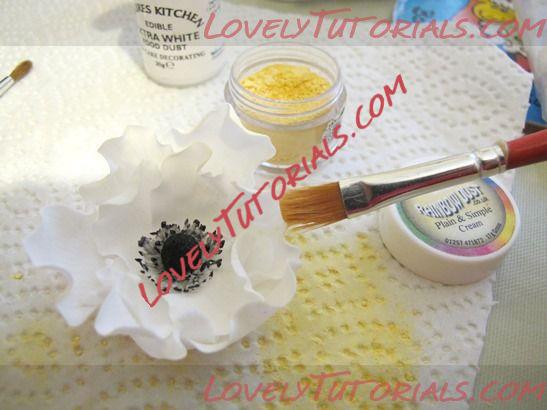
8. Once dry, the flower can be dusted with complimentary colours to give them more depth. For these flowers I used a little white at the petal base and cream on the edges. Attach to the cake with royal icing. On the Stained glass cake I filled the gaps between flowers with flowerpaste anemone leaves but this is not necessary.

 Cake tutorial HERE