Place the gumpaste onto your matt or surface and begin rolling it out just like play-dough. You want to make it fairly thin, but not too thin or it will tear and be impossible to work with. Finding the right thickness will become easier and easier the more you do it – so for now, start with keeping it a little bit thicker than you think it should be, just to stay on the safe side.
After a few passes with the roller, lift and rotate the gumpaste to keep it rolling smoothly and to get a feel for how thin it is. Be careful of air-bubbles trapped underneath it when you lay it down, as these may cause it to wrinkle or tear when you roll it.
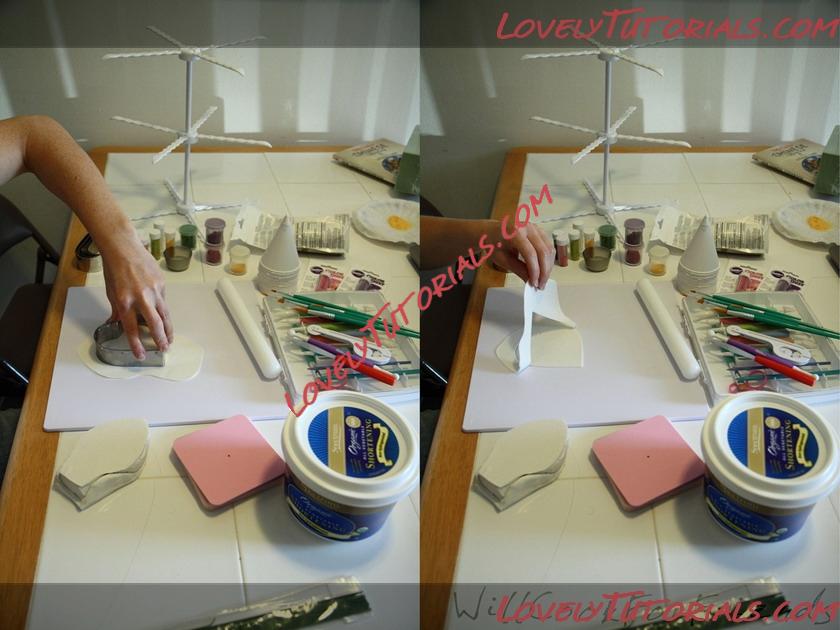
Once the gumpaste is thin enough, use a heart-shaped cookie cutter to cut out your petal shape. Alternatively, you could use a gumpaste/fondant cutter tool to freehand this. As I began creating more unique-looking, and larger sized, calla lilies, this became my preferred technique. For now, however, let’s stick to the heart-cutter.
Peel away the excess gumpaste, ball it up, and immediately return it to its bag or sealed container.
To shape the petal, there are a few different steps you can take to make it more elegant/realistic.
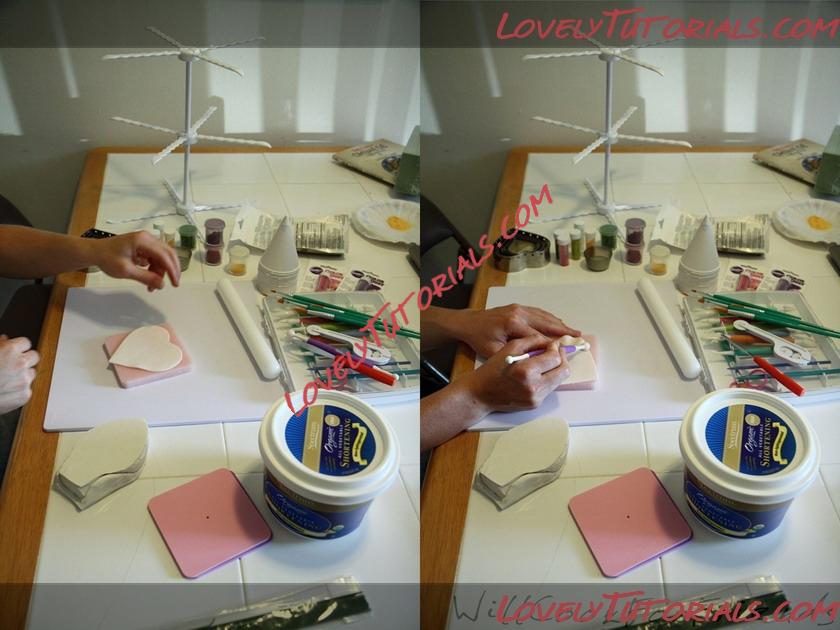
First, place the heart shape onto the thick pad of foam. Using the ball tool, press along the edges to thin them out even further. You may be surprised by how much pressure you can use here, but for now be gentle. Be sure to work quickly, as the thin gumpaste will begin to dry within a matter of minutes (depending on the temperature and humidity).
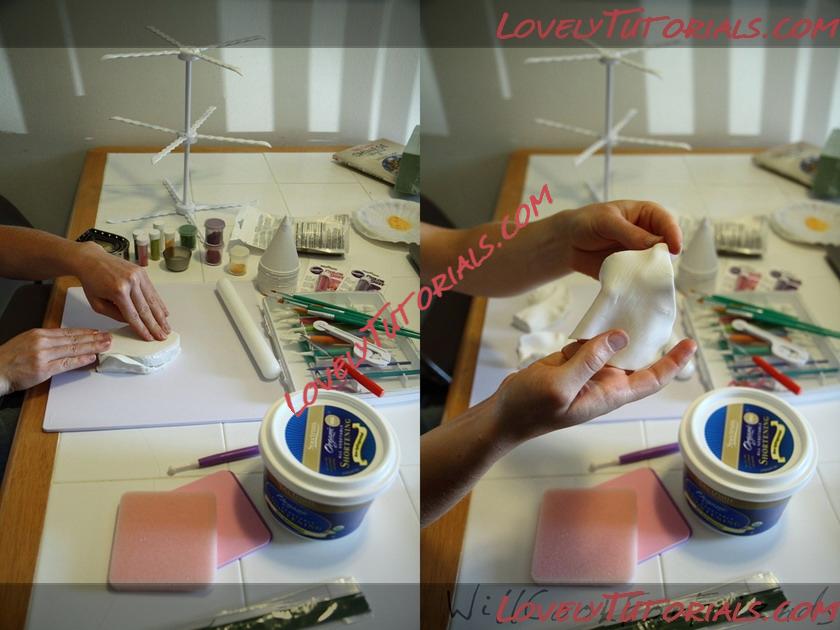
Next, you can use a petal veiner to imprint the veins that real flower petals have into our gumpaste. Simply lay the heart shape into one half of the mold, lay the second half on top, and apply gentle, even pressure. The amount of force you can use depends on how thin your gumpaste is, and also on the veiner you’re using – practice will tell, but for now use a gentle pressure and see what the results are like.
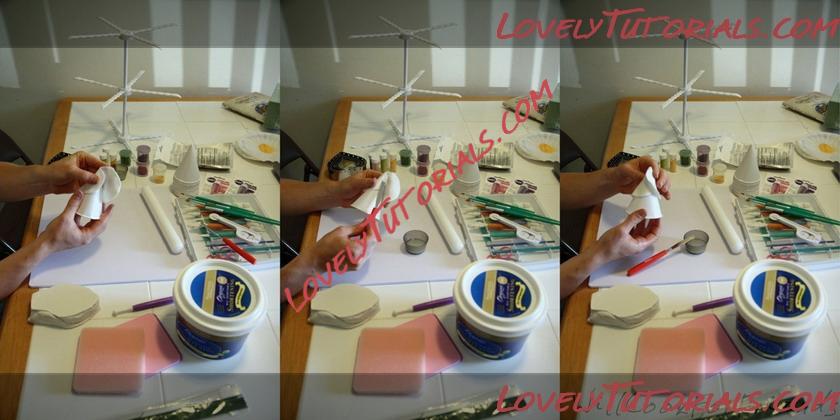
To shape the heart into a calla lily, hold it upright in the palm of your hand. Place the narrow end of the cone cup in the center of the heart. Fold one wing of the heart over the cone, and (using the mini pallet knife) apply a small smear of sugar glue. Fold the second wing of the heart over the first one, and press it gently into the glue to secure it. Be careful to keep a small hole open at the top, since this will be where the wire goes.
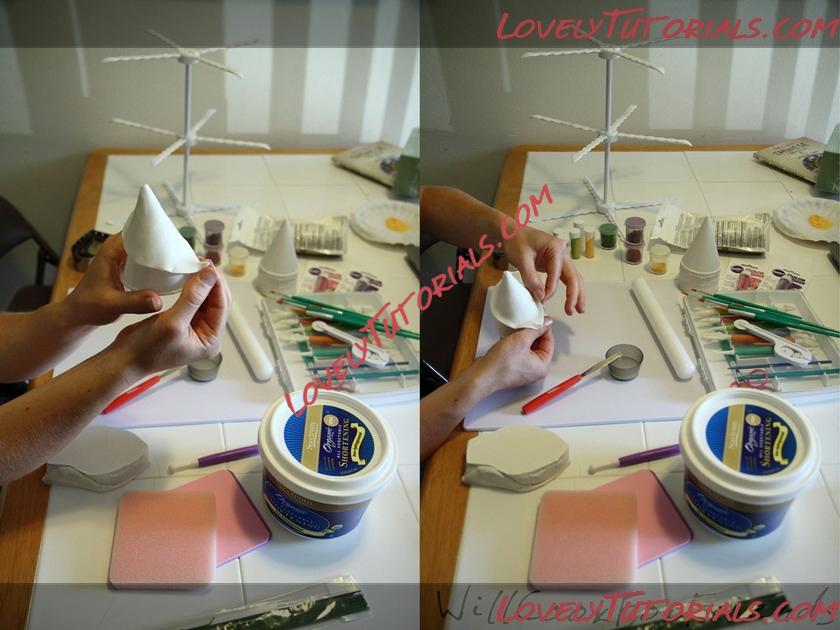
Once the heart is folded into the shape of a petal around the cup, you can manipulate the edges to give it realistic shape and bends. Looking at real calla lilies will help give you an idea of how this should go. I like to pinch the tip of my petal, and then curl the sides slightly – this is a very basic shape, and as I got better at making them I began to play with the edges more and more, creating waves and ripples and forming a less-perfect, more organic shape. But again, for now we’ll just stick to the basics.
Set your cone cup aside to dry for at least a couple of hours before moving on to the next step.