Now for the really fun part of this project: I began my making a batch of cereal treats using chocolate rice crisp cereal. I added some chocolate chips to make a more sturdy mixture.
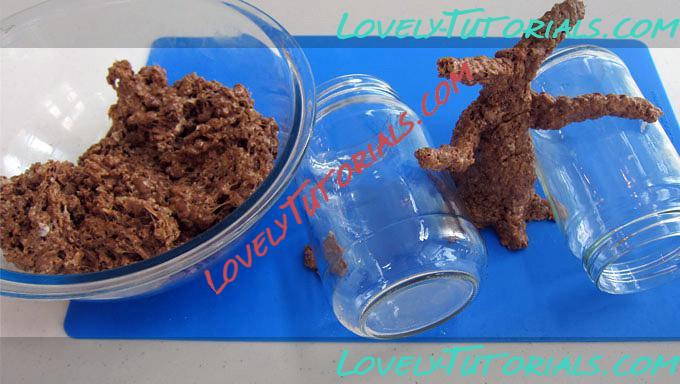
Working on a silicone mat to keep the tree from sticking, I started to sculpt my tree trunk. One thing to note here: You need to make pretty long roots on your trunk in order to keep the tree from toppling over. Mine did at first; in the final pictures you'll see I had to add longer roots. Learn from my mistake and add them now! Add 6 or more roots. You can always cover some of them up with frosting grass if you don't want them all to show, but they will help to keep your tree upright.
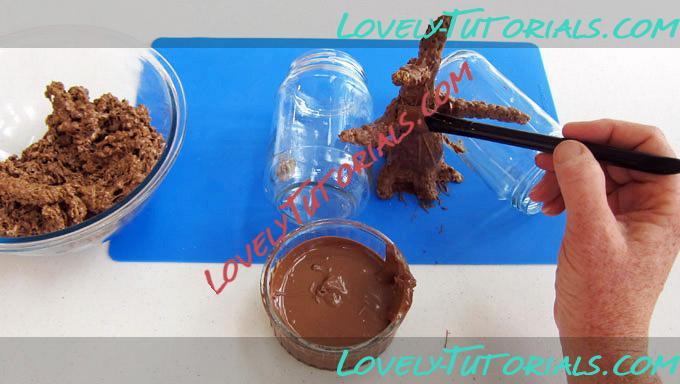
As I worked I painted milk chocolate over the cereal treats. If you use milk chocolate, you need to temper it; otherwise I'd suggest using light cocoa confectionery coating (candy melts) as listed in the ingredients. It's important to allow the chocolate to harden before you start adding a lot of branches. It's also a good idea to add about 3 layers to the trunk to make sure it's really solid.
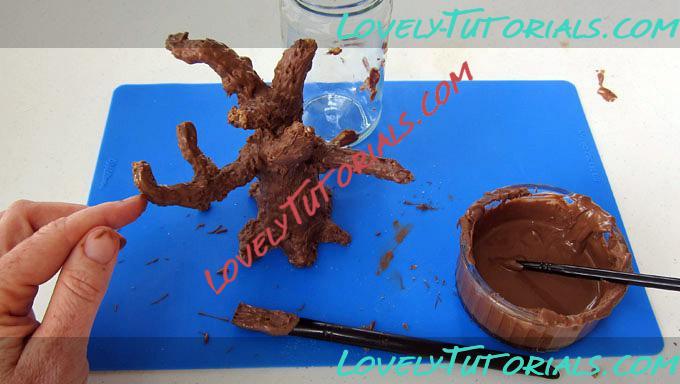
To add branches, I first shaped them out of cereal treats, then painted them with chocolate and allowed them to dry. Then I attached them to the tree using more chocolate, allowed that to dry, and then painted another coat of chocolate over the branch.
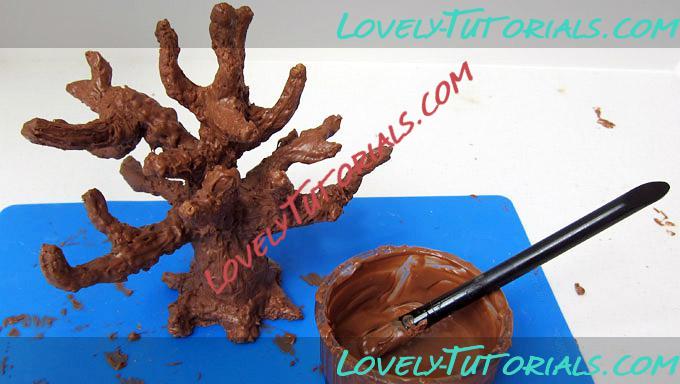
You won’t actually see many of these branches, but you need lots of them to hold up the popcorn leaves. It's important that the tree is really solid and the chocolate has completely hardened before you add the leaves.
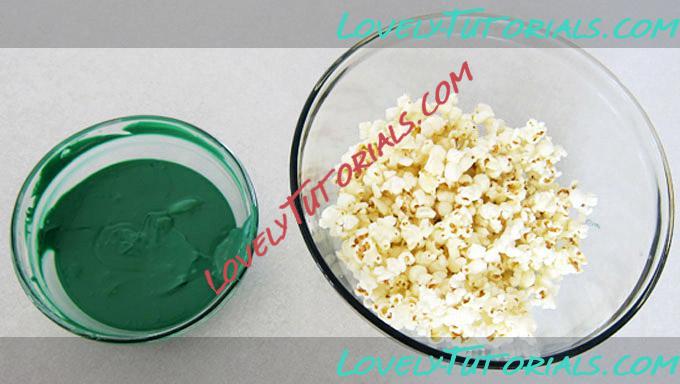
Once my chocolate tree was ready I wrapped the base of the trunk in plastic wrap. Then I whipped up a batch of green-colored white chocolate popcorn.