спасибо огромное автору за МК
слова и фото автора
I have become slightly obsessed with ruffle cakes lately. I think they are one of the most beautiful cakes. They look really difficult to make but they are sooo easy and if you are on a budget, you can make your own for under $20!!
The only specialist cake decorating equipment you need is a petal nozzle. I used the Ateco 104 petal nozzle (now available on our
website for $2.95). The petal nozzle comes in different sizes but has one thick end and one think end.
Here are directions with hints and tips so you can do it too and not stuff it up! Trust me! This is my first attempt and it is a bit messy as I was rushing with the kids running around me bugging me for lunch.
1. Make your favourite cake as usual. I trim the top off as I like the flat top and squarish edges. If your cake is really soft and at risk of falling apart, put it in the freezer for about 20 mins before you cut the top off.
2 Make a good consistency butter cream, any flavour, I made vanilla. Get 250grams of good quality butter to room temperature. Then mix in 250 grams of icing sugar with a fork. This just stops your icing sugar going up in a puffy cloud when you turn the beater on! Beat the icing mix with an electric mix. Add the next 250 grams of butter and 1 tbs of vanilla essence. When you run your knife through the butter it should feel soft and smooth. If it feels cold and comes together in a big clump against your knife, add 1-2 tables spoons of milk or water to make it softer. The consistency is important. If its too thick it won't squeeze out the nozzle, if it's too soft it won't keep the ruffle shape.

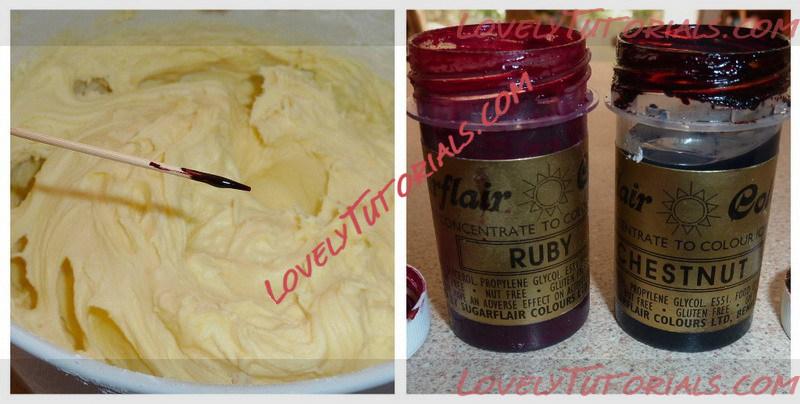
To colour the butter cream I used a little sugar flair gel 'chestnut' to give that vintage brown undertone, and then a little 'ruby' to turn it into that vintage pink. Liquid food colouring is fine but will alter the texture of the buttercream and only give you a pale colour. If you are after a really bright colour you need to use a gel food colouring. You can get these at online cake decorating stores:
www.bakingpleasures.com.au have the best range, prices and fastest delivery I have found in Australia so far.
3. Give your cake a 'crumb' layer. This is the first and light layer that grabs all the cake crumbs and prevents them mixing into the next layer and making it look dirty.
4. Starting at the bottom, with the thin end of the nozzle to the outside, zig zag up the cake. Its up to you how wide or narrow you zig zag, I made mine about 2cm wide.
At the red arrow, you can see what happens if you keep squeezing and don't move the bag... it all bunches up... this is my lack of co-ordination at squeezing, moving the bag and taking photos!! LOL. So to get nice smooth ruffles you have to squeeze and move the bag back and forth.
5. Once you have gone around the whole cake, you do the top. I finished with two rounds of ruffles on the top, starting on the outside to cover the tops of the ruffle columns on the side, just zig zag back and forth as you go around in a circle. I put pink pearls in the middle to add some colour.. and I am a fan of edible pearls.
6. You can leave it plain, or add other toppers to your cake. I put mini cake bunting on top. Make your own or you can buy some from our
Etsy shop or other Etsy shops. There are heaps of cool designs on Etsy.