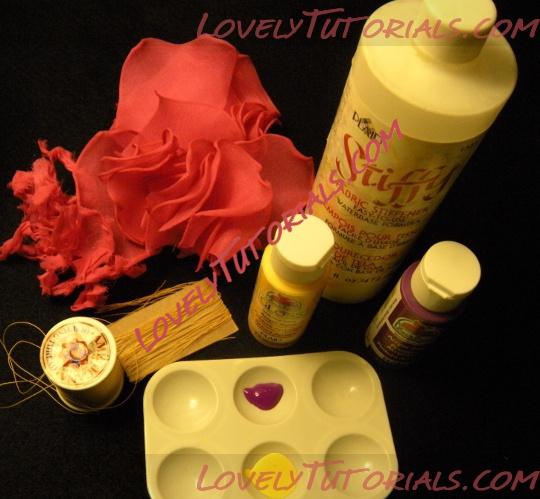
After experimenting with a number of things, I found that the things shown in the image to your left gave me the best results. These included glazed hand quilting thread, acrylic paint, and fabric stiffener. First, I rolled my flower petals and set them aside. I cut the thread into strands approximately 24 inches long, dipped them into the fabric stiffener, and then I hung them across a clothing rack to dry (do not let strands touch). The drying only takes a few minutes. After drying, I rapped the thread around a 2 1/2- inch piece of cardboard that I used as a cutting gauge. Next, I cut each end of the thread. Finally, I dipped each end into the acrylic paint.
After I dipped the stamen tips, I set them aside to dry. I used a gridded aluminum pan, but just about anything that would allow the stamen tips to hang over without touching each other would do.
Finally, the stamens are finished. One group of stamens on the tray below is commercially prepared; can you tell which one? They are the stamens on the extreme left. To the right of these are stamens that I double dipped, first in yellow paint and then in purple paint to obtain the same effect as the first group of stamens (click on the image to enlarge it.). I used the non-gloss paint for the second dip because it is not as thick as the glossy paint.
Tips: For a larger stamen tip, dip stamen ends several times. The glossy paint yields a larger stamen tip because it is thicker. Also, setting the paint aside for approximately 15 minutes before dipping will also yield a larger tip because the paint thickens the longer it is exposed to the air.
I know this is not for everyone, but for those of us that just like to make things, this will work. Enjoy!
Огромная благодарность
Lee Duncan за Мастер-класс