МК взят с сайта sweetopia.net
Огромная благодарность Автору Marian за МК
Royal Icing Consistency
Today, besides showing you how I made this charming wintry fella, I’m going to be showing you one of my absolute favorite keys to cookie decorating success – a necessary basic:
How to figure out the right royal icing consistency.
For those of you who like video, here’s a demonstration of how to find the consistency – The 10 Second Rule:
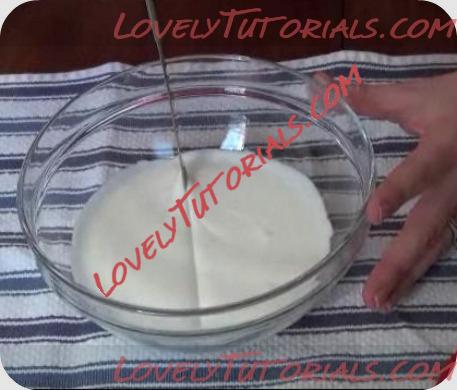
To test consistency, you’ll need a butter knife and your royal icing.
I’ll be showing you how to make the icing in another video; for now you can find the
recipe here in my cookie decorating tutorial.
*
The 10 Second Rule
To check the consistency, all you need to do is drag the tip of a butter knife through the surface of your icing, letting the knife go approximately an inch deep, and slowly count to 10.

If the surface of the icing smoothes over in approximately 10 seconds then your icing is ready to use. If it takes longer, the icing is too thick. Slowly add more water.
If your icing surface smoothes over in less than 5-10 seconds, it is too runny. Mix your icing longer or slowly add more sifted icing sugar to thicken it.

You don’t want the icing to be too thick so that it doesn’t flood, or too thin so that it’s too runny and hard to control.
I should mention that this is what works for me; my preference is that the surface of the icing smoothes over at about the 10 second mark. I like it at this consistency (a bit thick), because the icing holds its shape and doesn’t run
too quickly out of the piping bag.
With this thicker icing I can outline and fill in right away; you just have to shake the cookie a bit to help the icing settle. You can see how I do it in this
video on marbling royal icing HERE.
If the icing is runnier, you don’t have to shake the cookie because the icing flows easier. I used to do it this way, (prepare two consistencies of icing; one for outlining, and one for filling in). Again, flooding is definitely easier, but I prefer not to have to set up two icings.
{In the video, I normally don’t use a runnier icing like the green example; I was demonstrating the difference between an icing that smoothes over in 5 seconds, and an icing that smoothes over in 10 seconds}.

For an example of icing which is a bit too runny for piping details, take a look at the swags of this birthday cake cookie I made when I first began decorating. The lines were harder to control when I piped the icing.
What I’ve shown you today may seem like such a simple thing, but it made a huge difference in my own cookie decorating. It can really help alleviate frustration and improve the overall look of the cookie.
Now a little bit about Frosty the Snowman:

This little guy isn’t a cookie; he’s made just of royal icing.
Royal icing decorations, also known as runouts, flood work, transfers, color flow (by Wilton), or run sugar, are basically the piping of a runny royal icing onto parchment paper or acetate paper (sometimes into an outlined shape).
When the shape dries, you have an icing design which you can use for a multitude of decorating purposes; on cakes, cookies, gingerbread houses, cupcakes etc.
