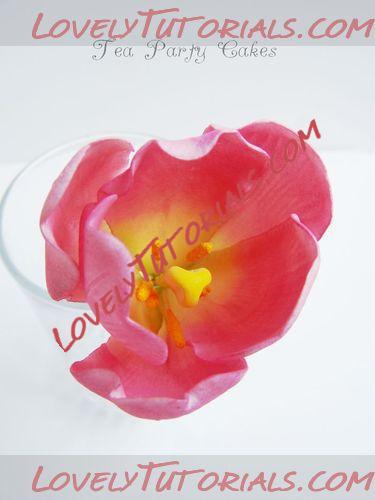
Огромная благодарность
Tea Party Cakes за Мастер-класс
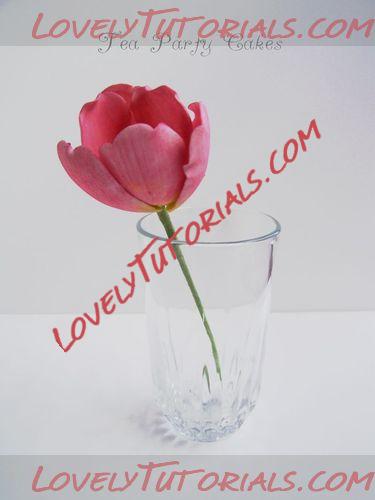
Here is a tutorial on how to make a gumpaste tulip
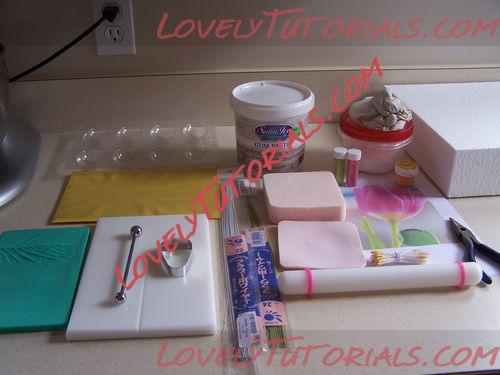
Supplies you will need:
- gumpaste
- tulip cutter
- floral wire (22 guage and 26 guage)
- wire cutters
- grooved cel board
- veining mat/tool
- thin foam
- rolling pin
- chocolate egg mold (for drying the petals)
- lily stamens (I used Wilton)
- tweezers
- petal dusts in desired colours
- vegetable shortening
- cornstarch
- styrofoam block (to hold stamens for drying)See more
Using your wire cutters, cut enough wire for 1 pistil and 6 petals. I used 22 guage for the pistil and I cut all my wires approximately 7 inch long because I wanted to display my tulip in a glass. If you are using your tulip in arrangement on a cake cut your wires shorter (approx. 4 inch). For my 6 petals I used 26 guage white wire.
Make your pistil first. Using a small amount of white gumpaste roll out a sausage leaving one end slightly thicker.
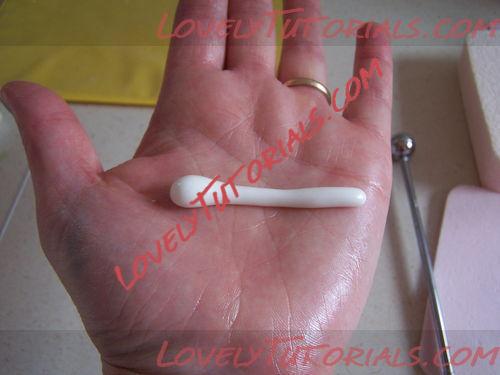
Insert your 22 guage wire. Your pistil should be about half the length of your petals. Trim off any excess paste to make in the right size.
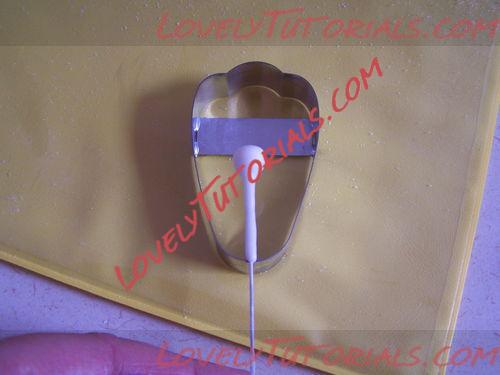
Using a pair of tweezers pinch the round end of the pistil into three sections.
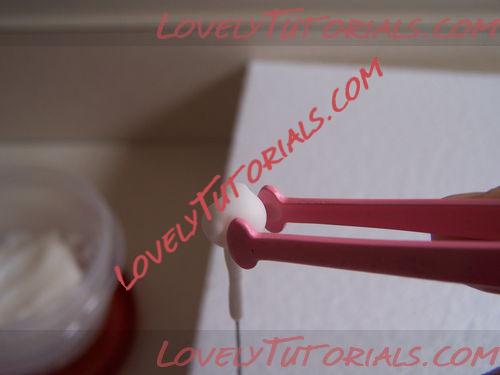
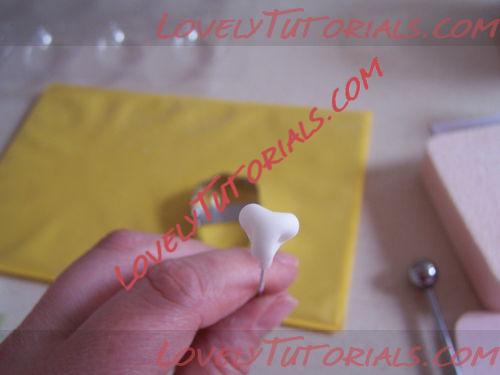
Your pistil should look like this. Place the wire in a styrofoam block to dry overnight.
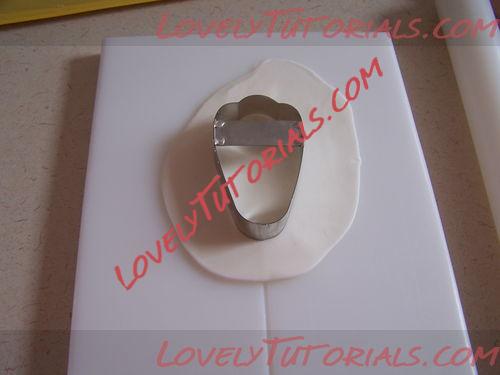
Roll out your gumpaste on the grooved cell board to approximately 1/16 inch (1-2 mm) thick. Cut out the tulip petal making sure to center the groove on the petal.
Using 26 guage wire, insert the wire into the petal. Then place on the veining mat. If you have a proper tulip veiner use that.
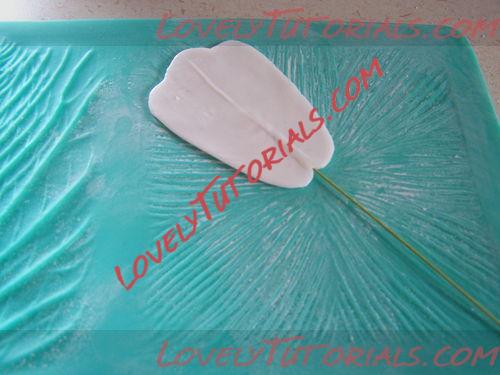
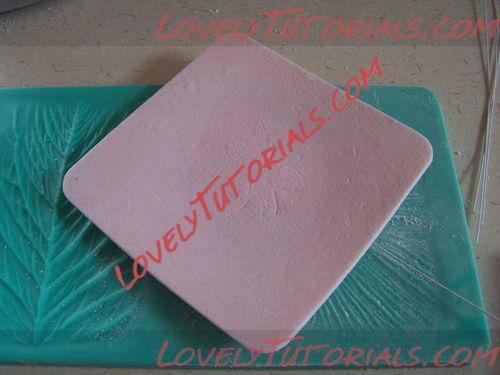
Use a thin foam to gentle impress the veins. Flip the petal over and repeat.
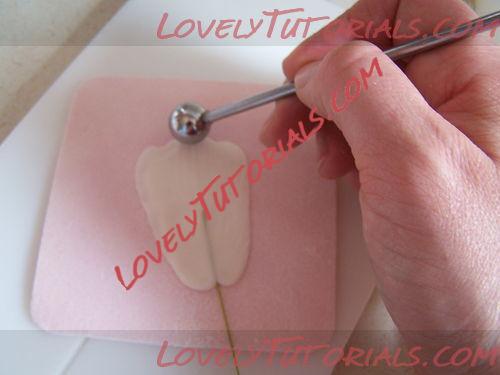
Using your ball tool, thin the edges of the petal. The more you thin the more ruffled your petal will be.
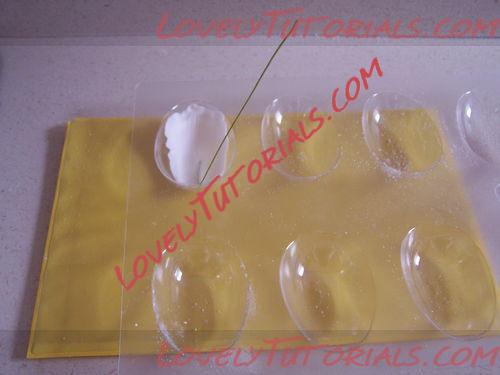
Place the petal in a chocolate egg mold that has been lightly dusted with cornstarch to dry overnight.
Using light green petal dust, dust the stamens stems.
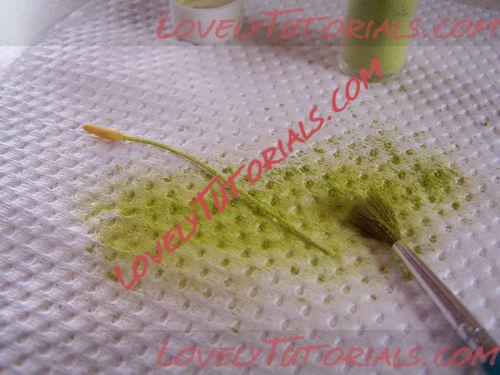
Brush the tops of the stamens with gum glue or piping gel and then roll them in yellow petal dust. This will make them look powdery with pollen.
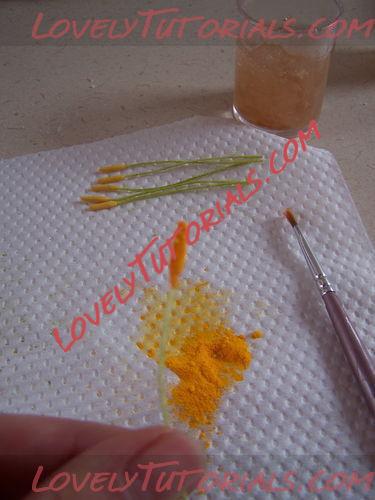
When your pistil is dry, dust it with a combination of cream and yellow petal dust on the top, and light green on the bottom.
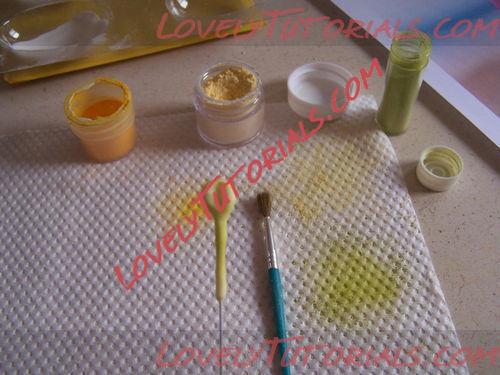
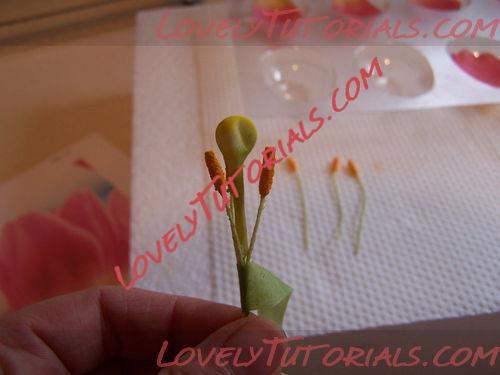
Using floral tape, attach the stamens to the pistil. The stamens should be slightly lower than the pistil.
Dust the dried petals with a combination of cream and yellow petal dust on the bottom portion of the petal closest to the wire. Add just a touch of light green to the bottom edge.
Note: If you make your petals out of coloured gumpaste you don’t necessarily have to use petal dusts.
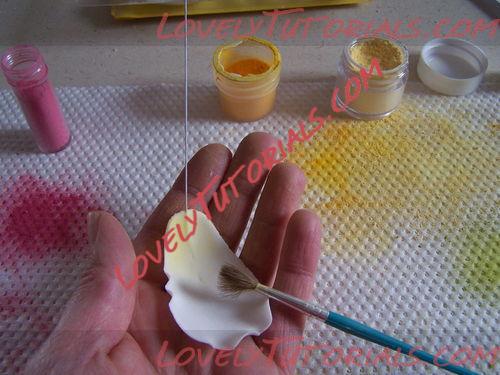
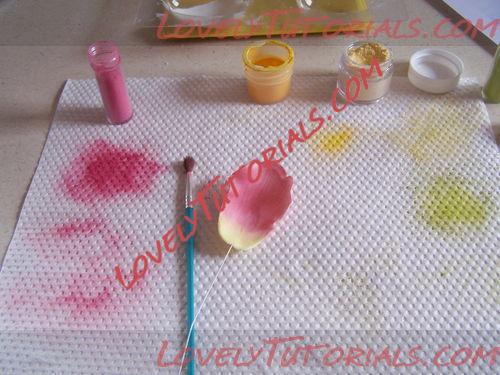
Using a separate brush and some pink petal dust, colour the rest of the petal (on both sides).
Using floral tape attach 3 petals around the tulip center.
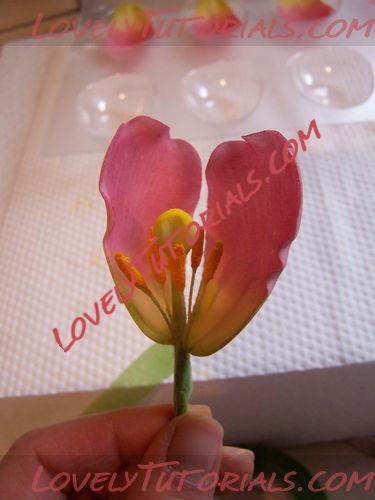
Then attach the next 3 petals in the spaces between the first three petals.
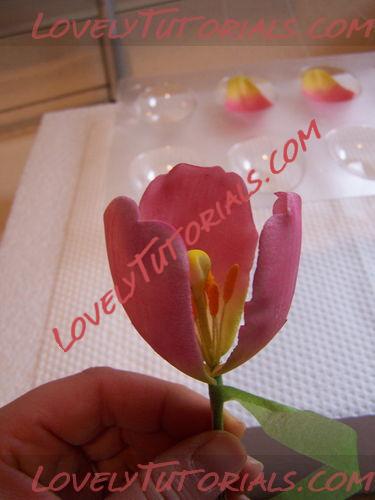
Your finished tulip should look like this. I hope you all give this a try!
