Огромная благодарность Автору Alan Vernall за Мастер-класс
In my opinion, one of the most beautiful things in nature is the wing of a butterfly. Its delicacy, colour, and sometimes iridescence have always been a fascination to me.
Since I began to use Polymer Clay, I’ve been trying to portray these spectacular animals. Firstly, I used mica or metallic powders on the cut-out clay, this is good but it’s hard to create fine detail. Then I tried photo transfer using printed images and liquid clays. This method is wonderful for the reproduction of the wings, but I feel it’s taking too much of a shortcut to create the desired effect.
Some time ago, I decided to design a relatively simple cane which could mimic the complex veining and patterns of the animals’ wings. I found all the information I could and from what I read, the task appeared to be a daunting one. Then, I had one of the famous ‘eureka-moments’. As butterflies have 4 wings, why not cane the fore and hind wings separately and combine them after reduction of the canes? As the animals are symmetrical, I needed only to make one side and flip a second slice over. I examined many wings’ structure and overall shape and found that often, the fore wings are modified triangles and the hind wings are almost circular (at least this is true of most people’s idea of a ‘standard butterfly’)
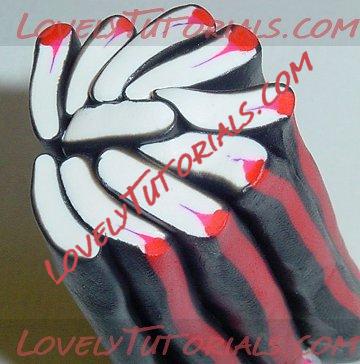
Often, the edges of the wings are the most patterned areas, so my simplified wing cane can be made from lots of elongated flower petal sub-canes with the decorated edge of the petal placed all around the edges of the wings.
There are two types of cane used. A plain bulls-eye with the basic colour of the wing in the centre and the wing vein colour (usually contrasting) wrapped around it. The other cane is a modified bulls eye of the same colours as the plain one but with an insert in one side. This insert is simply a triangular section of one or more colours which is placed inside the bulls eye by slicing it lengthwise and inserting the triangle then the cane is reassembled - see photo.
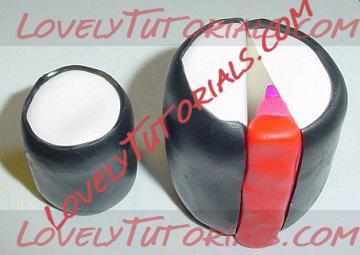
The relative sizes of the two canes should be roughly 1/3 for the plain and 2/3 for the modified one. My final wing canes are based on about 3 oz of core colour, so the division is very easy. The quantities can, of course, be multiplied if you wish.
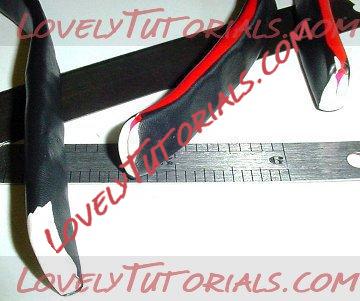
Both canes are reduced by whatever method suits you – rolling is usually fine for these relatively simple ones. Keep reducing until you have roughly 25 cm of the smaller and 80 cm of the larger cane.
Now both canes should be flattened between fingers and thumbs so that their cross section is about 3x12mm.
Discard the scrap ends and cut both canes into 6 cm lengths. You’ll need about 5 or 6 lengths of the plain cane and 14 or 15 of the other one. If you wish to, you can include an ‘eye’ near the tip of the fore wing – this is simply made from another bright coloured bulls eye cane. It’s inserted as the fore wing is assembled.
Fore wing.
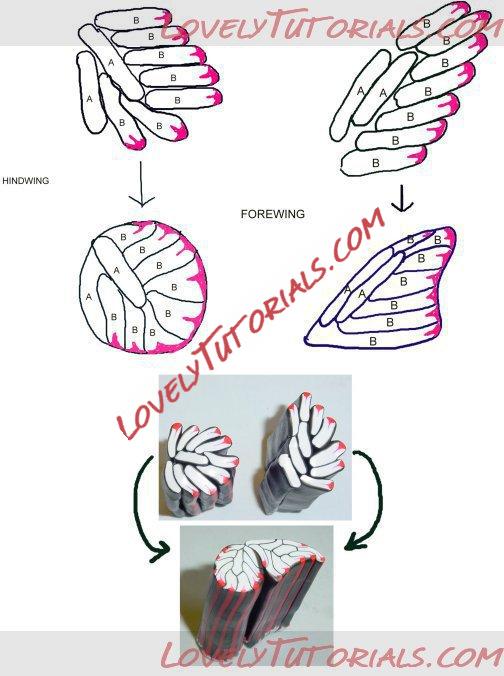
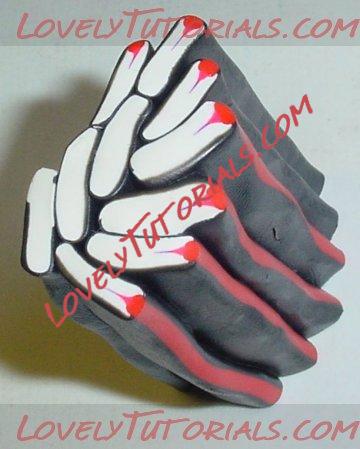
Take a length of plain cane and attach 6 or 7 modified sections down one side of it in a roughly triangular shape. Then attach another plain section to the non patterned side. See diagram and photo
Hind wing.
Again take a plain section and apply 7 or 8 modified sections down one side and part way up the other. Then attach another plain section. The overall shape should be more rounded than the other wing. See diagram and photo.
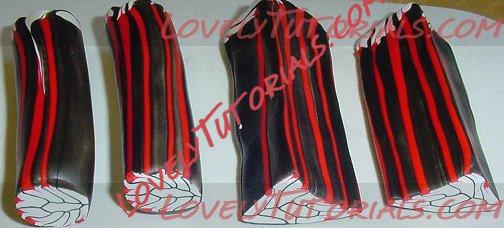
Next, both canes must be reduced. During the reduction stage, the overall shape of both canes is modified. The fore wing is shaped into a concave and convex sided triangular section. The hind wing can be gently rolled to reduce it, as its final section will be almost circular.
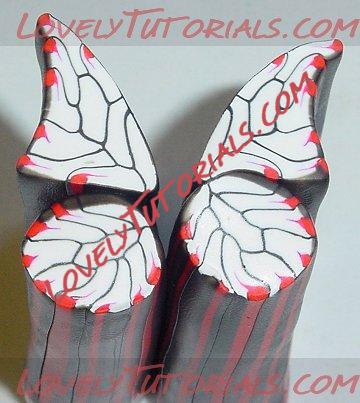
When the canes are shaped and reduced to about double the original 6 cm, cut them both in half. Reduce one of each of the halves (make sure they’re the same orientation) to twice the length again. Now, assemble the large and small wing sets, using the cut ends as a reference and the stripes along their lengths to confirm that no twisting has occurred in the
CUTTING CANES
You’ll appreciate that, as the complete wing set canes are such odd shapes, they are very susceptible to distortion when they’re sliced. In order to overcome this problem, simply put the canes into the fridge or freezer for a while before slicing – they hold their shape very well after this treatment.
USES OF THE CANES
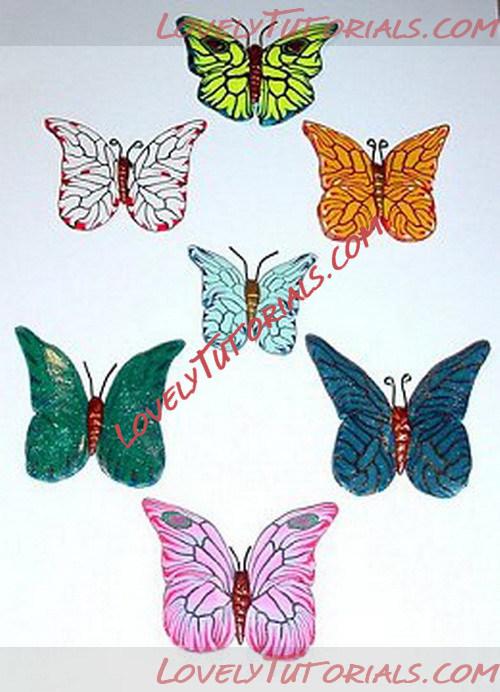
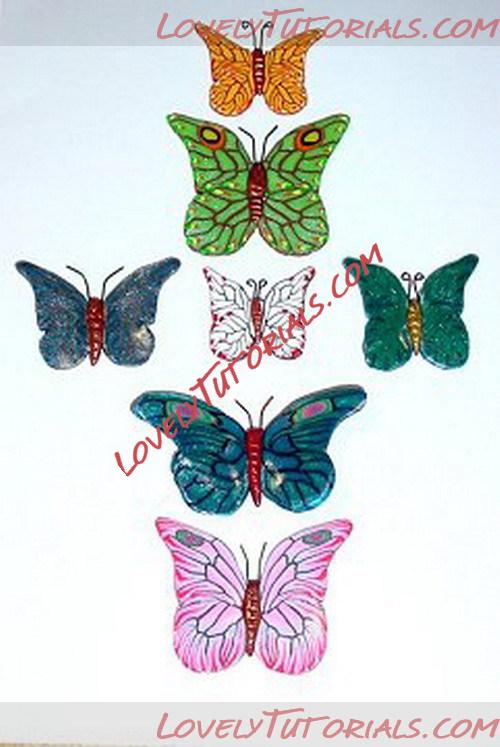
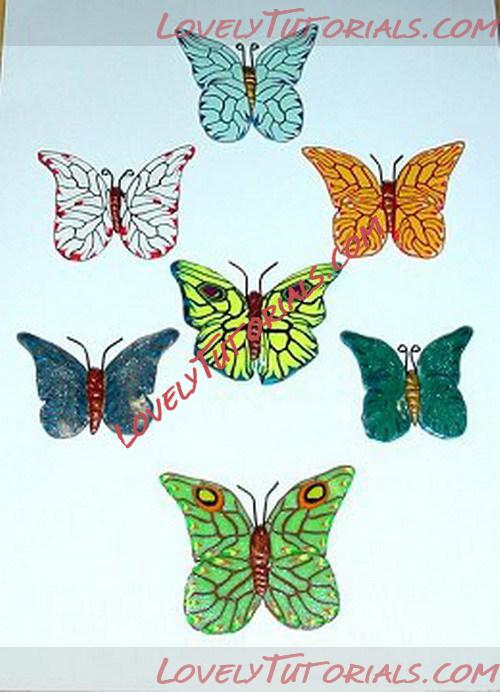
Naturally, you can make the canes into complete butterflies by using two slices and applying them to a clay body.
I’ve found that a darkened gold clay wrapped around a length of previously twisted coloured wire works very well for the bodies. If the butterflies are destined to be brooches, it may be wise to use a piece of sharpened 1 mm brass wire as an armature, the point of the wire will take a standard clutch pin cap (sold by many findings suppliers)
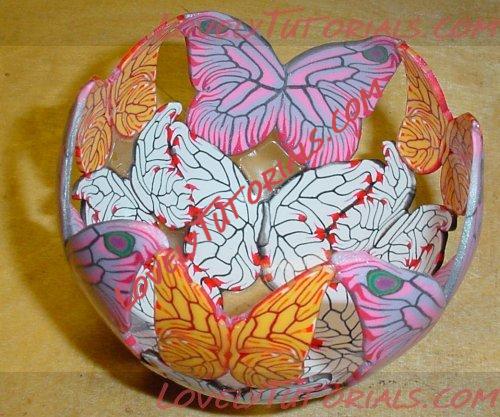
I’ve been a little adventurous in my uses of the different wings I’ve made – making
I hope this article has succeeded in explaining that making caned butterfly (or fairy, angel or even dragon) wings is a little easier than some may have thought it to be.
