Огромная благодарность Автору PenfoldPlant за Мастер-класс
 How to sculpt chocolate
How to make chocolate sculptures on a budget
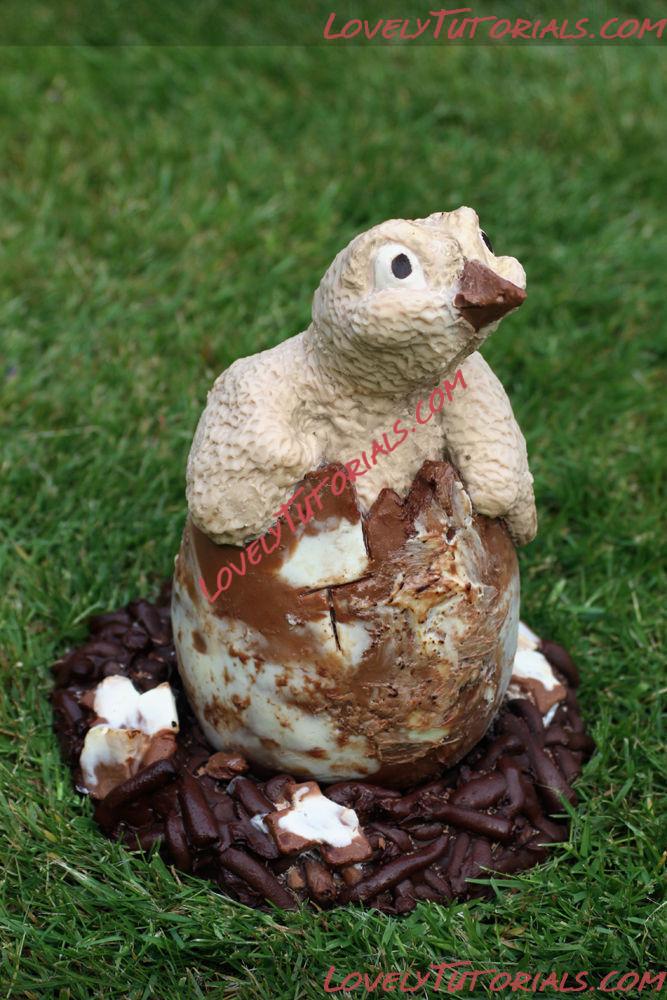
Most store-bought Easter eggs are disappointingly bland in design. Even the fanciest high-end chocolate eggs tend to be cast in a simple design with, if you're lucky, a few swirls of caramel or chocolate drizzled artistically across the top. Given the limitations of mass production this is understandable, but there's no reason why extremely detailed and creative chocolate sculptures can't be produced on a smaller scale.
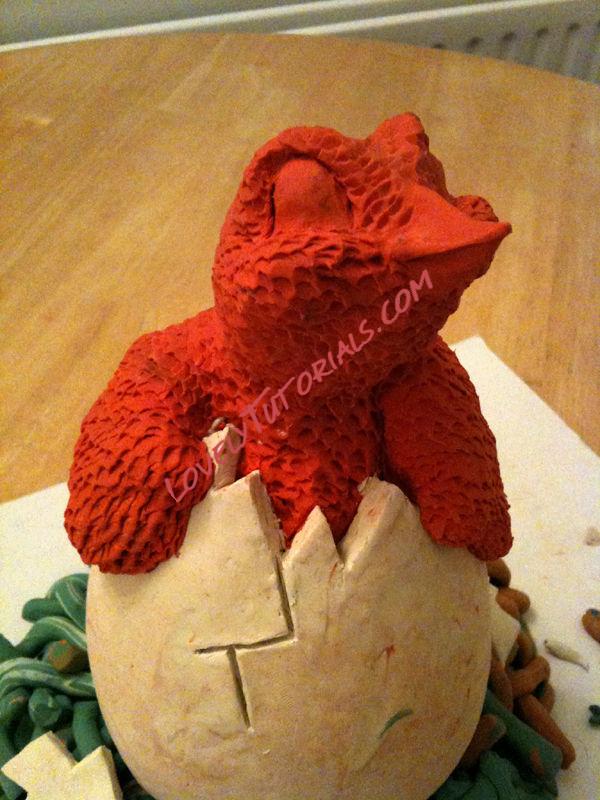
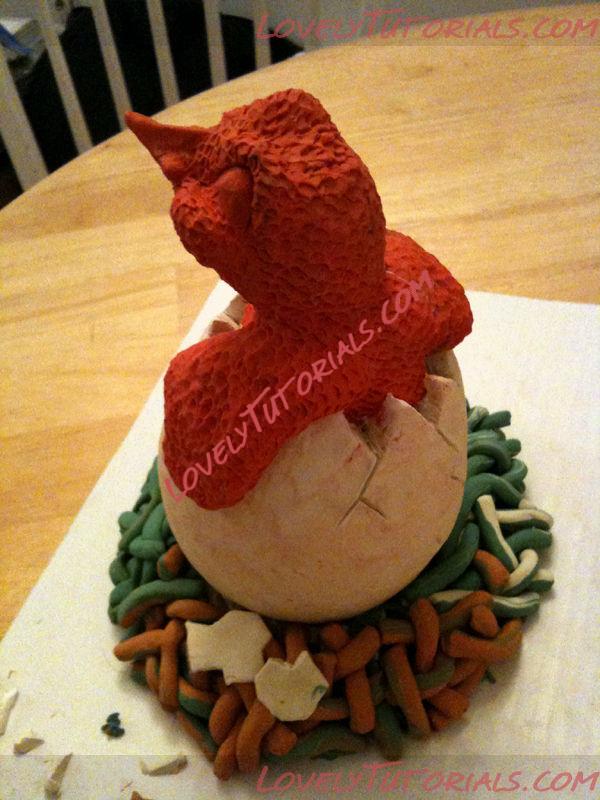
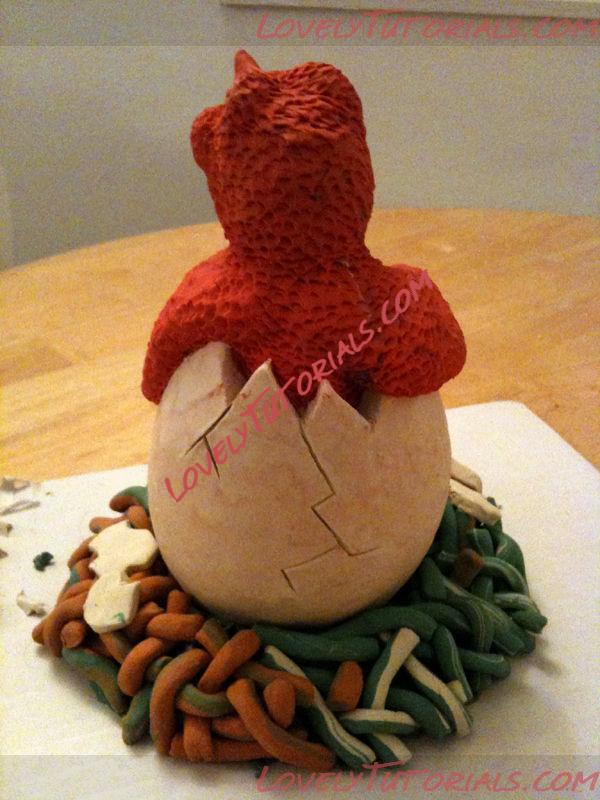
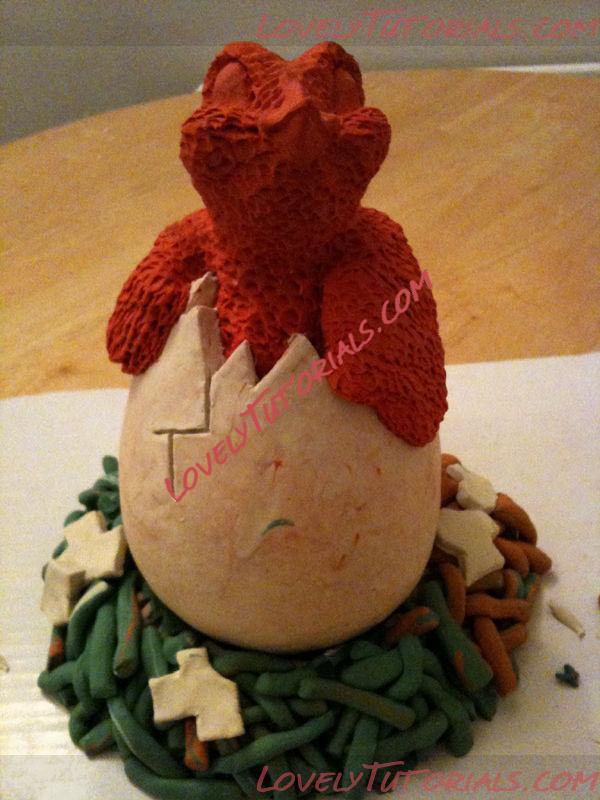
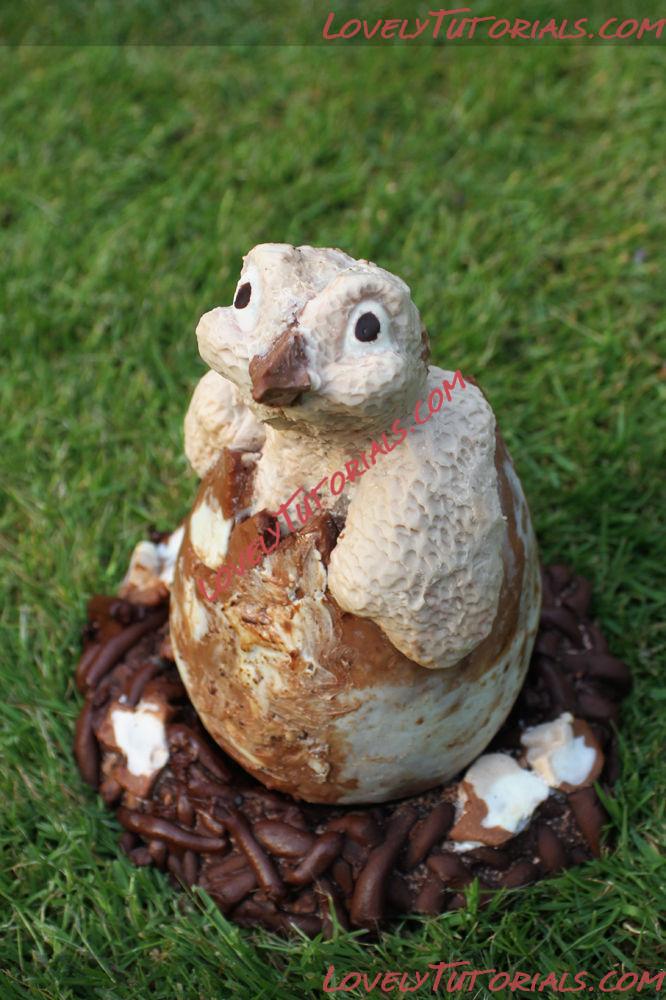
Slightly late for Easter, this Instructable will show you how to make your very own overly-elaborate chocolate sculptures, using this newly hatched chick and egg as an example. Very little skill is required and the only specialist material needed is cheaply available from most good plumbing or DIY retailers.
While some of the details of this project are specific to this bird sculpture, all of the principles can be adapted and applied to sculpting whatever you want from chocolate.
 What you'll need
Relatively few materials are needed for this project, but make sure that you select them carefully (see the warnings below).
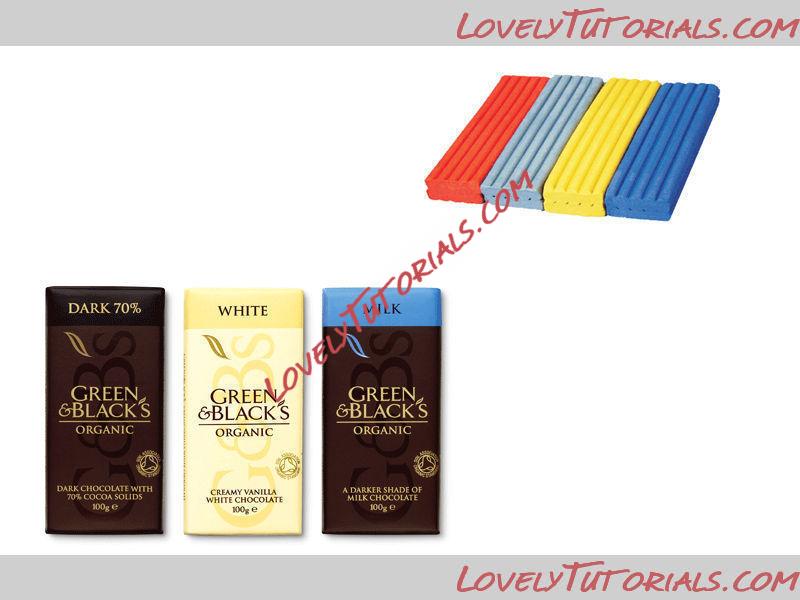
- Modelling clay (plasticine) - make sure that this is non-toxic. You'll need enough to sculpt an original model of whatever you've decided to make.
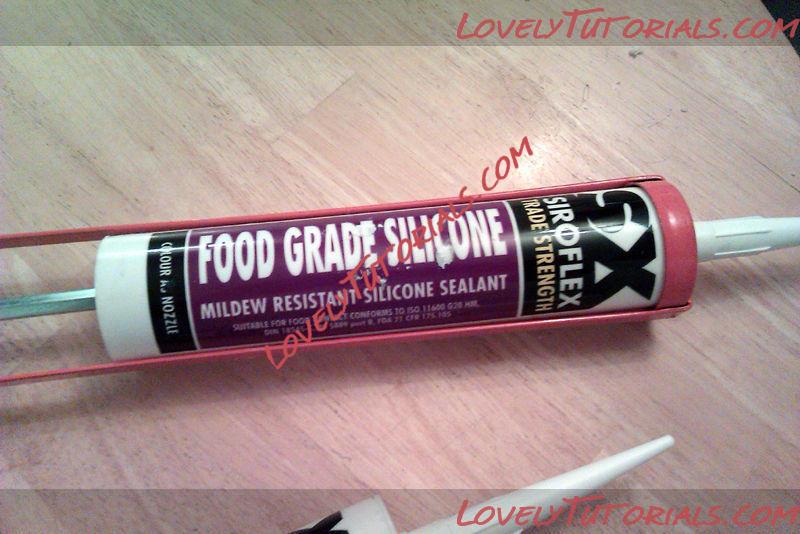
- Food grade silicone - also make sure that this is non-toxic. Various types of silicone available on the market are advertised as "food safe". Some of these are designed specifically for the purpose of making moulds and tend to be extremely expensive, but also hard-wearing and capable of capturing incredibly fine details. These often come as two-part resins.Other types are not designed for this purpose at all, but are instead intended to be used as sealants in kitchen areas, on surfaces which may come into contact with food. One of these types of food grade silicone comes in a cylindrical cartridge and does not need to be mixed before use. This is the type we are going to use. Because it is intended for such an unglamorous purpose, it is extremely cheap. It should still be entirely safe to use, since we are only using it as a cooling surface for the chocolate.
- A non-toxic release agent, such as cooking oil - this is to prevent the plasticine sticking to the silicone. Cooking oil is ideal, and often comes available in a spray.
- Plaster of Paris - ideally already impregnated into gauze (also known as modroc), but you can do this step yourself. Be careful if you have a known plaster allergy.
- Lots of chocolate! How much you need will depend on your sculpture, as will your choice of colour(s). Make sure you choose high-quality chocolate that is suitable for melting and cooking.
The following bits of kit will be needed:
- Sculpting tools - you can get by with just a sharp knife, but it's nice to have a few differently shaped sticks, scoops, scrapers and picks for if you need them. Carving sets are available in most art shops, but you can usually get by with household implements such as spoons, pens, screwdrivers, lollipop sticks, etc.
- Sealant gun - make sure this fits whatever size of silicone cartridge you use
- Craft knife
- Double boiler or bain-marie
- Mixing bowls
- Refrigerator
An important warning about plasticine and silicone:
Different types of modelling clay contain different chemical compounds. Similarly, different forms of silicone sealant react in different ways. Sometimes unfortunate cross-reactions can occur which make a particular type of clay stick to a particular type of silicone. Needless to say, this is very frustrating when it happens mid-project.
Before you begin,
be sure to test your materials together by covering a small amount of your modelling clay with silicone and letting it set. If they separate easily once the silicone has cured, then you're all set to carry on with the project. If they stick together and lots of modelling clay is left on the silicone, then find another type of clay (ideally one that does not contain sulphur) and try again.
Experiment a bit here. You might find that a thin layer of release agent (i.e. oil) between the clay and the silicone solves this problem, or you might find that no release agent is needed at all. I can't stress strongly enough how useful it is to test this before you start the rest of the project.
In the test run for this project, I accidentally used the wrong sort of modelling clay and had to spend hours scrubbing a thin layer of plasticine off all of my moulds. Prevention is definitely better than the cure*.
 Sculpt the egg
Read all of that stuff on the previous page? Chosen and tested all of your materials carefully? Then let's crack on!
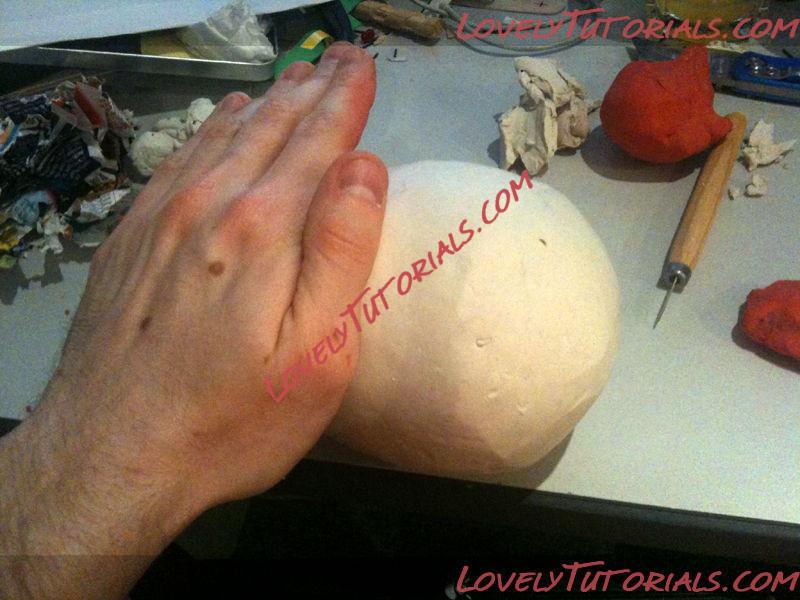
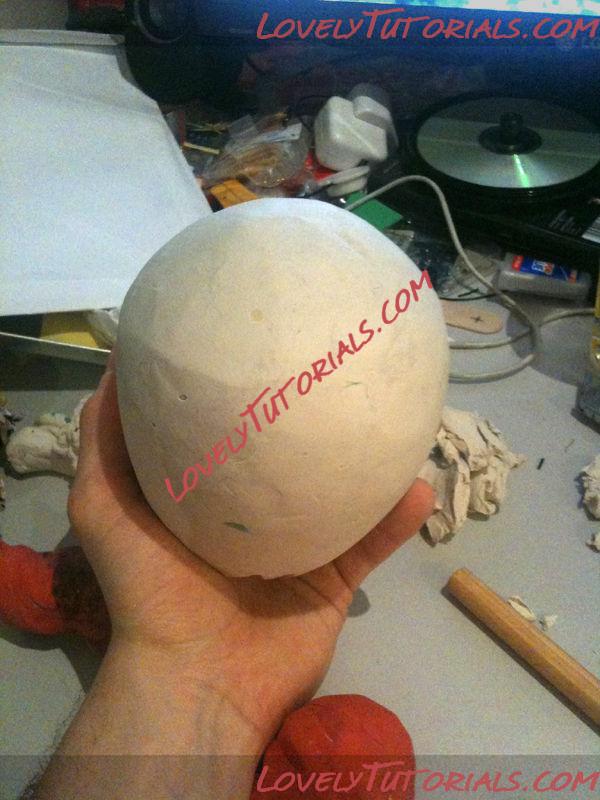
Start by rolling up a fist-sized ball of newspaper and covering it in masking tape. This will provide the structure for the core of your egg, so you'll only need to cover it with a surface layer of plasticine. If you happen to have enough plasticine to make a solid egg, then feel free to try that. Just be careful not to drop it on anyone.
Coat the newspaper core with plasticine and roll it into an egg shape on a smooth, flat surface.
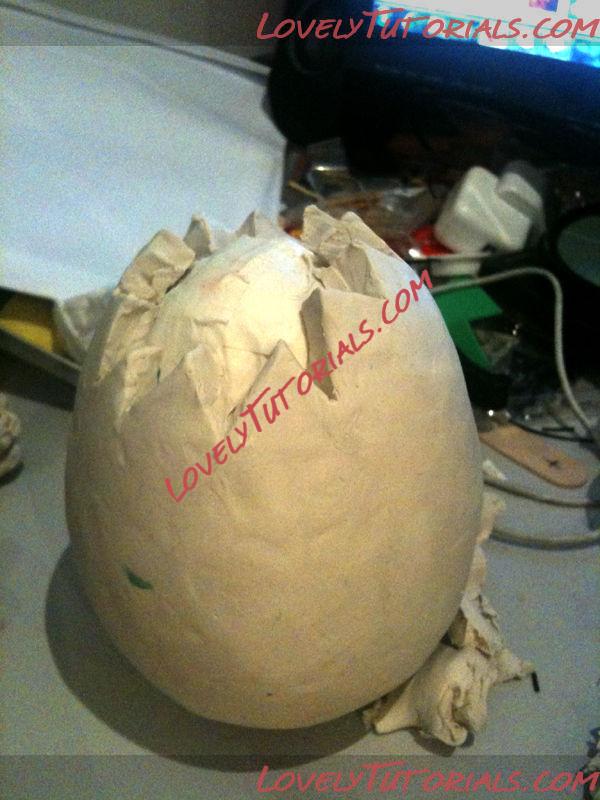
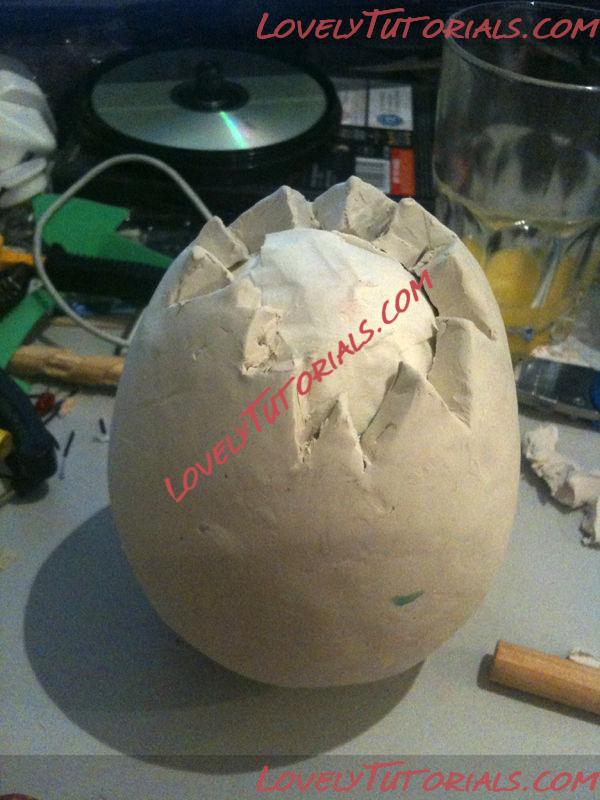
Use a craft knife to cut away a jagged edge to make the shell's opening.
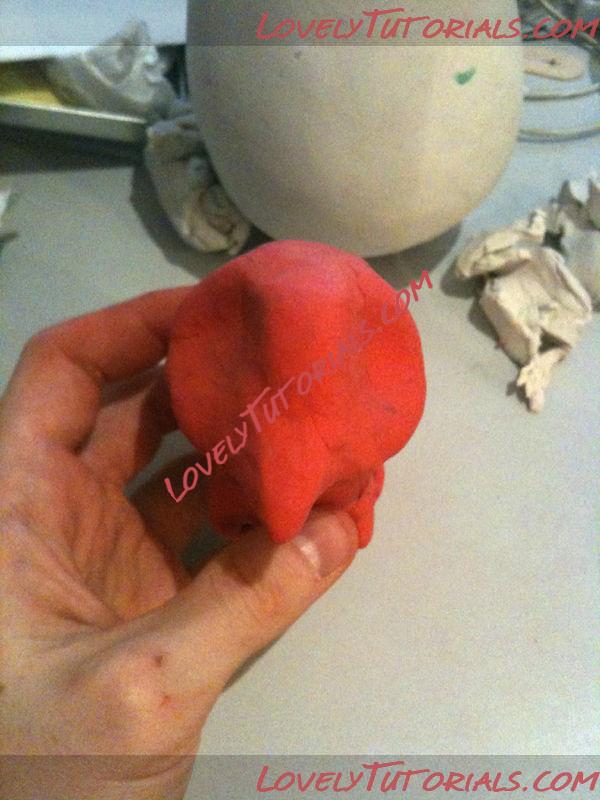
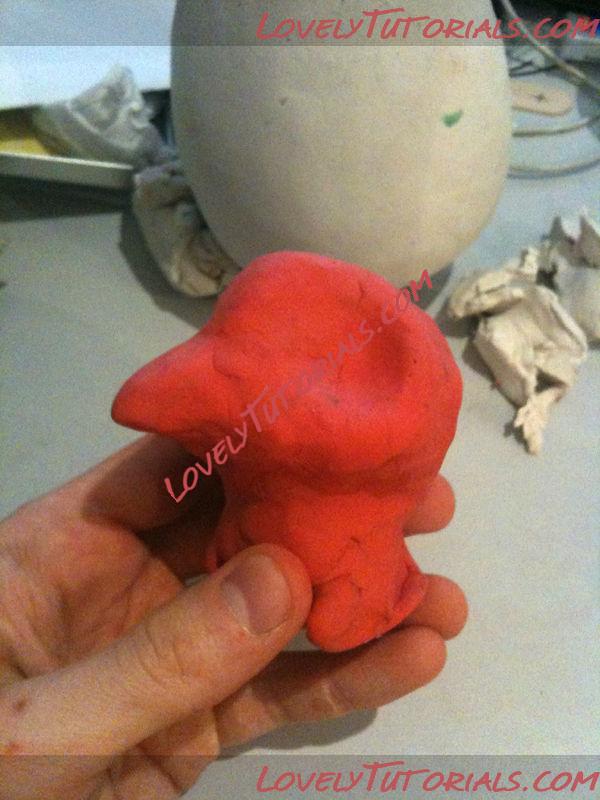
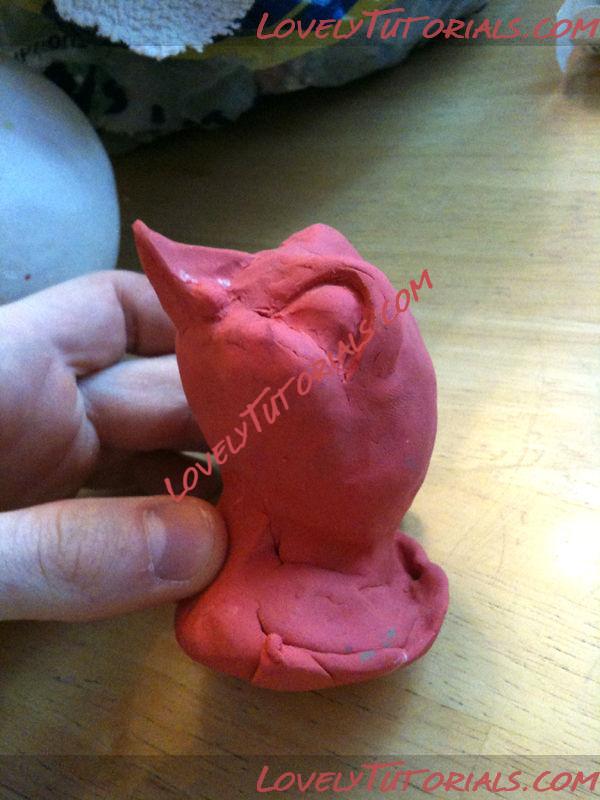
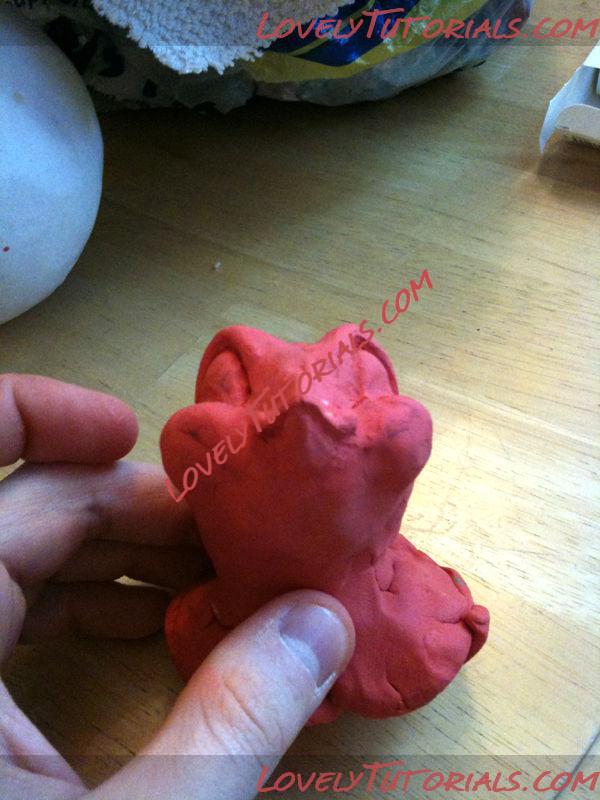
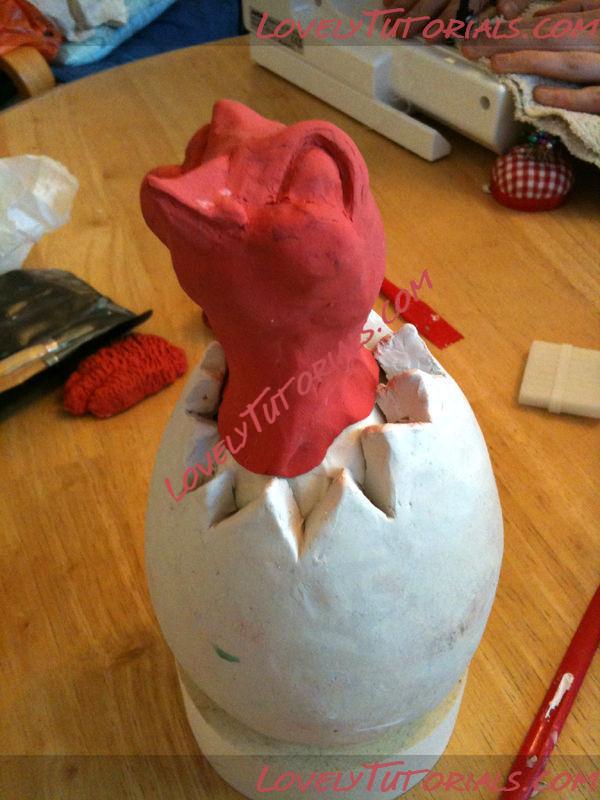
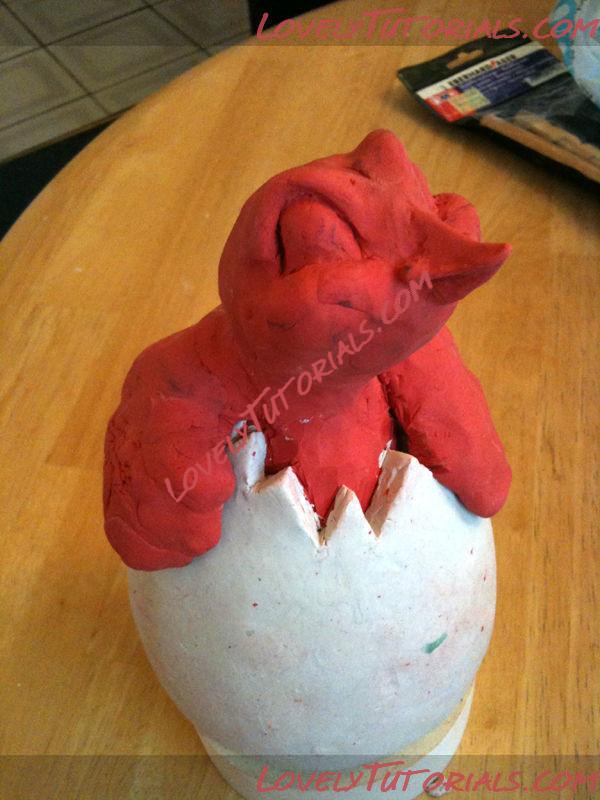
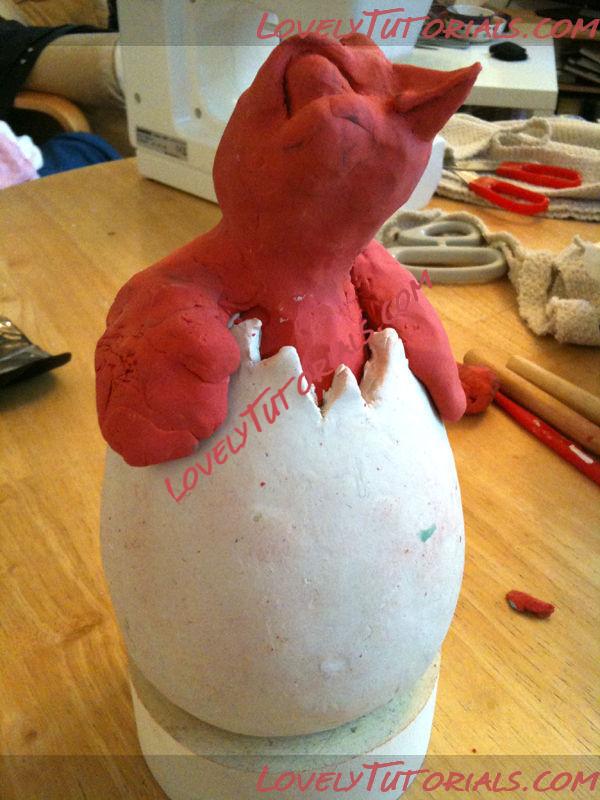
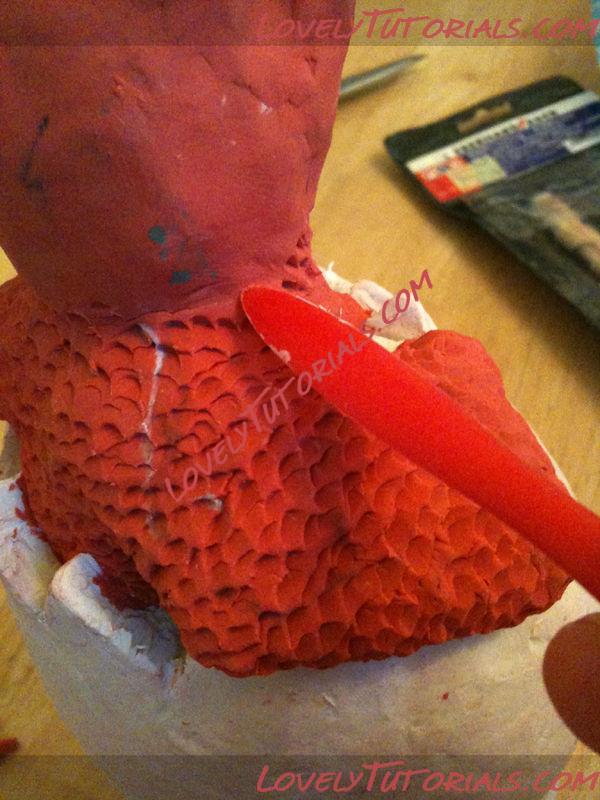
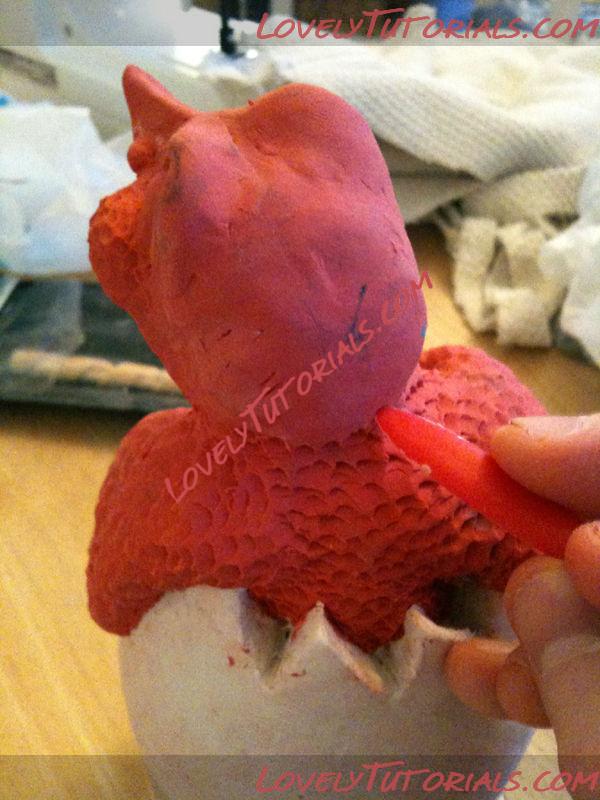 Sculpt the chick
For the chick, it helps to use another colour of plasticine. This will allow you to distinguish it from the eggshell while you're still sculpting.
The chick's head starts off as a ball of plasticine slightly larger than a golf ball. Make two dents for the eye sockets, pushing upwards to create the arch of the eyebrows. Pinch together a rough beak with your hands, then refine it with a knife or another sculpting tool. A handy hint from my own experience: An upturned beak looks cute on a baby chick; a downturned beak makes it look like a conniving carrion bird.
Use the knife again to add definition to the eyes. The bigger and rounder you make them, the cuddlier your creature will look.
With a pen lid or a rounded sculpting tool, carefully add feathers to the bird row by row. This takes a while, but it's extremely easy work.
