 Melt and temper your chocolate
At last, you can play with chocolate.
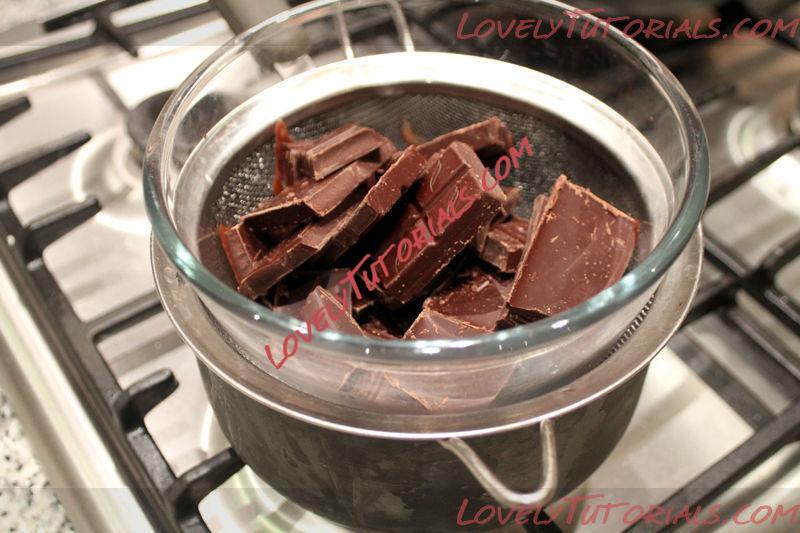
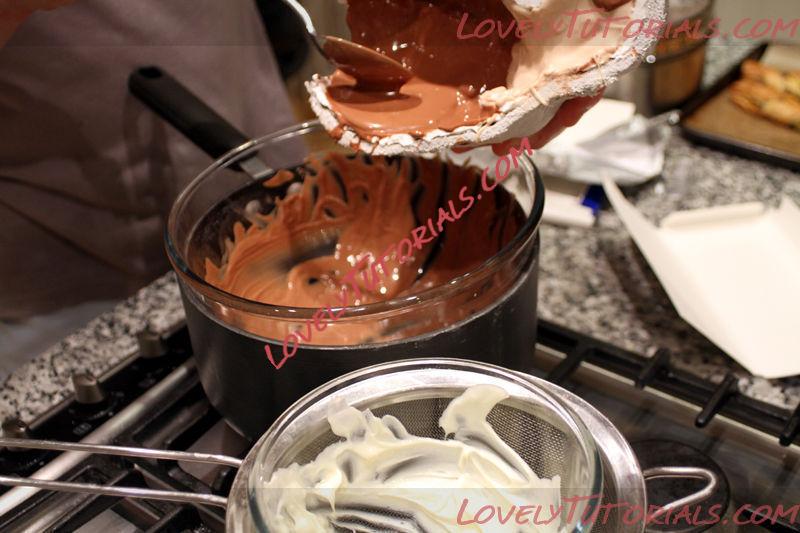
In a double boiler or a bain-marie, melt down and temper whatever types of chocolate you want to use. I recommend reading
this excellent Instructable on how to temper chocolate by the inimitable scoochmaroo.
For my chick, I decided that I wanted the following different types of chocolate:
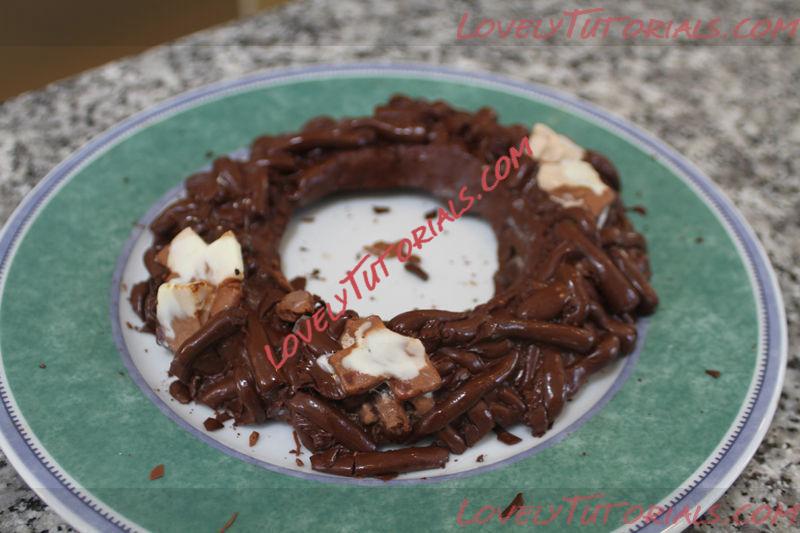
- Dark (plain) chocolate for the nest and the pupils of the eyes
- White chocolate for the whites of the eyes
- Milk chocolate for the beak
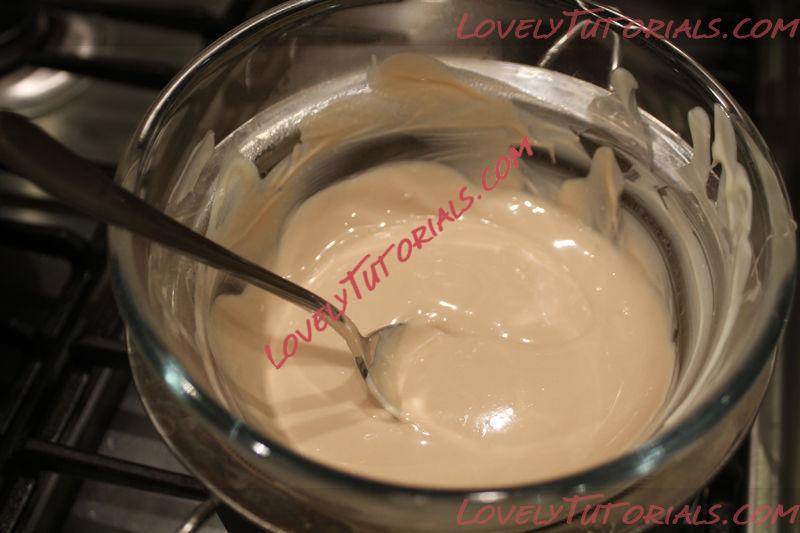
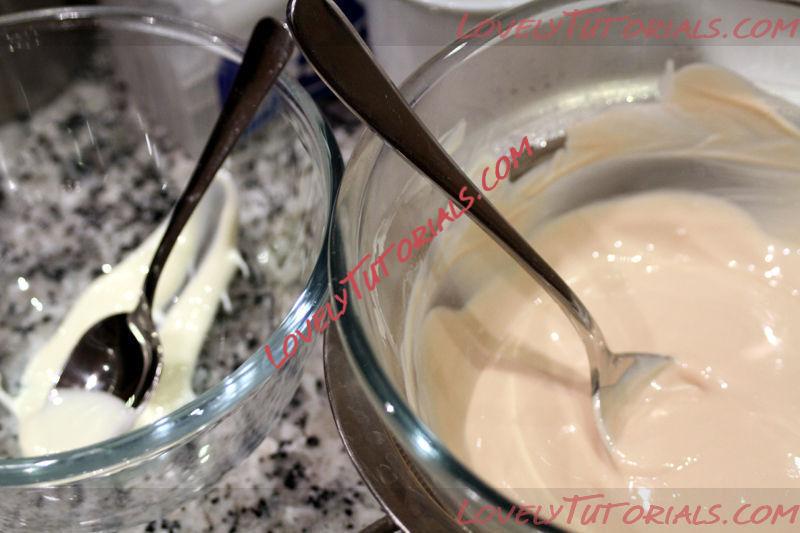
- Slightly off-white chocolate for the feathers
- Marbled milk and white chocolate for the eggshell
This meant thinking carefully about the order in which I melted and mixed my three kinds of chocolate (plain, milk and white) before pouring them into the moulds. How you melt yours will depend on what colour scheme you choose.
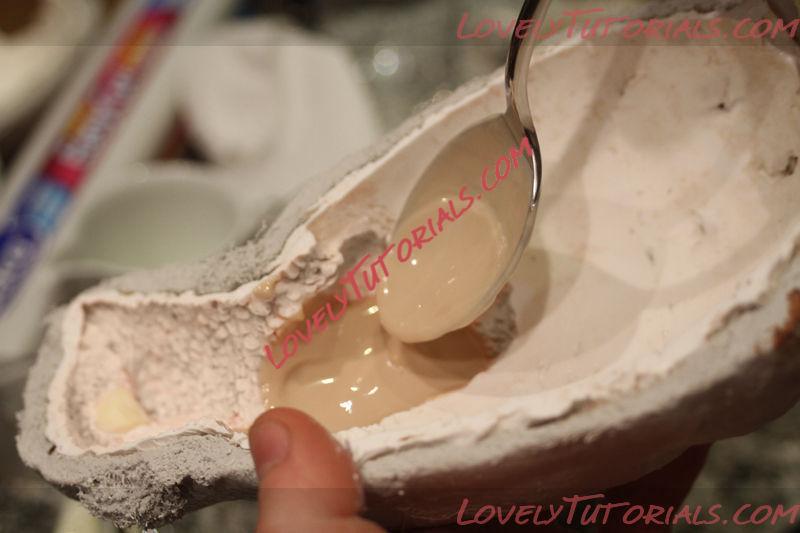
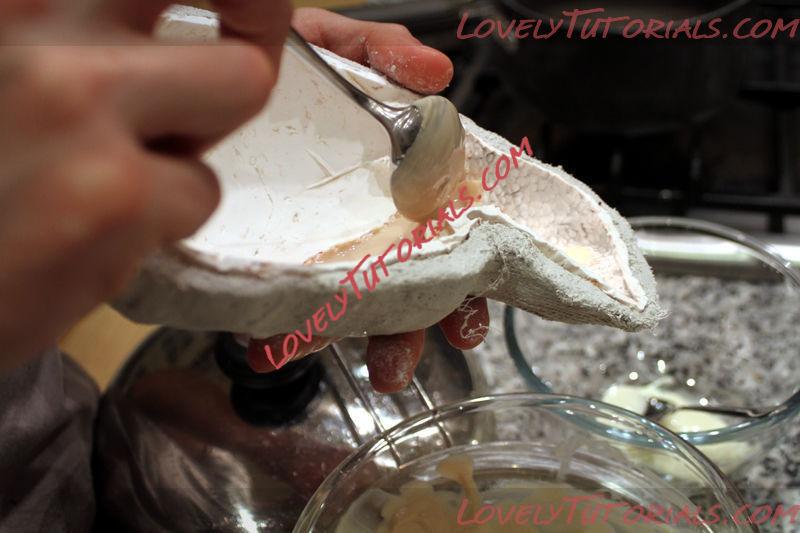
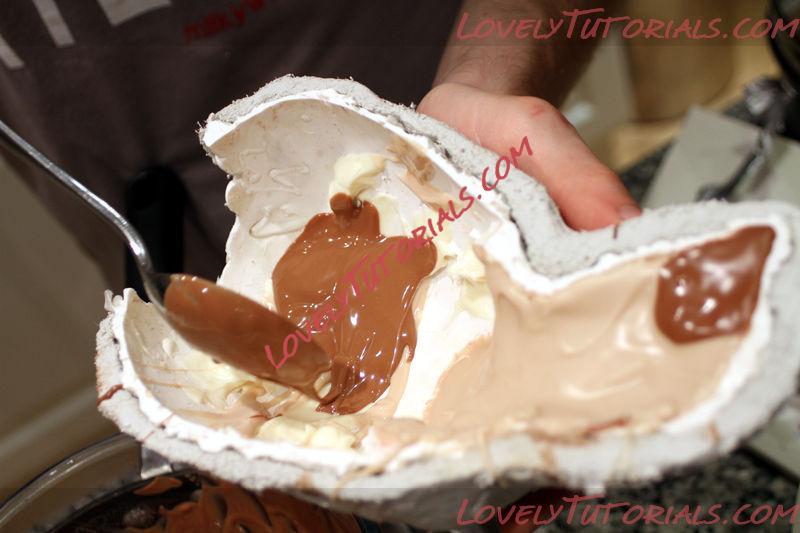
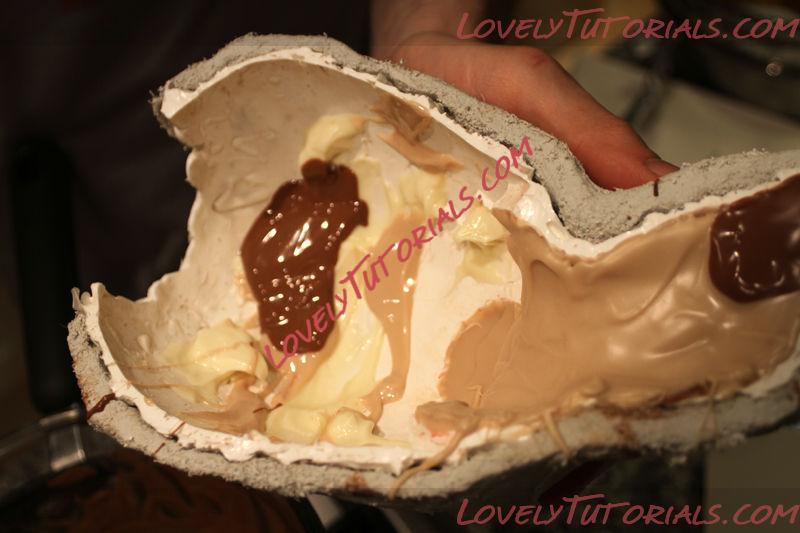
 Fill the moulds
Take your scrupulously cleaned and dried moulds, place them inside their plaster shells and chill them in the refrigerator for 10 minutes. This will encourage the chocolate to begin setting as soon as it is poured into the moulds.
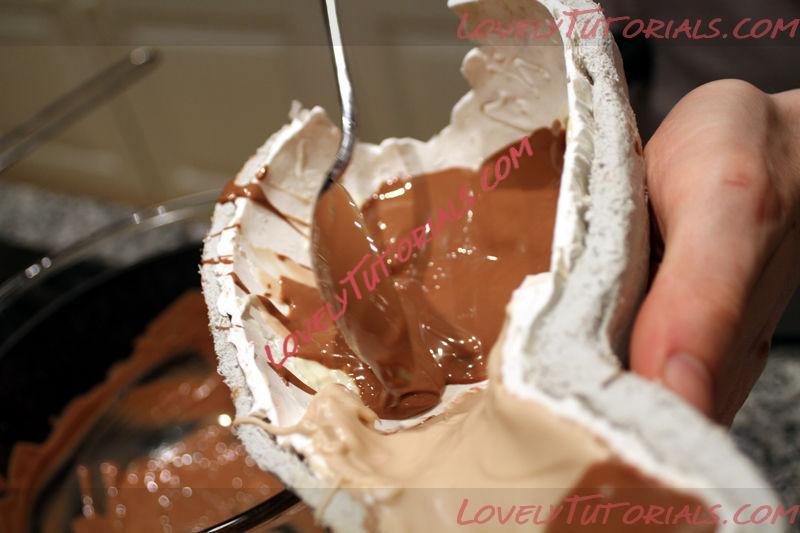
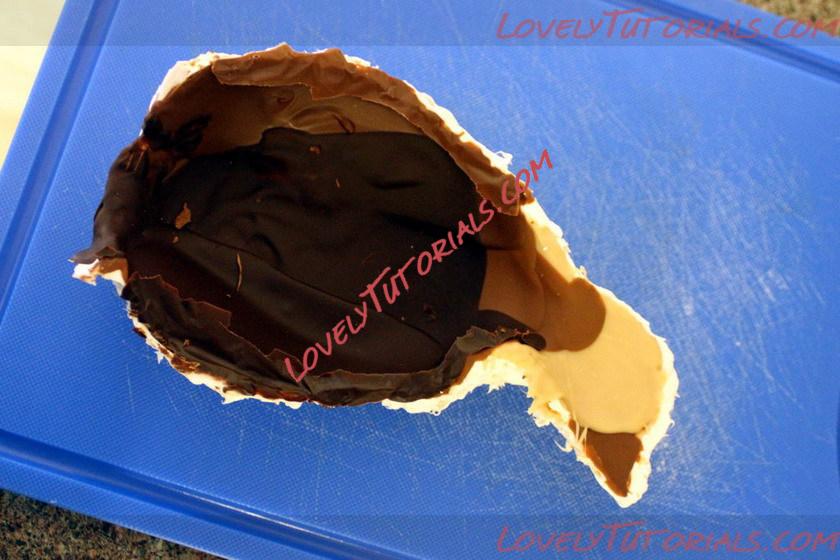
Fill in the details of your moulds colour by colour, starting with the outermost layers. I began with the whites of the eyes, then moved on to the feathers, then the eggshell. Apply each layer carefully with a teaspoon and leave it to set (this can be hurried along by chilling) between layers. Don't worry if you spill a bit over the edge of any layer; simply let it cool then use a toothpick to scrape away the excess chocolate.
Once you have covered the entire mould and let it set, apply another layer of chocolate to the inside. Use the back of a spoon to spread this layer all the way up the edges so that the seams of the mould aren't too thin. Ideally, repeat this two or three times, cooling in between. If the chocolate is wafer-thin at the edges of the mould it will just crack when you try to remove it, so it's well worth getting this stage right.
 Hatch your chick
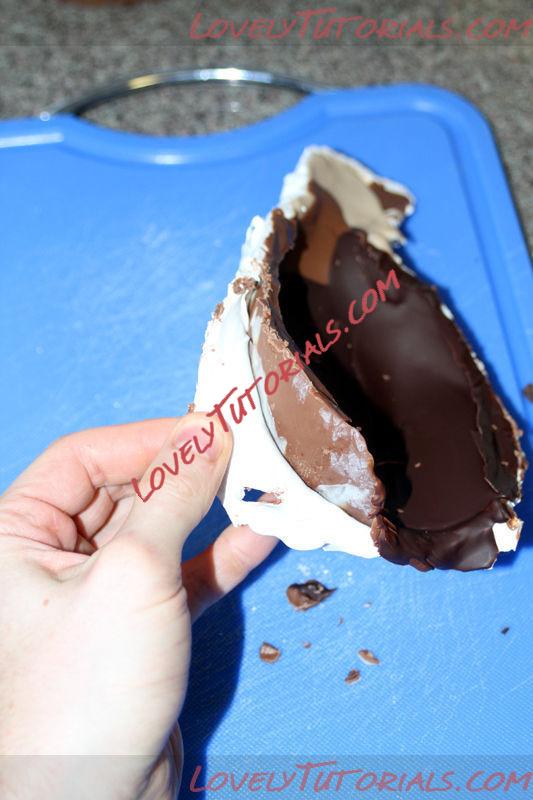
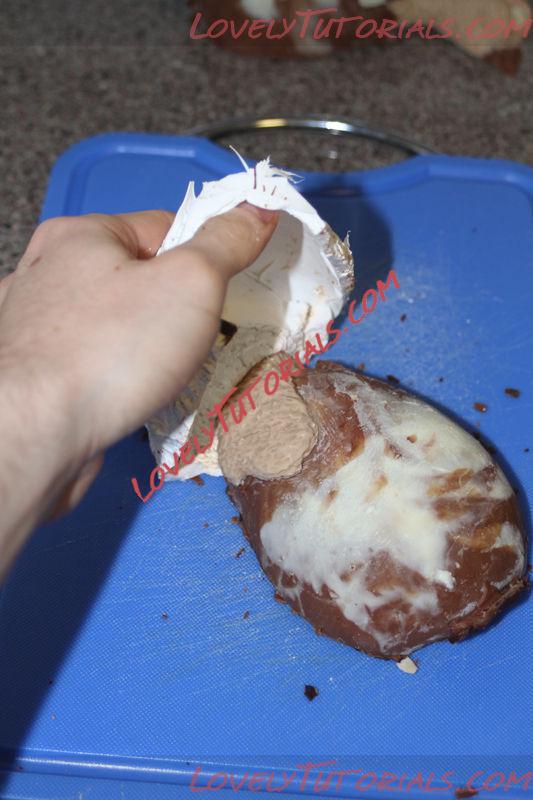
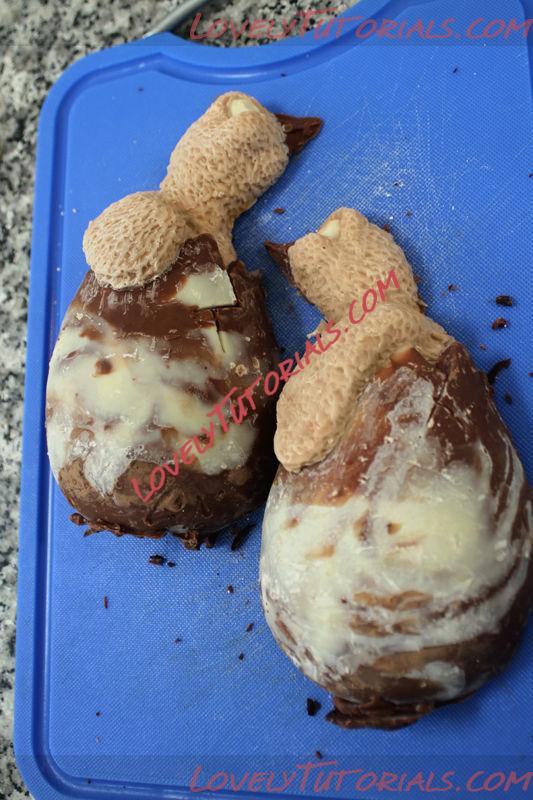
When you're feeling brave, gently peel the silicone moulds off their new chocolate centres. Try to do this when the chocolate is cool enough not to bend and warp, but not so frozen that it sticks to the moulds and cracks when you try to separate them.
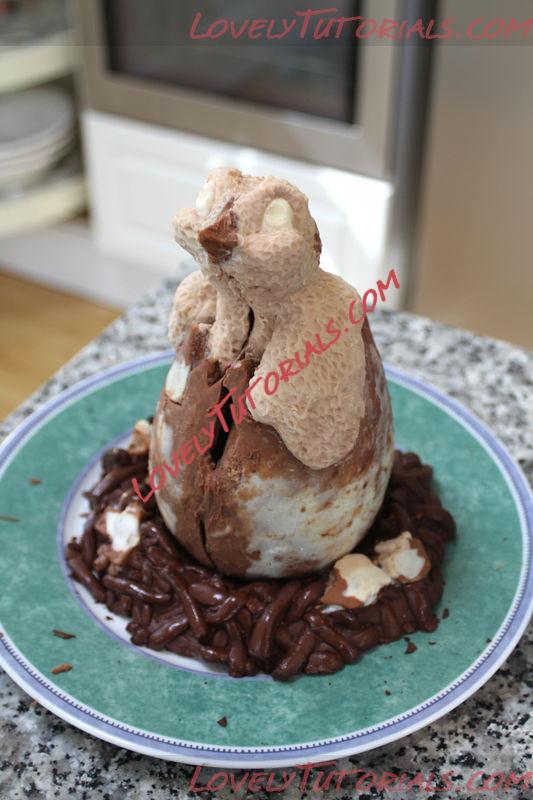
Trim away any excess chocolate and assemble the two halves of your chocolate sculpture by warming their edges and pushing them softly together.
You may find that they no longer align perfectly due to slight deformation of the silicone moulds. This is not a problem: simply align them as closely as possible, then trim away any protrusions that are stopping them sitting flush together. If necessary, soften some more chocolate and use it to plaster over any cracks or gaps. For small cracks, heat the back of a teaspoon and use it to smear the edges together.
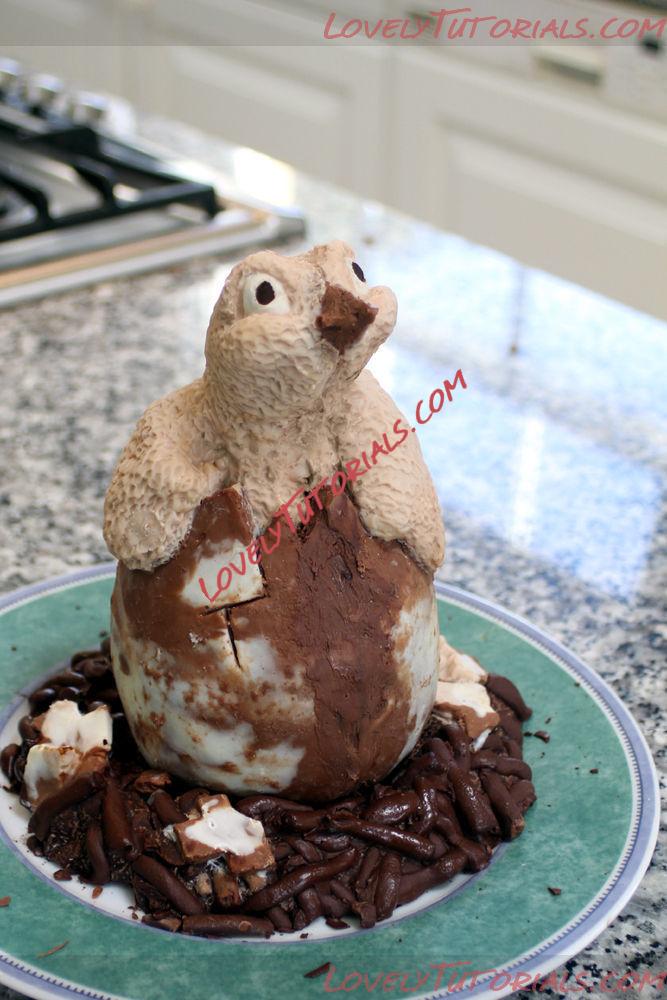
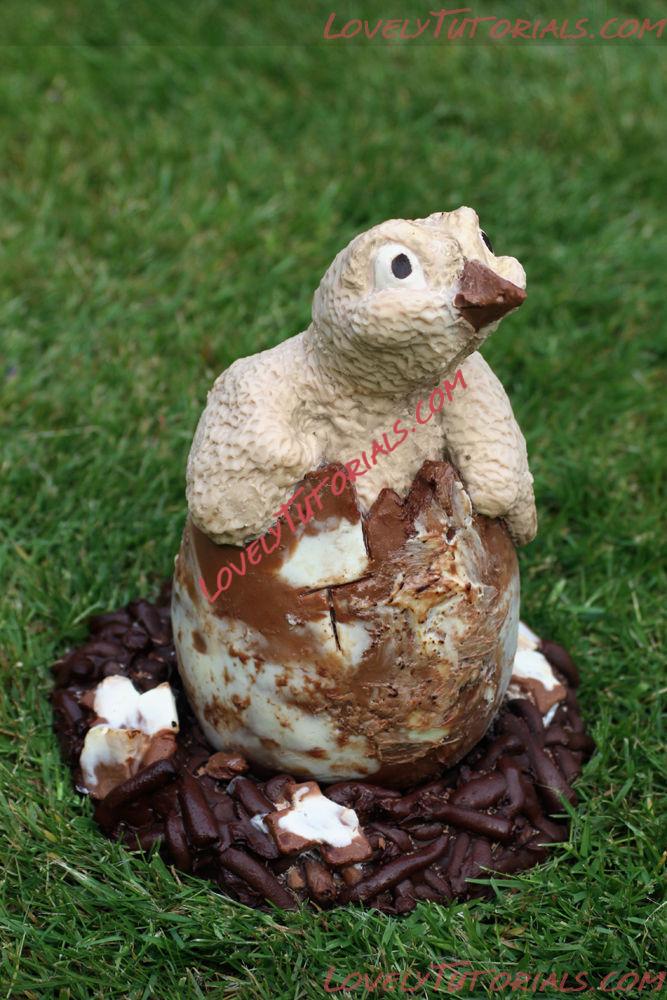
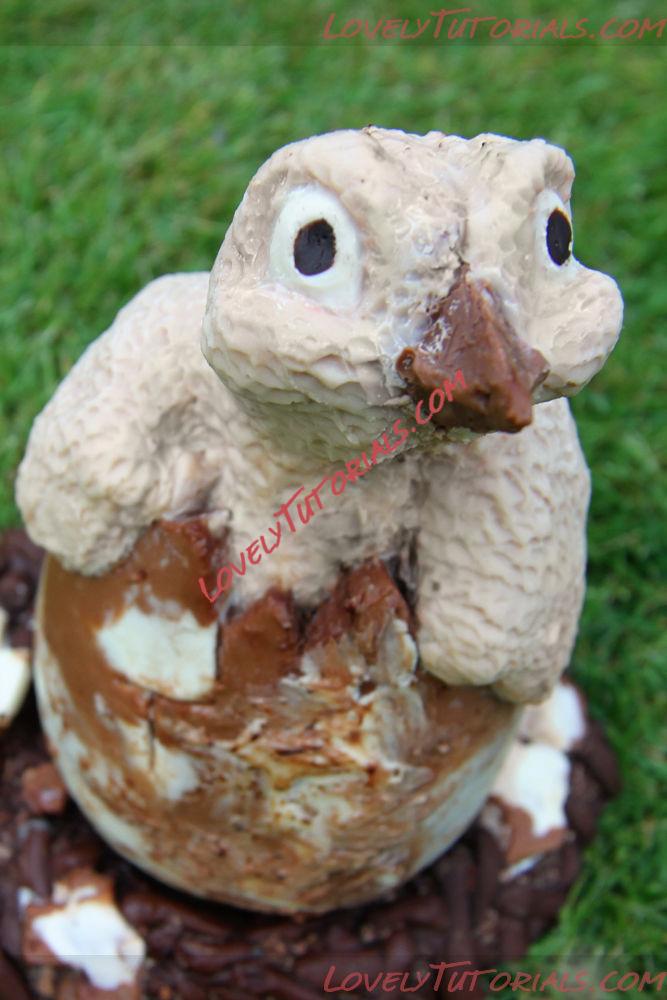
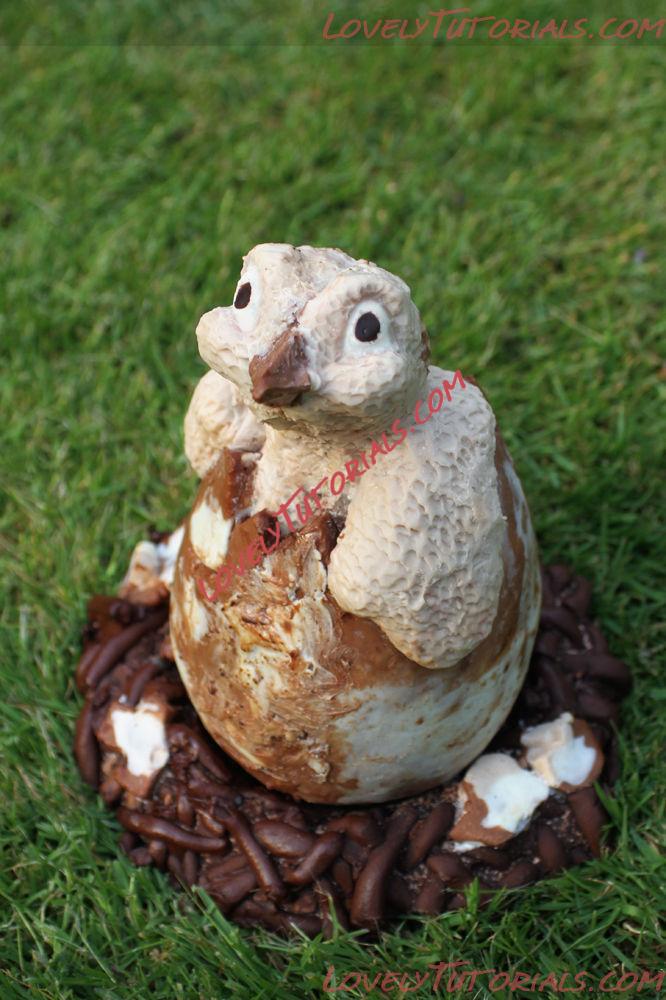
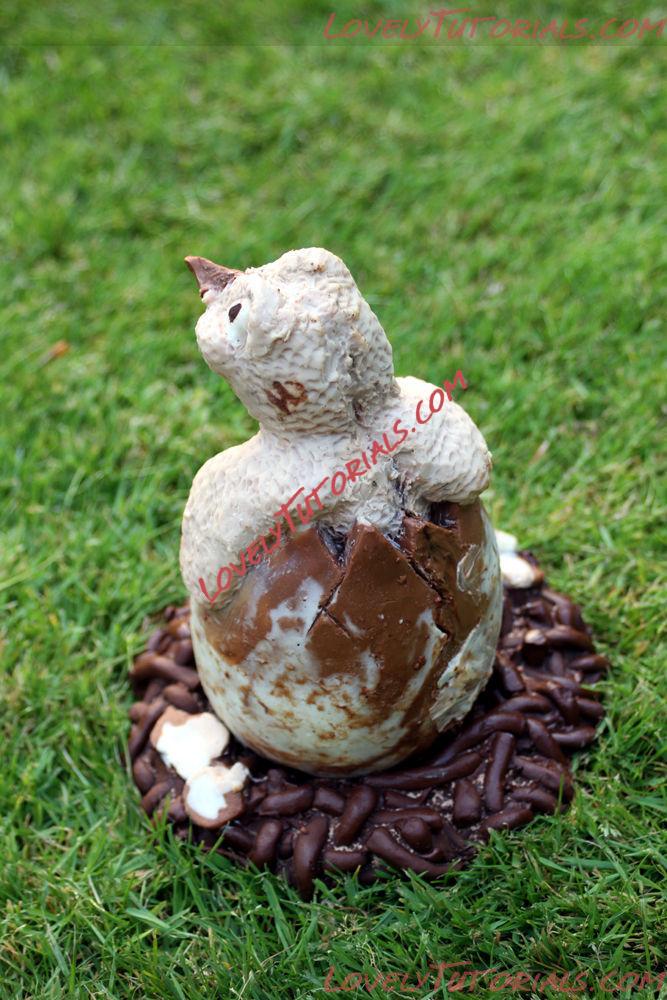
You can see where I've had to use some milk chocolate to fill a hole in the front of my eggshell. This left it looking rather grubby, so I added some more white chocolate on top for the finished sculpture. You can see in the next step that the front of the shell is noticeably less smooth than the rest as a result.
Another finishing touch was to apply the pupils of the eyes by dripping plain chocolate onto the sculpture from the end of a toothpick.
 Serve
Serve
Present your sculpture to a loved one as a gift, or keep it to yourself and eat it when nobody's looking.
Either way, enjoy!