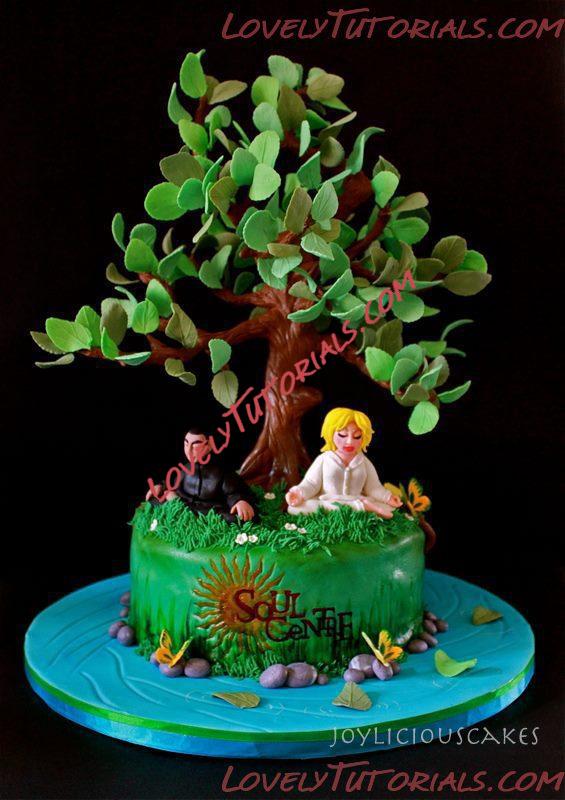
Огромная благодарность Автору Joyliciouscakes за Мастер-класс
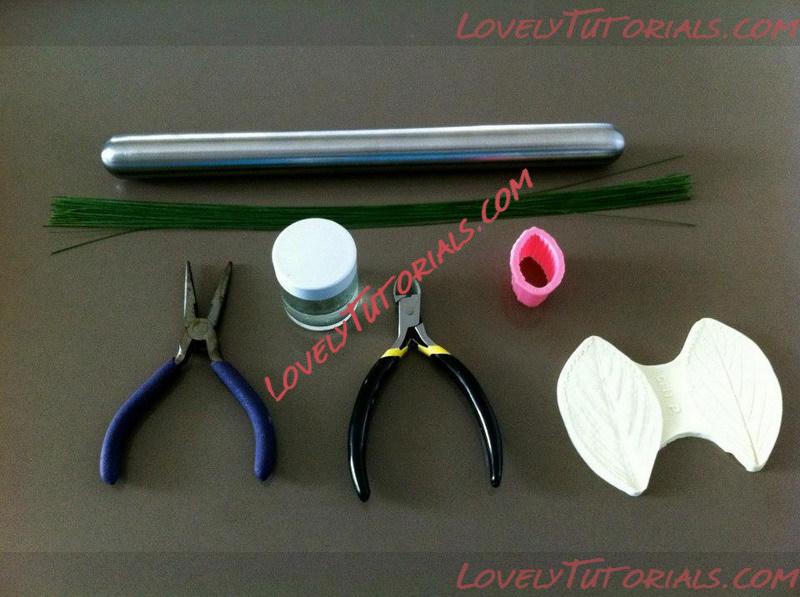
Materials and Equipment for leaves making:
A small rolling pin, 28 gauge wire, edible sugar glue, Fine-nose pliers, wire cutter, leave cutter and multi purpose petal veiner mould.
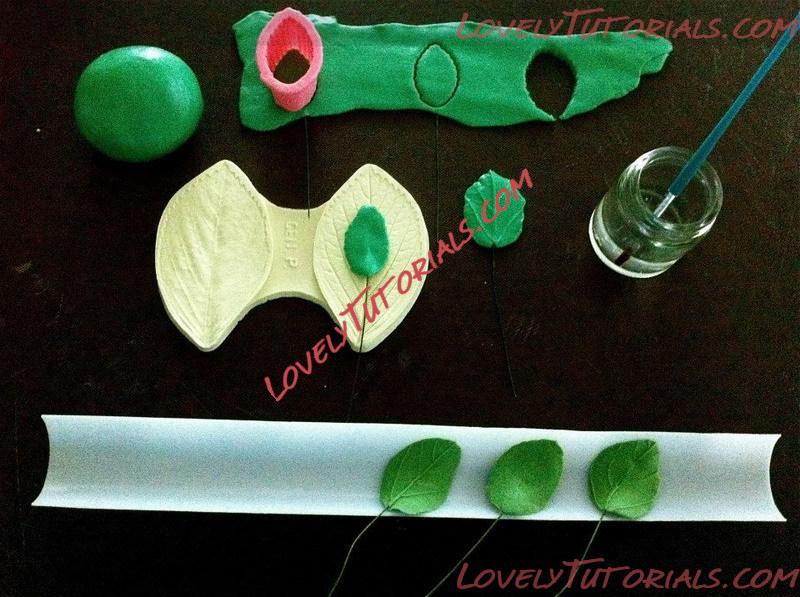
Roll out some green fondant, I prefer to do 3-4 petals at a time by rolling out a long stretch, spread some edible glue on the wire and cut out the petals, press it onto petal vainer mould and place it on the leave former until its dry.
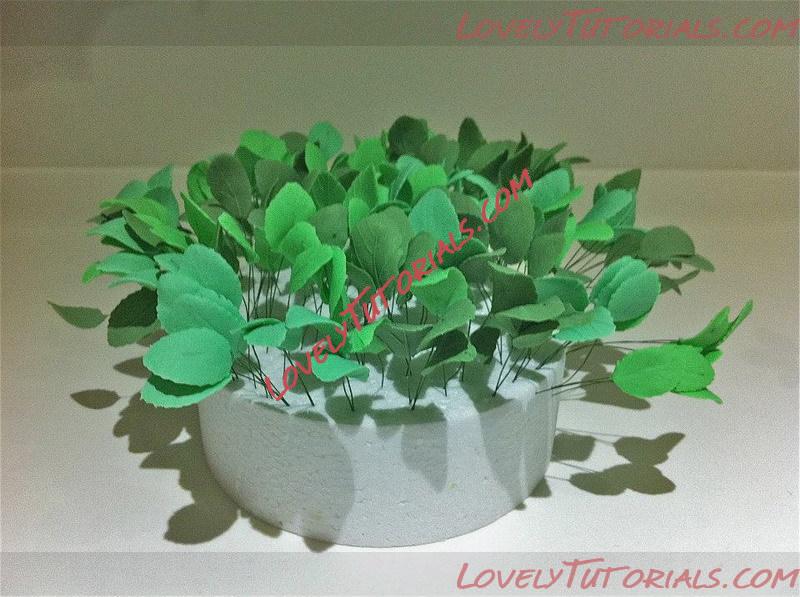
Here is more then 100 petals in different shades of greens.
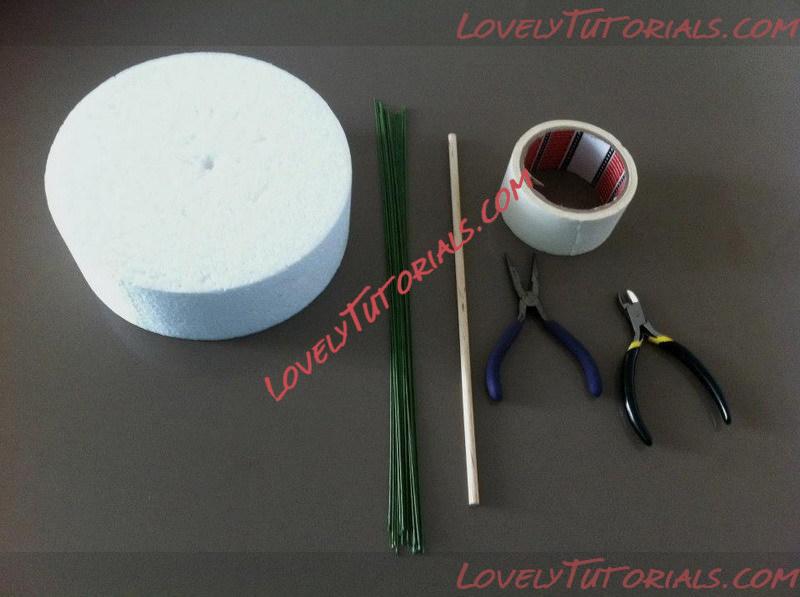
M n E for Tree trunk and brunches making:
A Dummy of any sizes (min 7") I used a 9", 18 gauge wire, 1 dowel rod, masking tape, Fine-nose pliers and wire cutter.
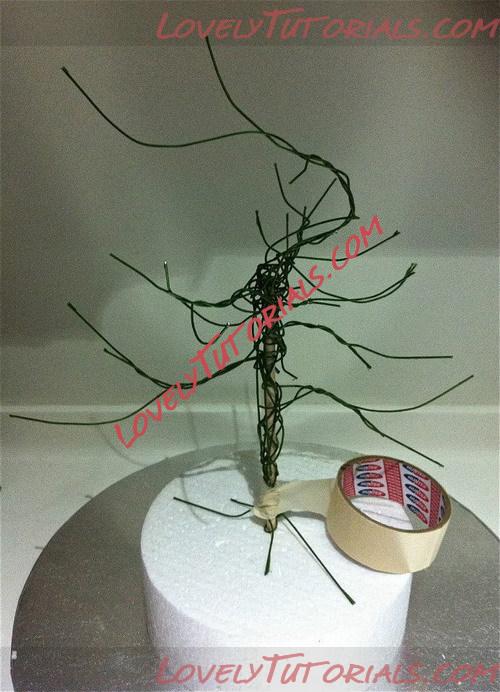
Sharpen the end of the dowel rod and poke into the dummy and through the base board. Take several pieces of wire and twist them together at the trunk and make the brunches. Cover with masking tape.
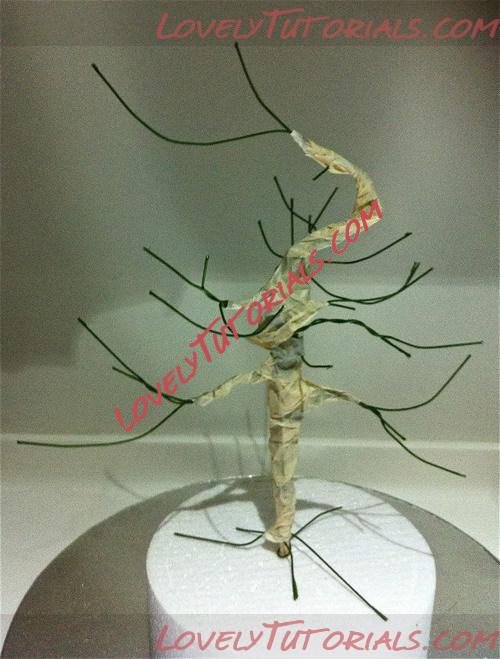
The whole twisted part of the wire is covered with masking tape.
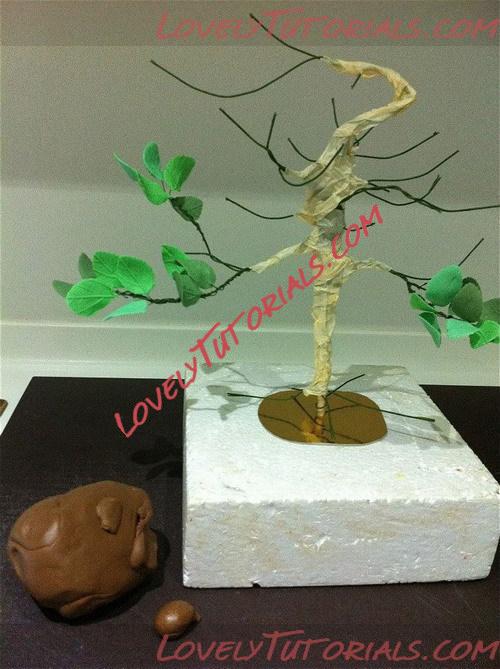
I've cut out a small square card board and place it at the base of the tree for a reason

... At the mean time start twisting the petals onto the brunches, you can either start from bottom up or top bottom. Prepare some chocolate/brown fondant.
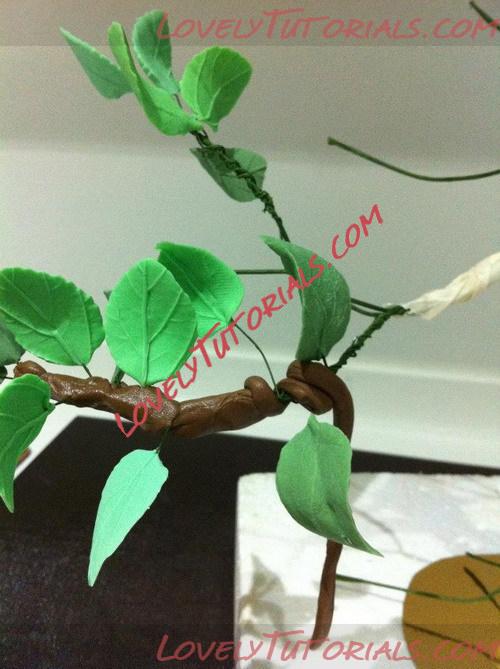
Here is the challenging part, try rolling the brown fondant and cover up all the gaps of the wires, press it with your finger tips.
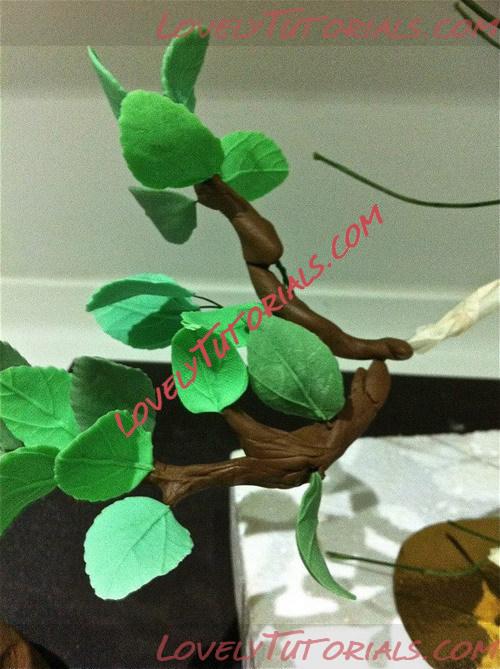
Then move on to the next brunch...
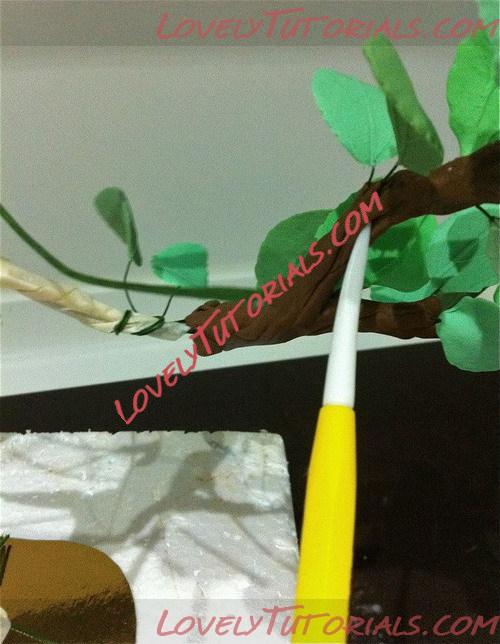
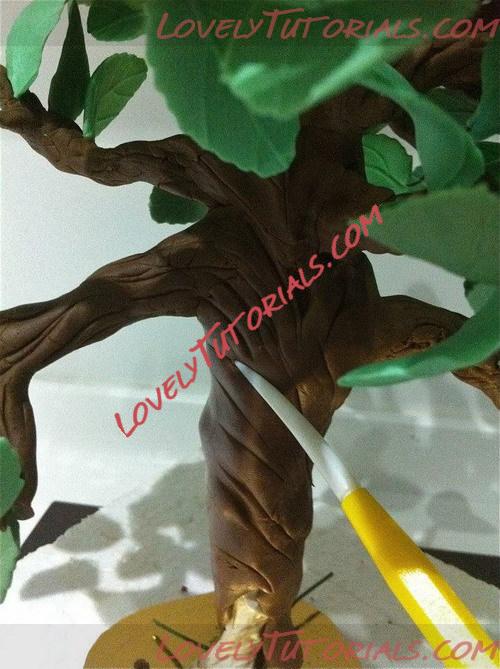
Use a veiner tool or a tooth pick to create the veins of the brunches.
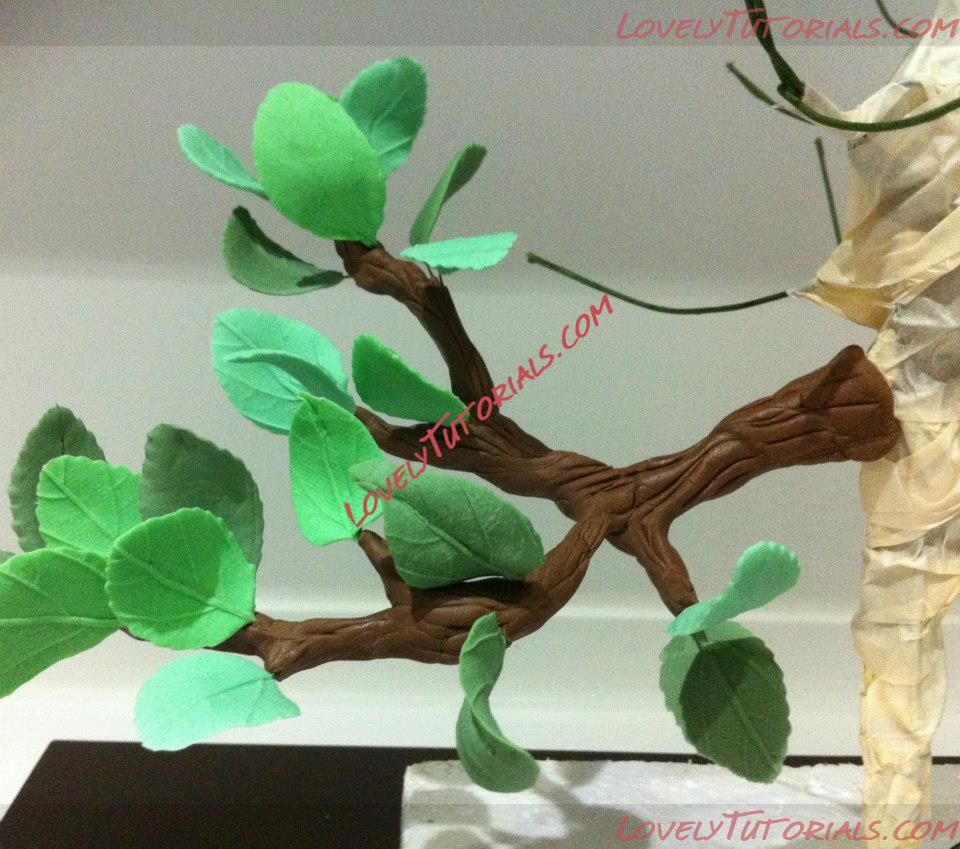
Wallah!! One big brunch is completed

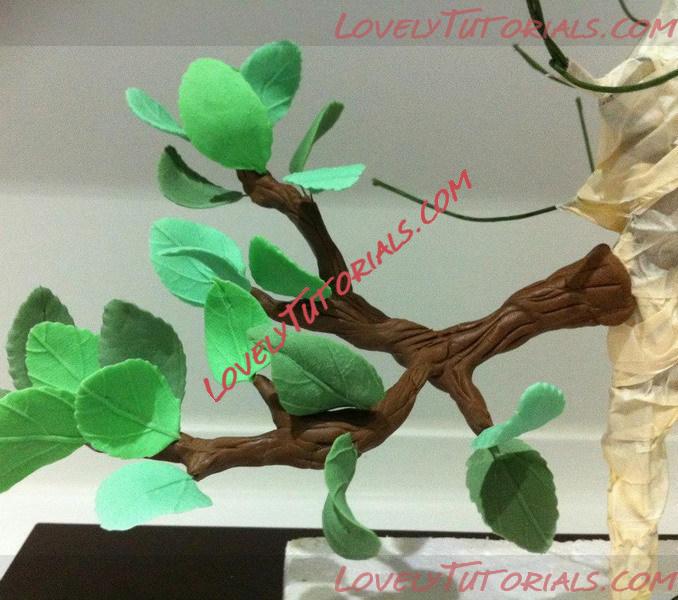
Move on to the next level and be patience...lol!!
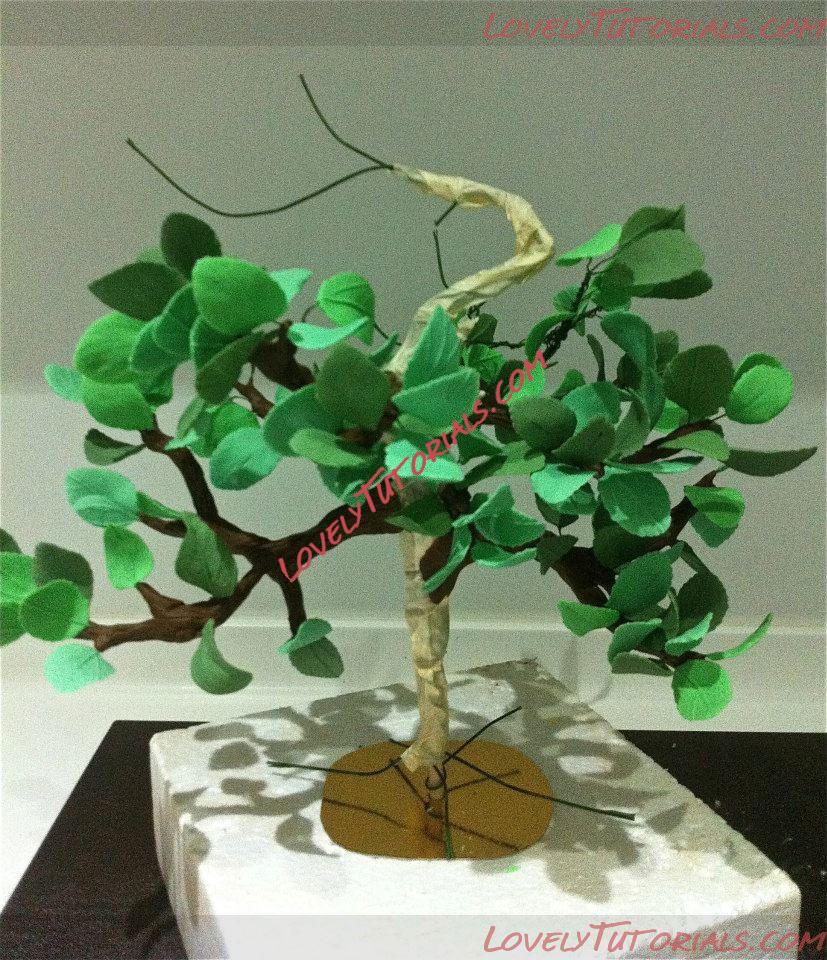
Finally the different shades of greens brunches is completed!!
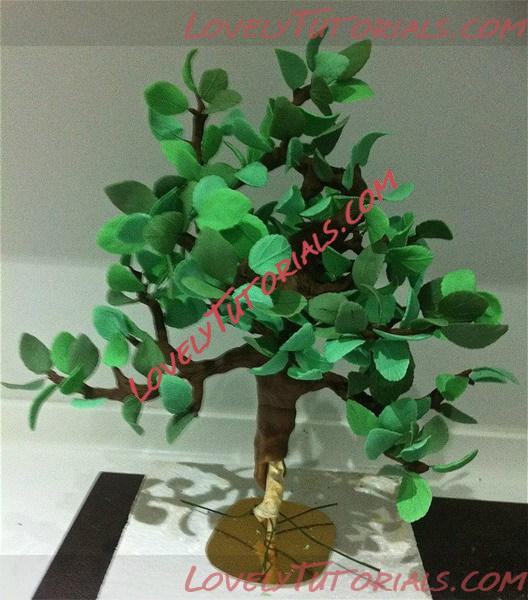
Next is the tree trunk!! Roll out some thick brown fondant and stick it on with edible glue or a brush of water, don't put too much or it gets too messy and sticky!!
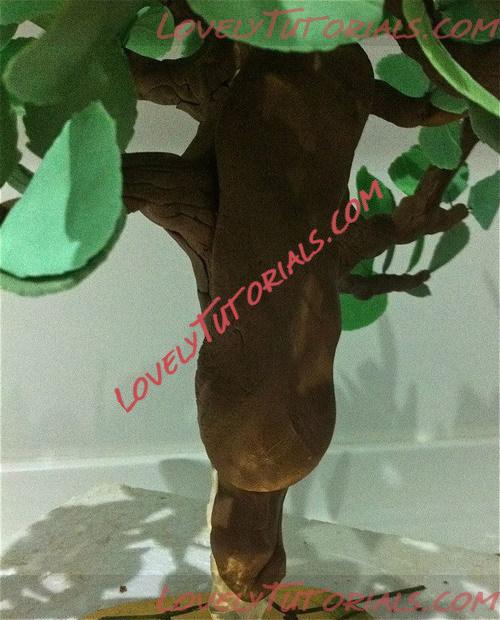
Again, use a veiner tool or tooth pick to make the veins of the tree trunk.
My cake is going to be 10" round so the cake board is 10" too. Cut out a 10" parchment paper.
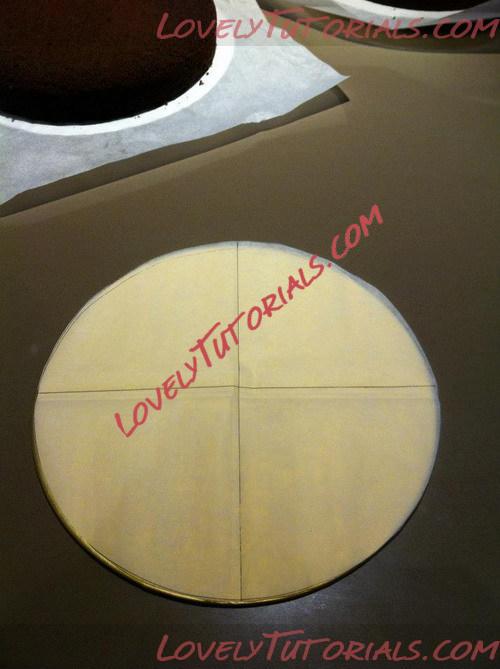
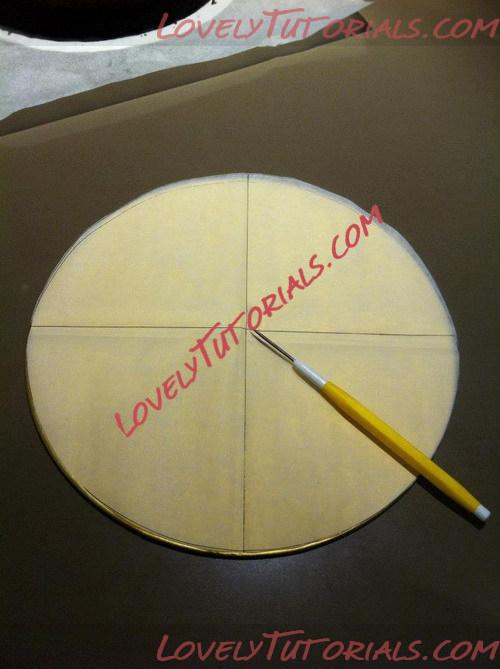
Fold the parchment paper and mark the centre spot, prick a little hole with a needle tool or a clean metal nail.
Use the dowel rod and place through the cake board and leave it aside.
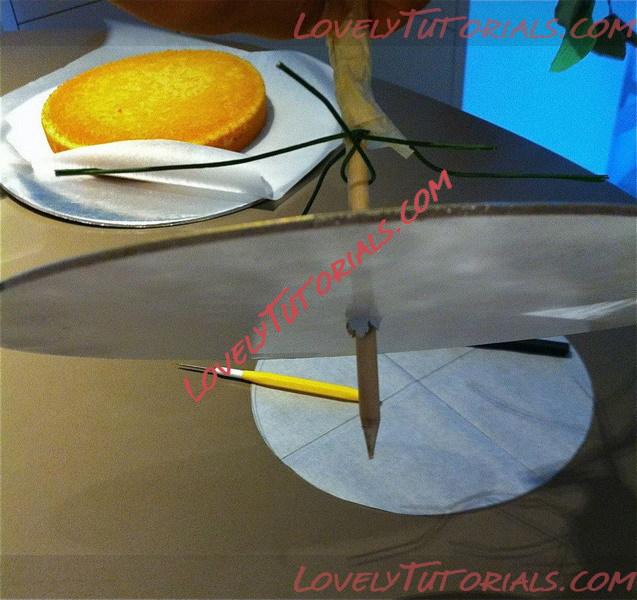
I've used a 16" base board for my base and again try to find the centre spot and make a marking with the dowel rod.
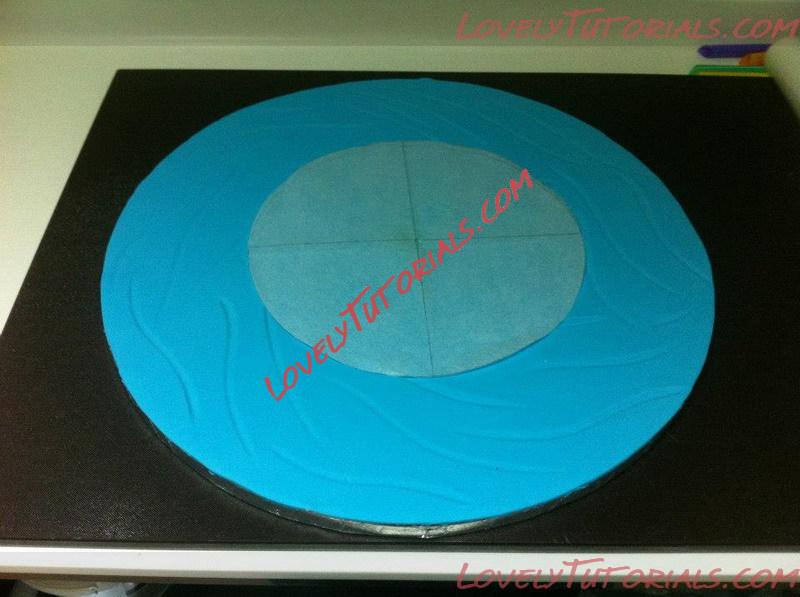
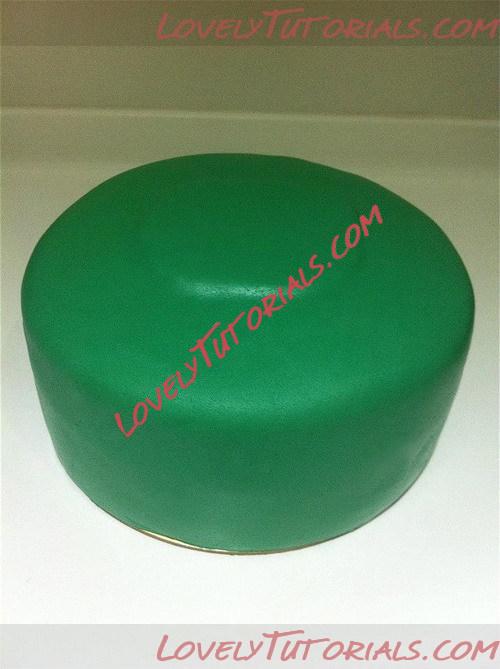
Cover your 10" cake with a thin fondant, I've always use a bubble straw as a support for stacking up cakes

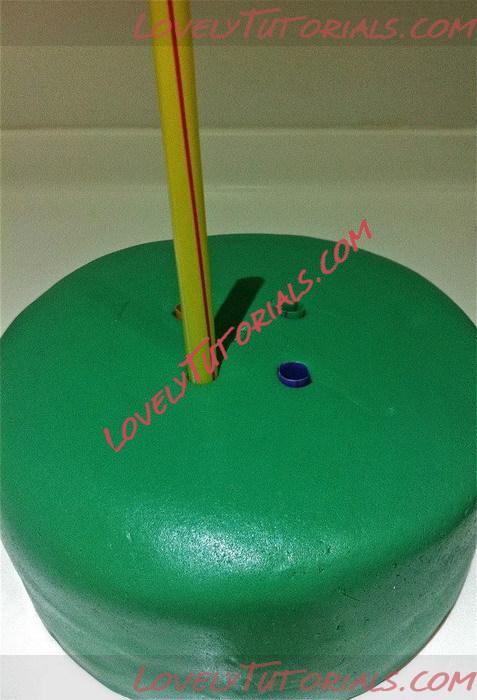
Mark the centre of the cake
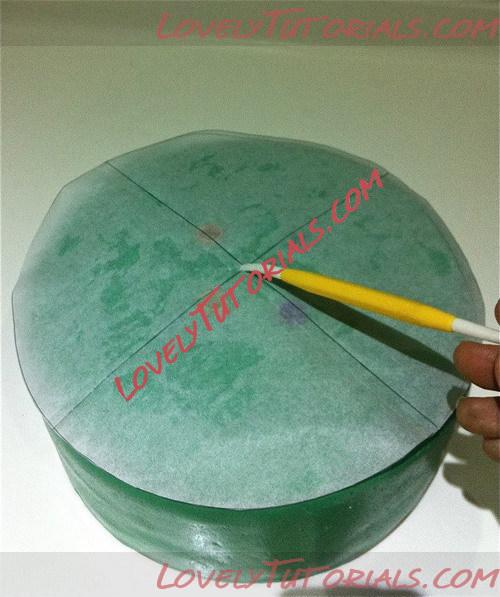
Place the little card board on the top of the support bubble straw which will be use as an important support for the tall skinny tree..
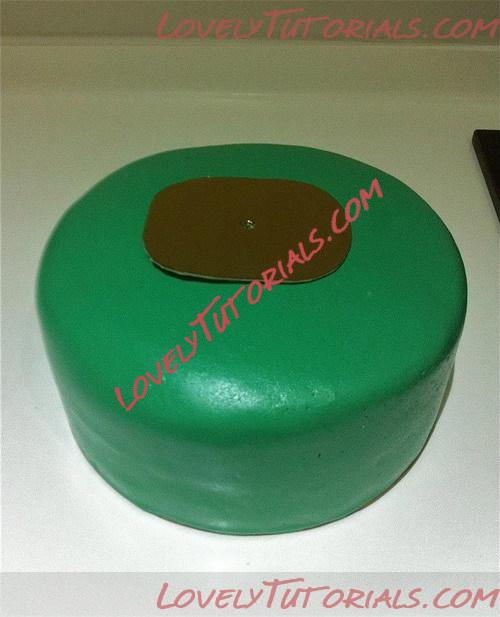
You could either place the little card board already onto the cake and cover with fondant or place it in between the thin fondant like I do ....my reason is ...it will be much more stable for a tall tree to sit on the soft cake from all the weight of the fondant

Aline all the central markings you made before from the top of the cake to the base board.
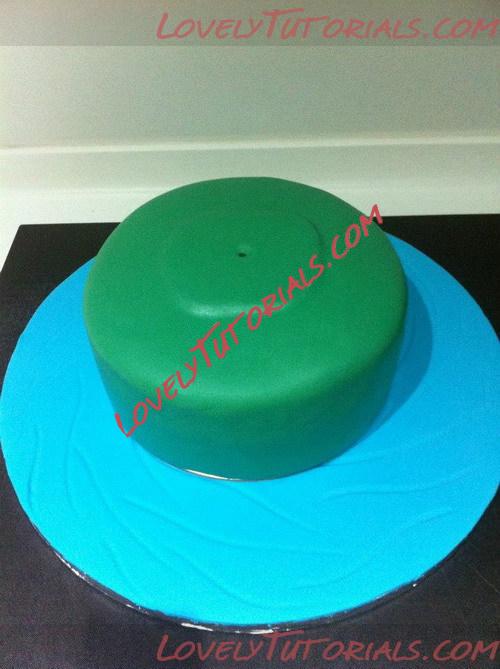
Lift out the tree from the dummy and place the dowel rod into the centre margins of the cake, through the cake board and into the base board!
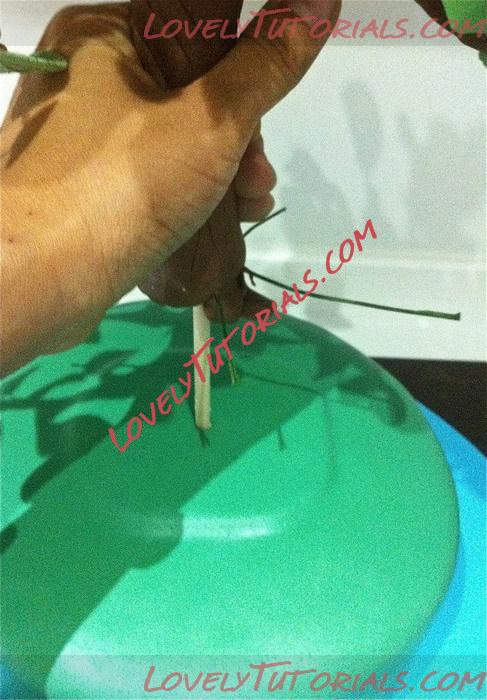
Tadah!!! The tall slim tree is up on a cake without any worries

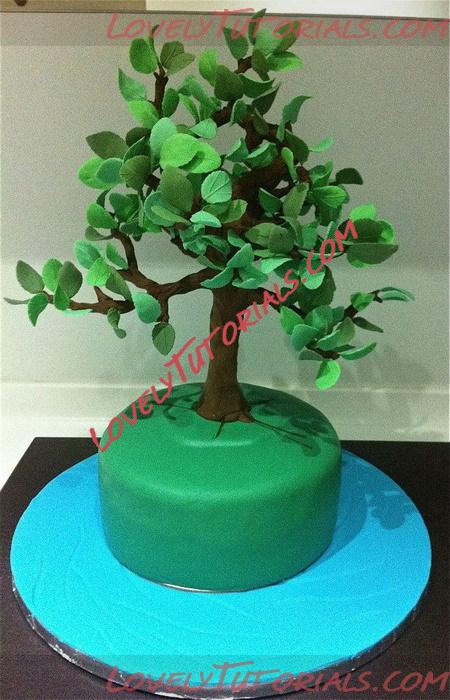
Roll out some thick brown fondant to make the roots, cover up the wires and modeled the roots with your fingers.
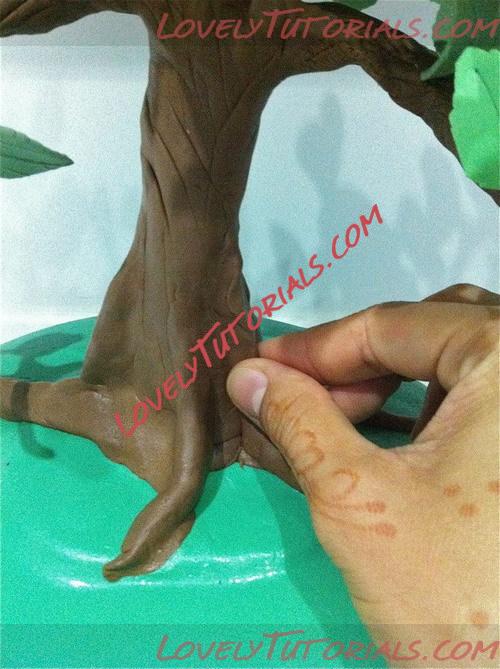
Use a veining tool/tooth pick to create the veins of the tree.
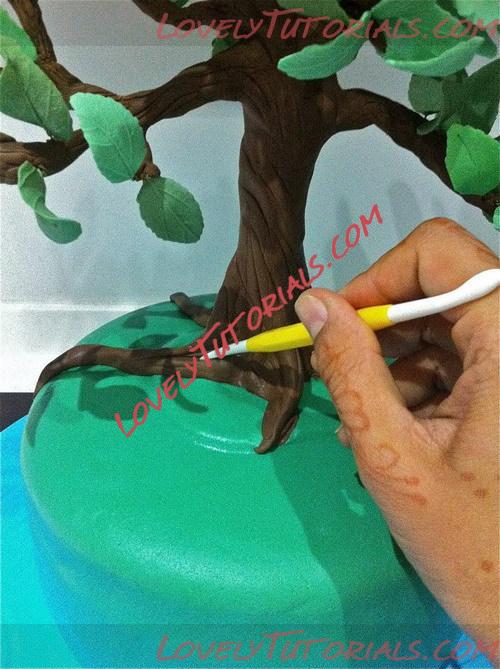
The roots is done!!
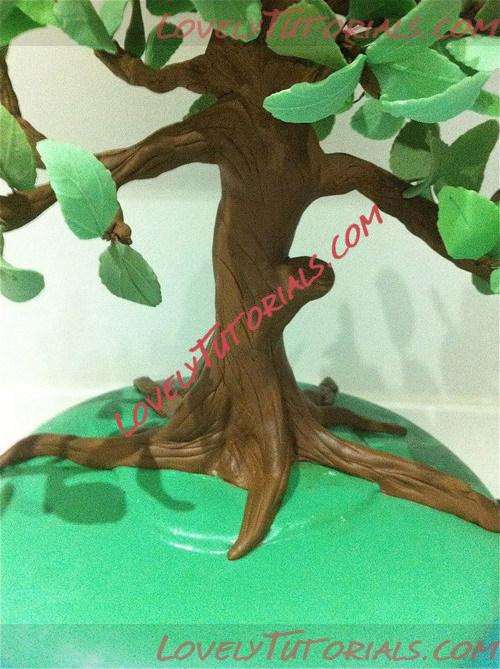
This slim tree is at 43cm high from the base of the roots to the tip of the brunches and the width is 38cm from bottom left tip brunch to the right.
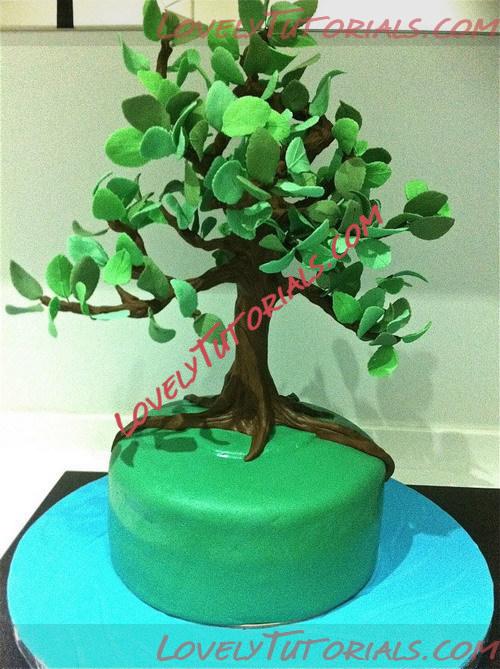
Well, it is definitely not an easy task but if I can do it SO CAN YOU

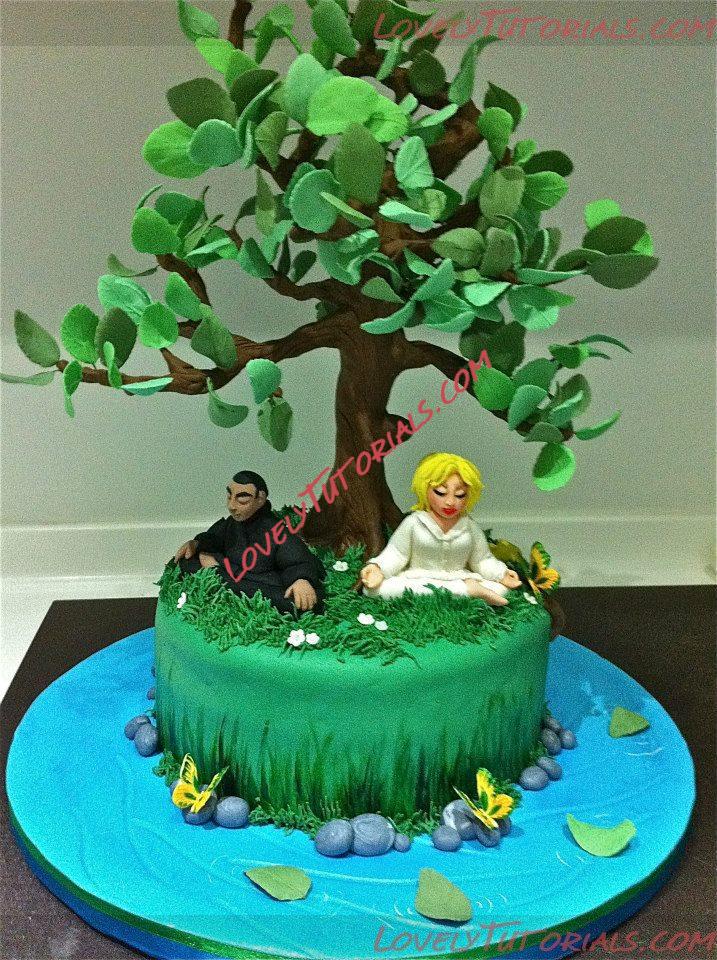
Top view of the tree...
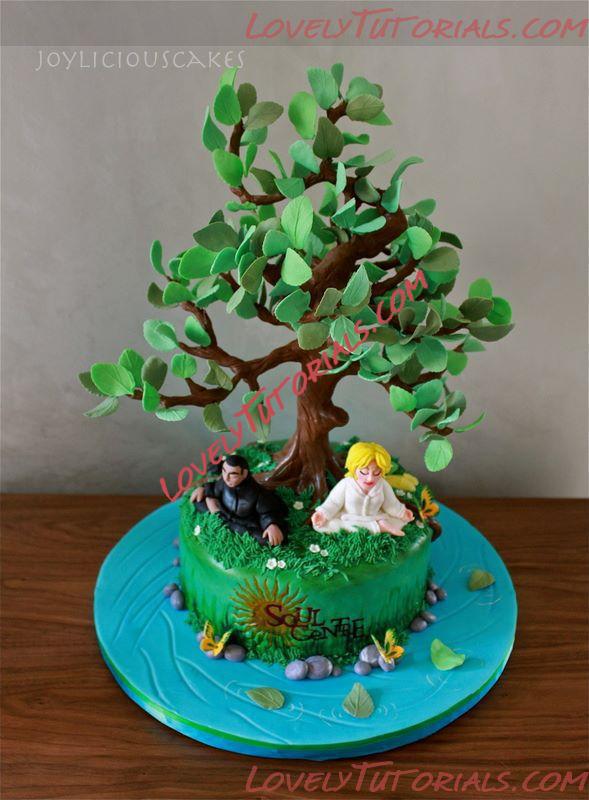
Meditate like a tree grows" ...
