спасибо огромное
Melissa за МК
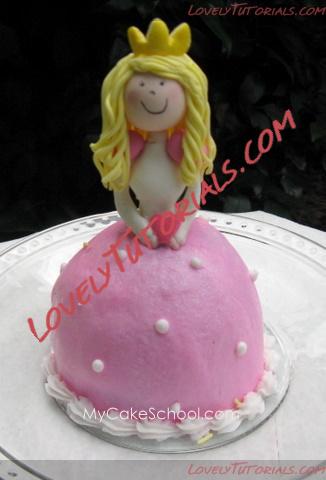
I’m using this post to declare my love for Wilton’s mini wonder mold pan! I love the little cakes that they make–and the possibilities are endless! Here’s a little tutorial on how to make a cute little princess!
Here’s how we do it…
First- Bake, Cool, & Frost with a delicious crusting buttercream!!
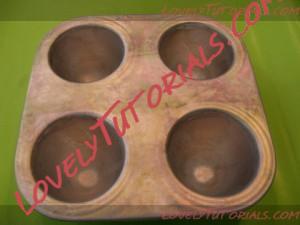
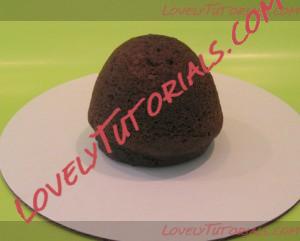
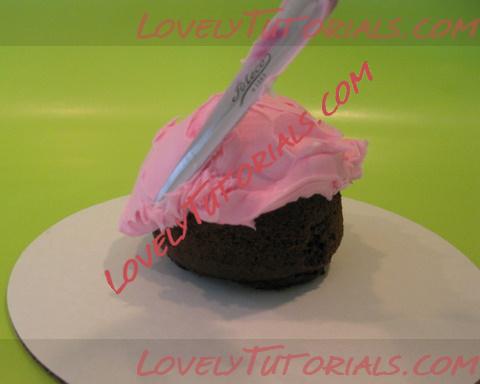
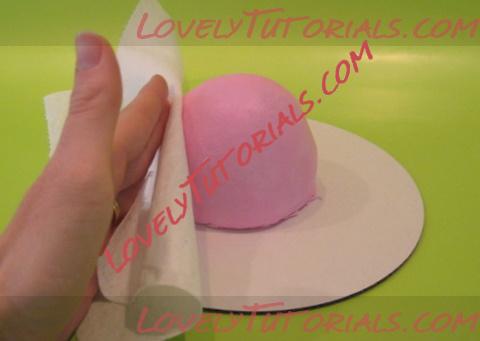
After the frosting has crusted (about 10 minutes or so), smooth with a Viva paper towel.
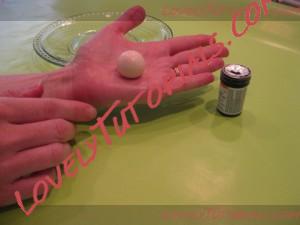
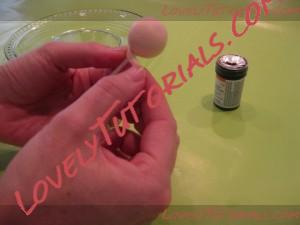
Now, let’s start working on the face and body! First, roll a 1″ ball of gum paste tinted your desired skin color (I used a touch of Copper). Then, attach to a lollipop stick and wrap a small piece of gum paste just below the head to form the neck.
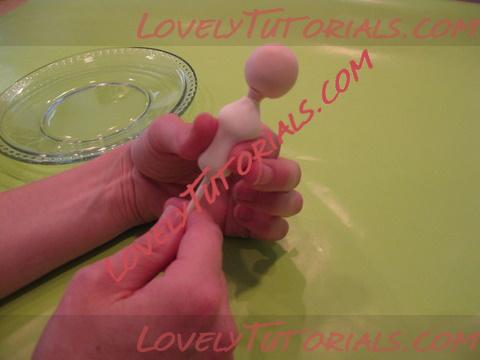
Form torso by pushing and molding a 1″ ball of fondant onto the stick.
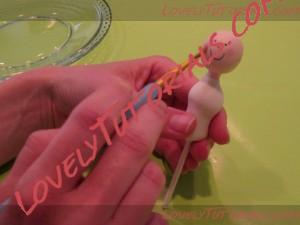
Now it’s time to draw the face with a food coloring pen.
I’m using a little petal dust for blush.
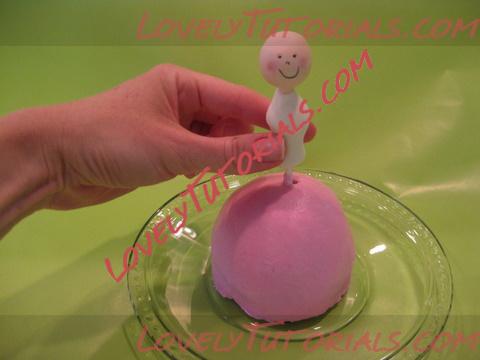
Use sugar glue or water to add arms, little balls of fondant for hands, and big puffy round sleeves! I decorated the dress with tiny buttercream polka dots (tip 4) and applied a shell border with a tip 16.
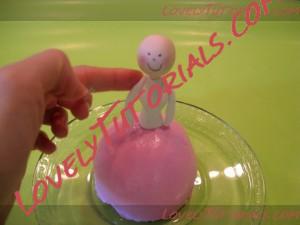
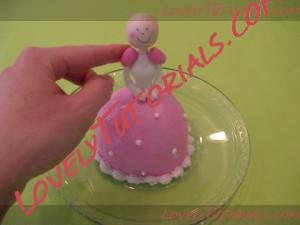
Now for some hair action! You can use frosting, fondant, or gum paste. I’m going with fondant (mixed with a little tylose).
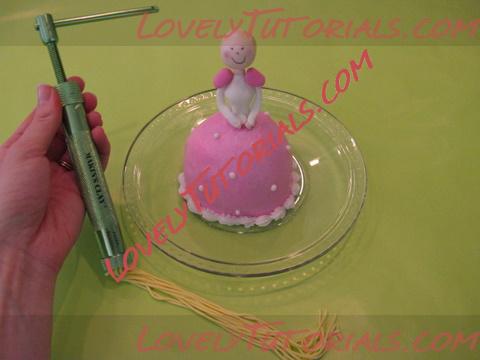
I’m using my clay extruded for the hair. Know what else you can use?
A Garlic Press!
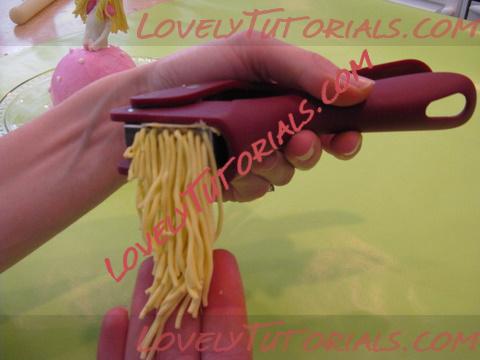
Add hair, several strands at a time, with a little sugar glue or water. Then, a little fondant crown, a little heart sprinkle to hold onto, and finally…PIXIE DUST like crazy!! Are you ready for the big reveal?……..
Ta Da!!! She insisted that I take her picture outside—better lighting! I hope you enjoyed this little tutorial! These are so adorable as cake toppers, or all by themselves!
