|
|
МК торт 3Д Автобус -VW Kombi Cake Tutorial
|

26.03.2015, 18:16
|
|
Администратор
|
|
Регистрация: 28.01.2015
Сообщений: 567
|
|
 МК торт 3Д Автобус -VW Kombi Cake Tutorial
Огромная благодарность cutesweetthings за Мастер-класс
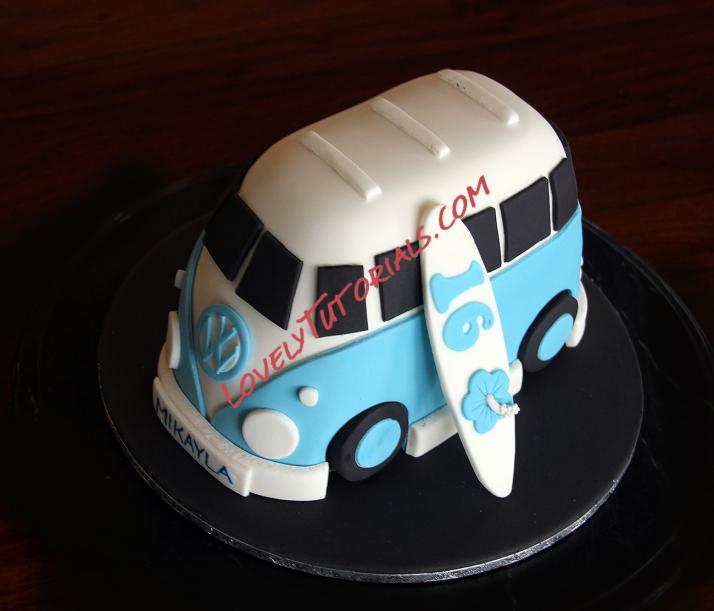
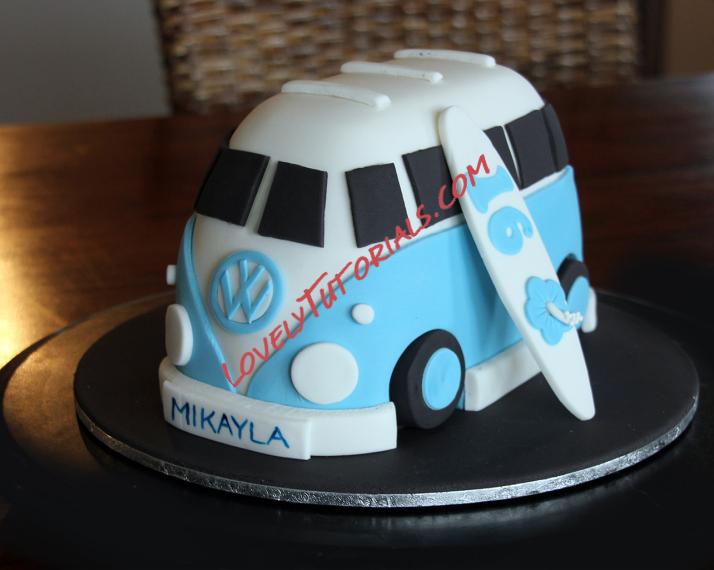 Cute Kombi
This cute Kombi is just 6.5″ long by 3.5″ wide and is a smaller and cuter version of my usual VW Kombi. It is made from dark chocolate mud cake filled and covered with dark chocolate ganache with a layer of sugar-paste on top. This little cake will serve 16 dessert portions.
 Full size VW Kombi Van Cake
Materials
9″ round cake board
thin card with a glossy side
white sugar-paste
blue sugar-paste
black sugar-paste
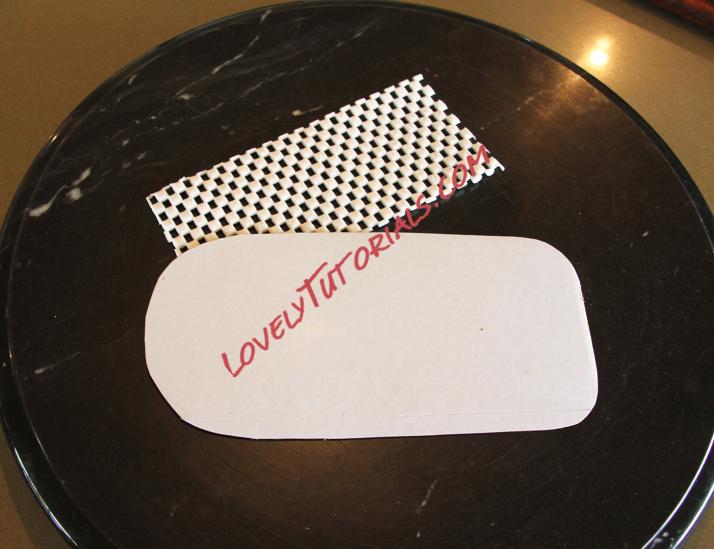 Set up Board
Cut out your set up board from a sheet of thin card with a glossy side. Shape it into a van shape approx. 6″ x 3″. Your board should be a little larger than your cake so that you fill the gap with ganache and use the edge of your set up board to guide your scrapper giving you a smooth finish. Use a non slip mat under your set up board.
Bake a 6″ square Dark Chocolate Mud cake
Ingredients:
220g unsalted butter
180g dark chocolate
4.5g instant coffee
1 cup warm water
170g caster sugar
230g self raising flour
25g cocoa
2 small eggs
1 teaspoon vanilla
Instructions:
- Grease and line base and sides of cake pan with one thickness of baking paper, bringing paper 5cm above side of pan.
- Combine chopped butter, chopped chocolate, coffee, and water in a saucepan.
- Stir over low heat until chocolate is melted. Cool 15 minutes. Transfer mixture to bowl of mixer.
- Add caster sugar to mixture and beat well until dissolved. Add sifted flour and cocoa, lightly beaten eggs and vanilla and mix till combined.
- Pour mixture into prepared pan.
- Bake at 150C for 1-1 hour 15 mins. Test with skewer. Cool cake in pan.
Make Ganache
1 kg dark chocolate
400ml pure cream
Heat the cream until it just starts to bubble, pour over chocolate (which you have blitzed in the food processor to coffee granules size) and let it sit for about a minute to melt. Use a hand whisk to blend it all together then set aside to cool.
Your ganache at this point will be thin and you will have to let it set overnight until it thickens to a slightly thicker peanut butter consistency. Since I don’t have the patience to wait, I just let it cool to room temperature and then pop it in the fridge (don’t cover because you might get condensation). It would usually set in the fridge in under an hour. If it sets too hard, just microwave it in 10 second intervals (keep mixing it whenever you take it out).
Cut your cake in half and stick one half to your set up board with some ganache. Level the top.
Spread with a layer of ganache.
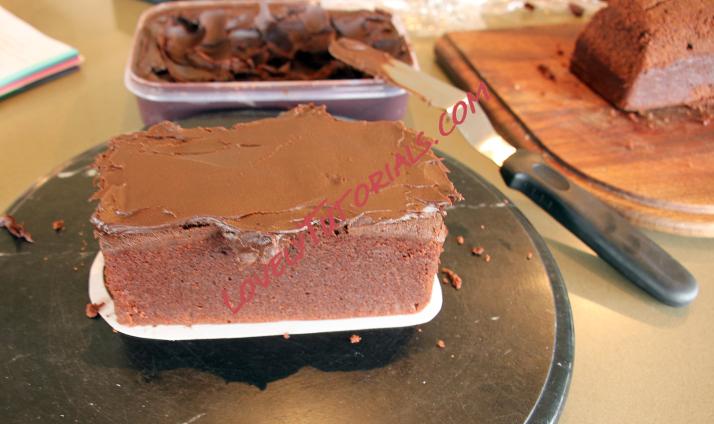
Add the remaining piece of cake on top and shape the roof. Use some of the cut offs to fill in the rounded front of the van and use a sharp knife to create a believable van shape then cover with a thin coat of ganache (crumb coat).
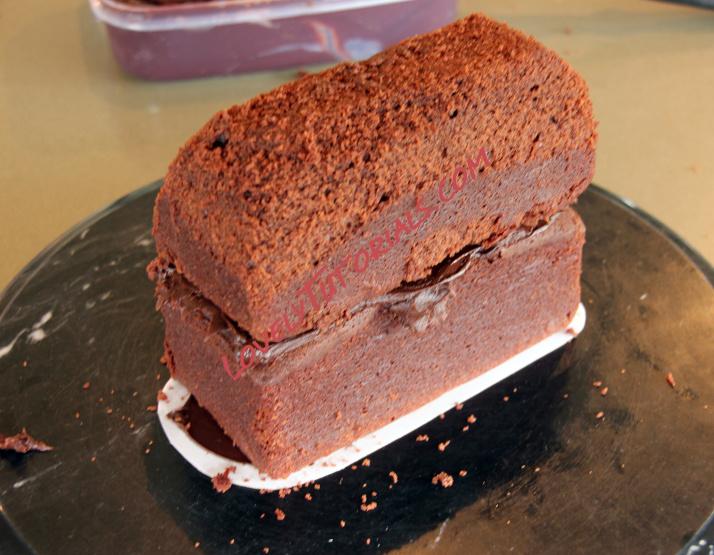
Put the cake in the fridge for around 30 mins to firm up then add more ganache and create the final smooth shape.
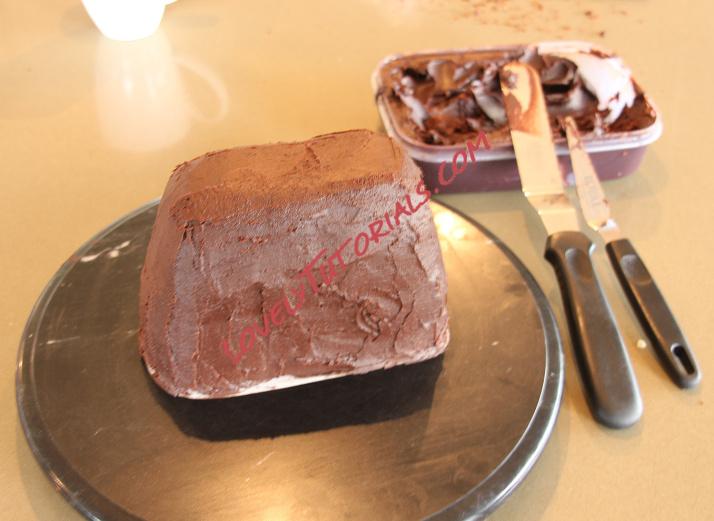
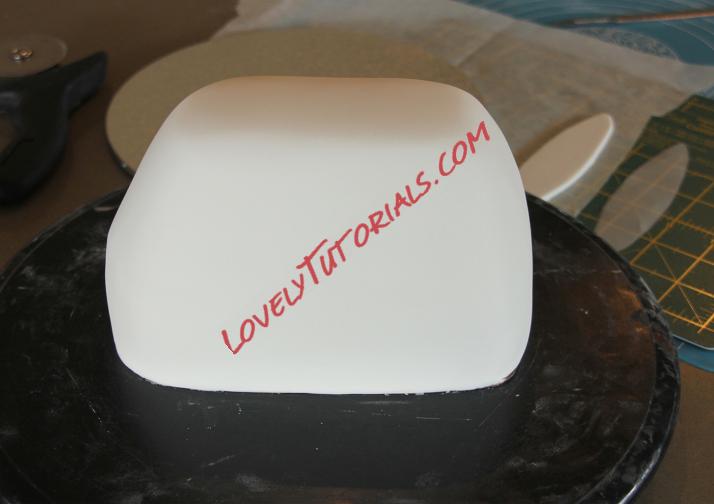
Pop the cake back in the fridge or leave overnight on the bench to harden. Cover with white sugar-paste.
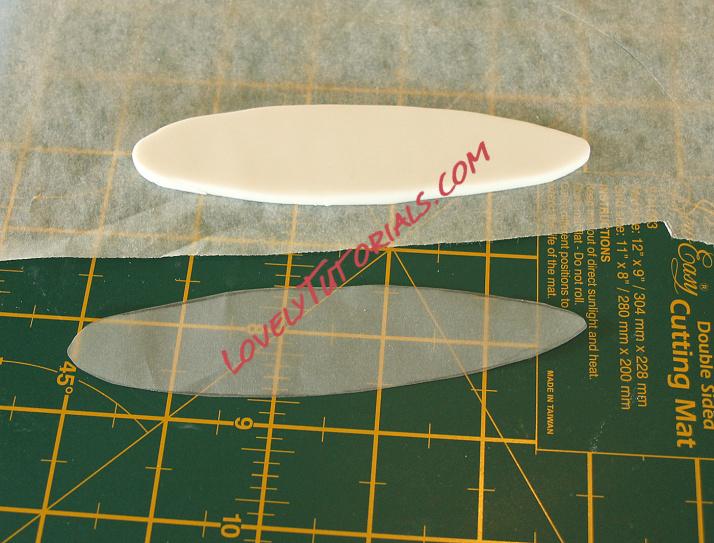
Cut out a surf board template and use it to cut out a white sugar-paste surf board.
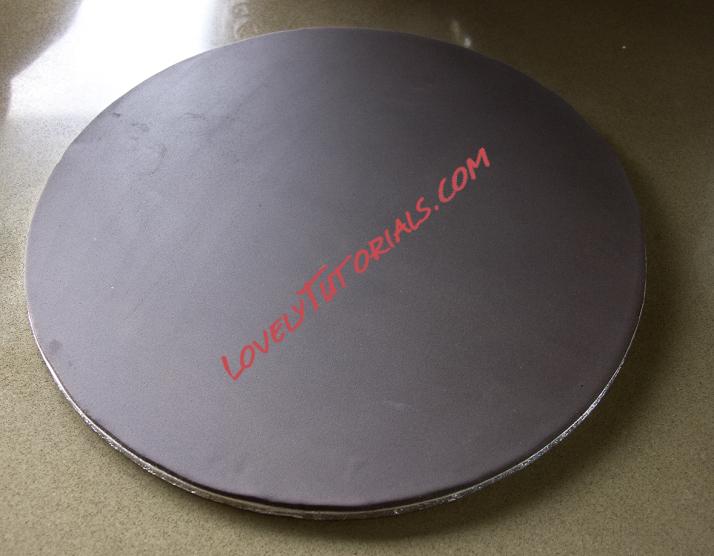
Cover the cake board with black sugar-paste.
Cut out a template for the blue lower section. I cut out each side separately and then joined them neatly at the back. Cut out the wheel arches using a cutter then use the same cutter to cut out the wheels.
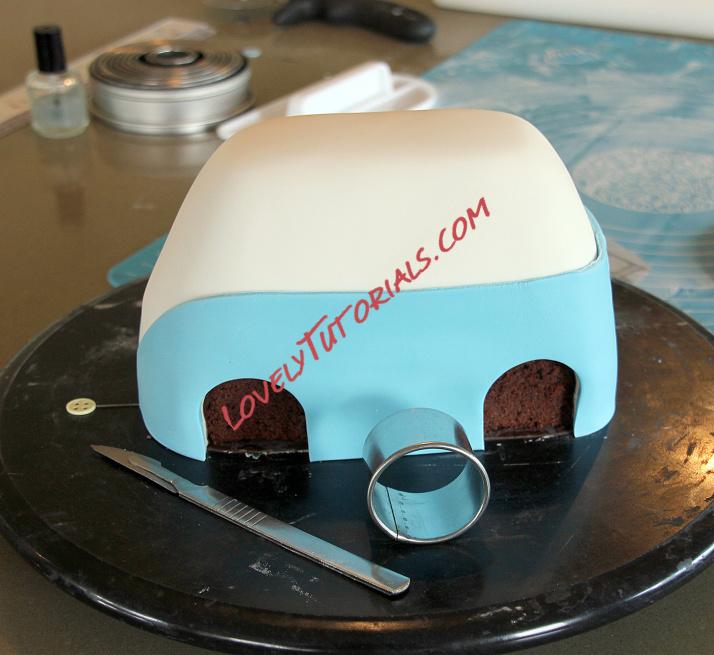
Use black sugar-paste for the windows and white for the roof rack.
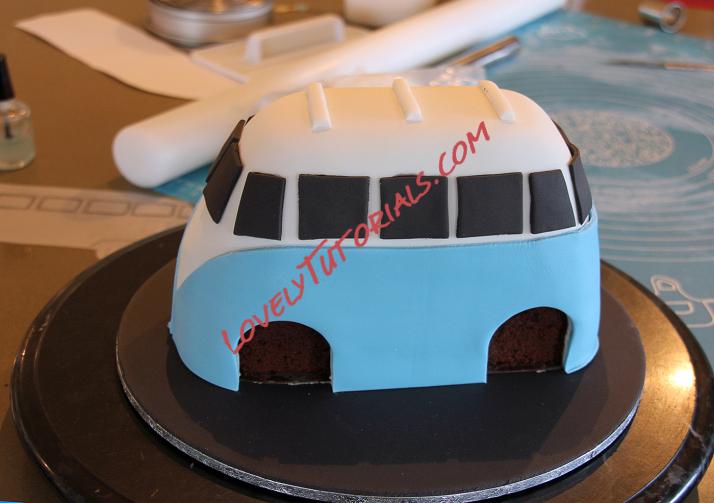
To make the VW badge cut out a large circle of blue sugar-paste then cut out the middle and replace with a white sugar=paste circle of the same size. Use a scalpel to cut out the VW detail freehand from a thin piece of blue sugar-paste. Decorate the suf board with cut outs or paint on a design.
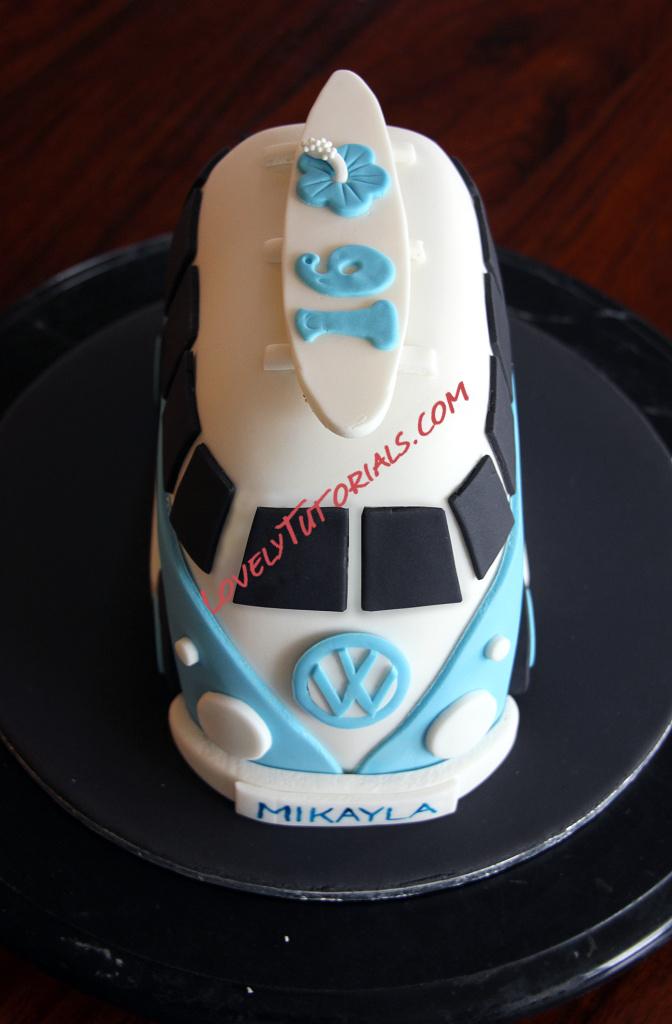
Add lights, bumpers and number plates.
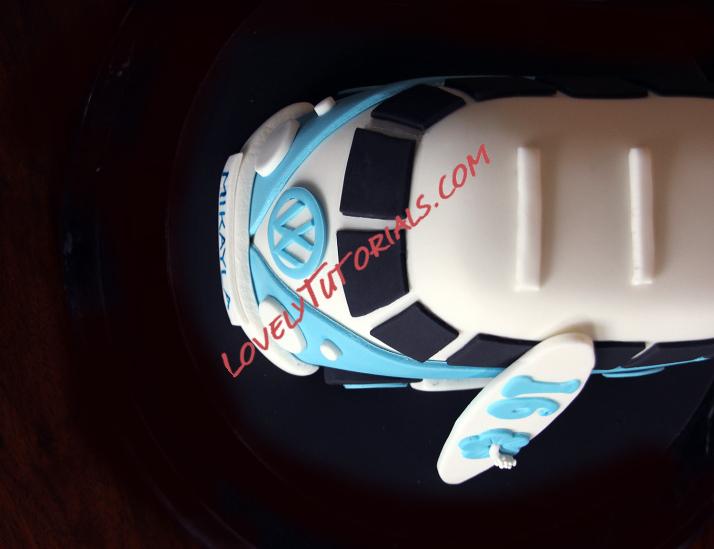
Attach the wheels with a blob of Royal icing.
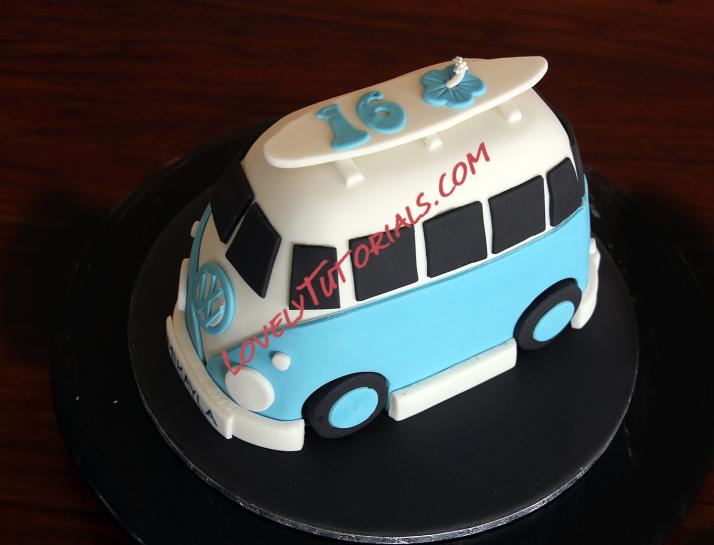
Either place the surf board on top or leaning against one side.
|
 |
|
Метки
|
3d autobus cake tutorial, 3d cake, 3д торт, araba, araç, artesanatos passo a passo, auta, auto, autobusy, automobile, automobiles, avtomobil, bil, cake decorating, cake decorating techniques, car, carro, cars, carved cake tutorial, cerâmica plástica, coche, cold porcelain, confeitando bolos, decoracion de pasteles, decoración de tortas, decorare le torte, decorazioni, deko fondant, dekorace na dort, dekoracija, dekoracije, dekorasyon, dekorácie, doprava, dopravní prostředky, fahrzeug, ferrari cake tutorial, fimo, flower paste, fondan, fondant, fondente, fotopostup, gum pasta, gum paste, gumpaste, hasičská, how to, how-to's, jak na, kage dekoration, kagedekoration, kakebaking, kamiony, kola, krok za krokem, køretøj, letadla, lodě, marshmallow, masa flexible, modeling paste, modellierpaste, motivtorten, motorky, nəqliyyat, pap, paso a paso, passo a passo, passo-a-passo, pasta flexible, pocelana fria, policejní a vojenská vozidla, polymer clay, postupak za ukrasavanje, prometa, schritt für schritt anleitung, schritt-für-schritt, steg for steg, step by step, step-by-step, styrofoam, sugarcraft, sugarpaste, tecnicas de decoracion, tecniche, torte, torte decorate, torten dekorieren, torti, traktory, transport, transporte, trasporto, trin for trin, trin-for-trin, trinn for trinn, trucks, tutorial, tutorijal, ukrašavanje torti, ulaşım, uputstvo za dekoraciju, vehicle, vehículo, veicoli, vervoer, veículo de transporte, vlaky, voertuig, voiture, vozidla, vozila, véhicule, सजा केक, čtyřkolky, 汽車,運輸,automobila, 裝飾蛋糕, кола, полимерная глина, пошагово, превозни средства, мк, мк торт 3д автобус, мк торт феррари, майстер-класи, маршмеллоу, мастика, мастер-класс, машина, машына, автомобил, автомобиль, автомобіль, аўтамабіль, украшение тортов, сахарная мастика, уроки прикрашання, транспорт, фимо, холодный фарфор, шаг за шагом  |
|

