Cake Decorating Tutorials  (How To's) Tortas Paso a Paso

Вернуться   Cake Decorating Tutorials (How To's) Tortas Paso a Paso > Figure making tutorials > Characters


Ваш профиль:
Your Avatar
Забыли пароль?
Регистрация


Ответ

МК лепка "Верхом на помеле"-The making of the "Room on the Broom" Cake

 
LinkBack Опции темы Поиск в этой теме
  #1  
Старый 13.05.2013, 09:05
Администратор
 
Регистрация: 05.03.2013
Сообщений: 698
По умолчанию МК лепка "Верхом на помеле"-The making of the "Room on the Broom" Cake

Огромная благодарность Автору Let's Eat Cake by Charlotte за Мастер-класс

Название: 1.jpg
Просмотров: 0

Размер: 125.4 Кб
I started off by covering my cake board, I used a 14" square. I shaped fondant into sausages and balls and stuck to the board with edible glue
Название: 2.jpg
Просмотров: 0

Размер: 66.2 Кб
Roll out green fondant large enough to cover the whole board
Название: 3.jpg
Просмотров: 0

Размер: 65.0 Кб
I brushed the board lightly with water so the fondant has something to adhere to
Название: 4.jpg
Просмотров: 0

Размер: 54.7 Кб
Using your fingers, smooth the fondant over the raised areas
Название: 5.jpg
Просмотров: 1

Размер: 79.3 Кб
All areas smoothed over.....
Название: 6.jpg
Просмотров: 0

Размер: 81.8 Кб
Take a sharp knife and trim the excess fondant from the edge of the board
Название: 7.jpg
Просмотров: 1

Размер: 60.8 Кб
One iced board......
Название: 8.jpg
Просмотров: 0

Размер: 40.3 Кб
To texture the fondant to look like grass I used a star tip piping nozzle
Название: 9.jpg
Просмотров: 0

Размер: 88.4 Кб
This is quite time consuming! Work your way all over the board pressing into the fondant
Название: 10.jpg
Просмотров: 0

Размер: 180.7 Кб
Textured board.....
Название: 11.jpg
Просмотров: 1

Размер: 117.9 Кб
Close up of the texture....
Название: 12.jpg
Просмотров: 1

Размер: 152.6 Кб
I then decided to add another 'bump' in the grass - this is where the witch will be positioned. I also added a few more sausages of fondant to other areas. Go over these again to texture with the piping nozzle
Название: 13.jpg
Просмотров: 3

Размер: 154.7 Кб
Once you are happy with the board, its time to get painting! If you have an airbrush, I guess you could use one here.....I painted on the colour using colouring paste (sugarflair gooseberry) mixed with vodka
Название: 14.jpg
Просмотров: 1

Размер: 209.8 Кб
Paint all over the board until it looks something like this. Now to start carving the tree trunk.....
Название: 15.jpg
Просмотров: 1

Размер: 94.5 Кб
I baked an 8" square madeira cake. Madeira is best to use for carving cakes as it is dense and holds its shape well
Название: 16.jpg
Просмотров: 0

Размер: 133.6 Кб
Remove the top crust and sides from the cake
Название: 17.jpg
Просмотров: 0

Размер: 84.5 Кб
Cut into four equal sized squares
Название: 18.jpg
Просмотров: 0

Размер: 57.7 Кб
Stack each square on top of each other
Название: 19.jpg
Просмотров: 1

Размер: 48.6 Кб
Using a serrated knife, begin to carve from the top of the cake from all four corners. The idea is that the top of the cake is narrower than the base
Название: 20.jpg
Просмотров: 0

Размер: 65.5 Кб
This is the sort of shape you are looking for
Ответить с цитированием
  #2  
Старый 13.05.2013, 09:09
Администратор
 
Регистрация: 05.03.2013
Сообщений: 698
По умолчанию

Название: 21.jpg
Просмотров: 2

Размер: 47.0 Кб
I then filled each layer with jam and buttercream
Название: 22.jpg
Просмотров: 3

Размер: 36.3 Кб
Apply a thin layer of buttercream to the cake
Название: 23.jpg
Просмотров: 1

Размер: 73.3 Кб
Using some of the off cuts of cake, place four pieces around the base of the cake
Название: 24.jpg
Просмотров: 0

Размер: 50.8 Кб
Apply another layer of buttercream to the base of the cake
Название: 25.jpg
Просмотров: 0

Размер: 42.3 Кб
Cover the cake with brown fondant. To do this a rolled the fondant and cut into a rectangular shape roughly the same height as the tree and then wrapped around the cake. Smooth into the areas at the base of the trunk carefully and trim away the excess fondant with a sharp knife. It doesn't have to be perfect as adding texture to the trunk will cover any imperfections! Cut a circle of fondant to fit the top of the trunk and smooth the join with your fingers
Название: 26.jpg
Просмотров: 0

Размер: 71.7 Кб
Use your fingers to go up and down the trunk to make some areas more raised than others
Название: 27.jpg
Просмотров: 1

Размер: 70.7 Кб
I used a knife to score the fondant and add detail
Название: 28.jpg
Просмотров: 0

Размер: 111.5 Кб
You can know add branches to the base and top of the cake
Название: 29.jpg
Просмотров: 1

Размер: 70.5 Кб
I used a series of circle cutters to add detail to the top of the trunk
Название: 30.jpg
Просмотров: 0

Размер: 109.0 Кб
The finished trunk! Now time to add some detail with blossom tints
Название: 31.jpg
Просмотров: 2

Размер: 51.5 Кб
I used brown and black blossom tints and a soft brush to add shading to areas of the tree
Название: 32.jpg
Просмотров: 0

Размер: 124.8 Кб
I paid particular attention to any recesses, so these would stand out more
Название: 33.jpg
Просмотров: 1

Размер: 96.7 Кб

Название: 34.jpg
Просмотров: 1

Размер: 53.1 Кб
The finished dusted tree....
Название: 35.jpg
Просмотров: 2

Размер: 137.6 Кб
To make the base of the fire, I shaped small pieces of grey marbled fondant and secured to the board with edible glue
Название: 36.jpg
Просмотров: 0

Размер: 50.2 Кб
Shape some black/grey fondant for the cauldren
Название: 37.jpg
Просмотров: 0

Размер: 55.3 Кб
Add a sausage shape to the top
Название: 38.jpg
Просмотров: 0

Размер: 57.1 Кб
I used silver florists wire for the handle and then painted with black blossom tint mixed with vodka
Название: 39.jpg
Просмотров: 1

Размер: 132.9 Кб
To make the witch roll to sausages of light grey fondant. For all my figures/toppers I always strengthen the fondant with tylose powder, about 1/2tsp per 250g fondant
Название: 40.jpg
Просмотров: 2

Размер: 126.2 Кб
Insert a wooden skewer into each leg for support
Название: 41.jpg
Просмотров: 0

Размер: 119.5 Кб
Shape the legs to a point at one end for the ankles
Название: 42.jpg
Просмотров: 1

Размер: 112.6 Кб
Set aside the legs
Название: 43.jpg
Просмотров: 0

Размер: 60.9 Кб
To make the boots, shape some black fondant into cone shapes, and flatten at the pointy end. Insert the cone tool into each boot to attach the legs
Название: 44.jpg
Просмотров: 0

Размер: 40.5 Кб
Add a little heel to each boot and set aside to dry
Название: 45.jpg
Просмотров: 0

Размер: 64.6 Кб
To give a little more width to the top of the legs, I rolled a strip of fondant to wrap around
Название: 46.jpg
Просмотров: 0

Размер: 64.5 Кб
This doesn't have to be perfect, its just so the witches skirt has something to stick too
Название: 47.jpg
Просмотров: 1

Размер: 88.4 Кб
When the boots have firmed up secure to a 'bump' in the grass. I attached with royal icing
Название: 48.jpg
Просмотров: 0

Размер: 92.1 Кб
Insert the legs into the boots, the skewers should go right to the base of the board
Название: 49.jpg
Просмотров: 7

Размер: 61.3 Кб
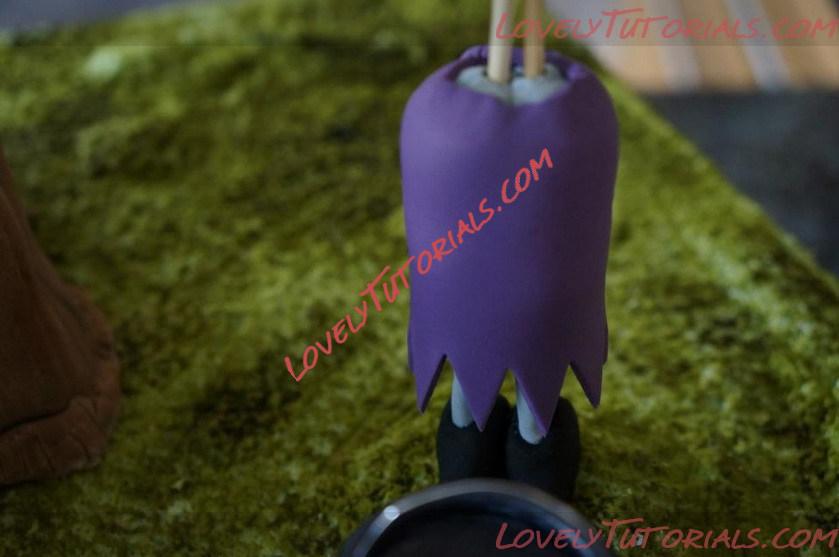
Roll out some purple fondant to around 1mm thick and cut a rectangle shape for the skirt. Check around the witches legs for length/width and trim down to size
Название: 50.jpg
Просмотров: 0

Размер: 80.3 Кб
When you have the right size, cut triangles from the bottom of the skirt
Ответить с цитированием
  #3  
Старый 13.05.2013, 09:16
Администратор
 
Регистрация: 05.03.2013
Сообщений: 698
По умолчанию

Название: 51.jpg
Просмотров: 0

Размер: 77.0 Кб
Wrap around the legs and secure with edible glue
Название: 52.jpg
Просмотров: 0

Размер: 68.1 Кб
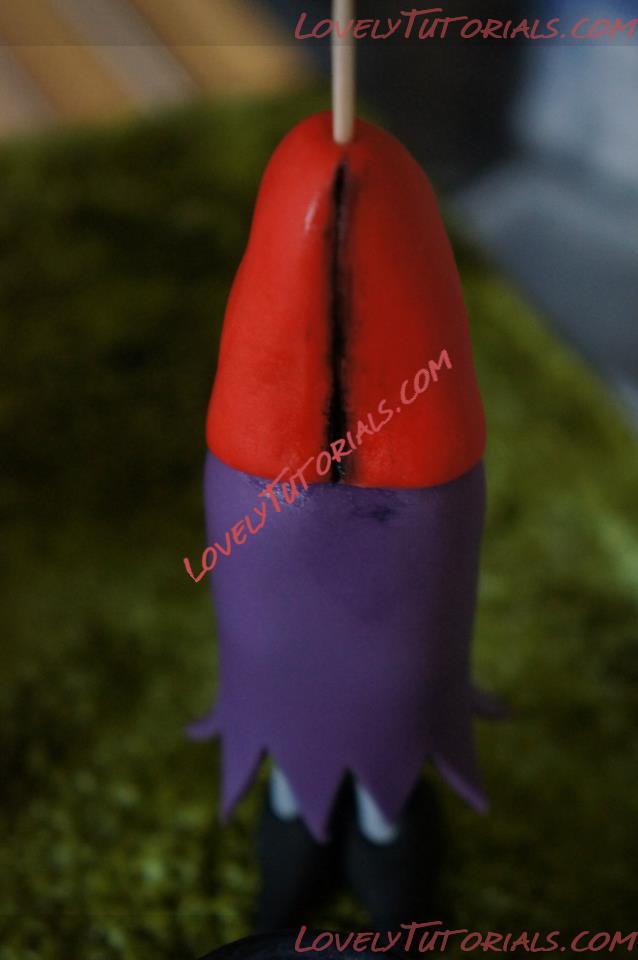
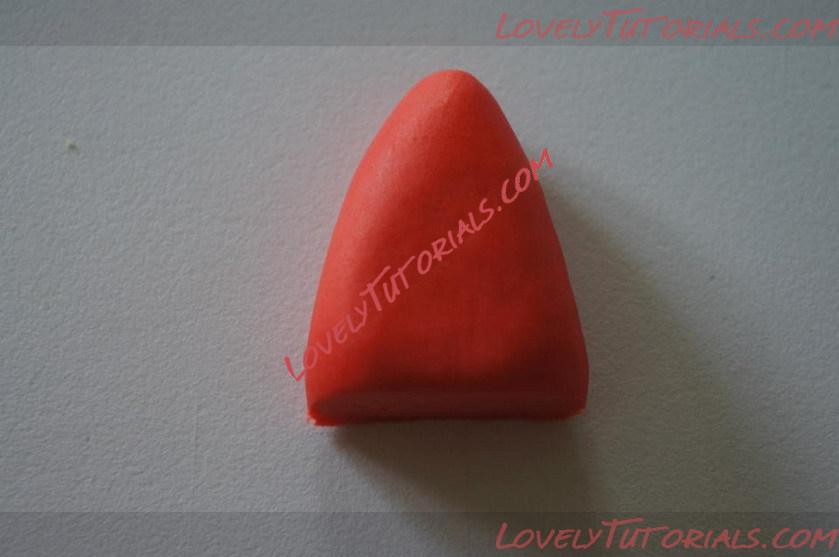
Roll a cone shape from red fondant for the body
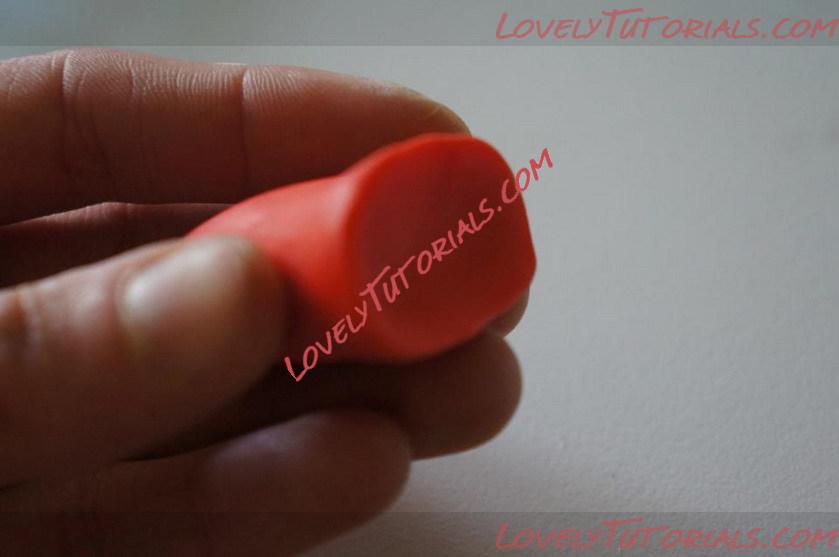
Название: 53.jpg
Просмотров: 0

Размер: 49.8 Кб
Press your thumb into the base (wider end) and use your finger and thumb to thin the edge a little
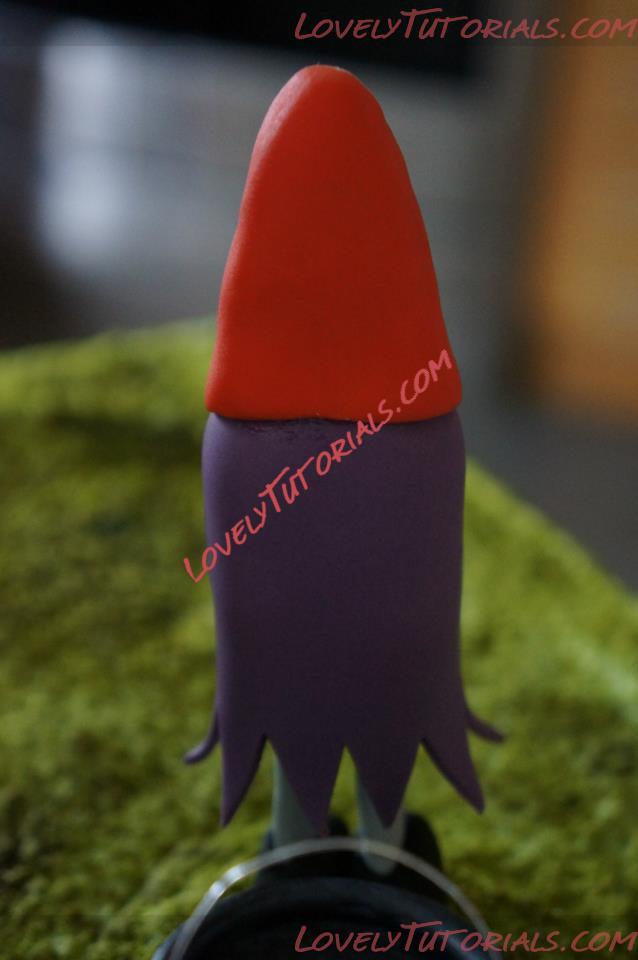
Название: 54.jpg
Просмотров: 0

Размер: 33.9 Кб
Attach to the legs
Название: 55.jpg
Просмотров: 0

Размер: 29.4 Кб
Insert another wooden skewer for the head. To add the detail to the shirt a made an indentation with the back of a knife and then painted with black blossom tint mixed with vodka
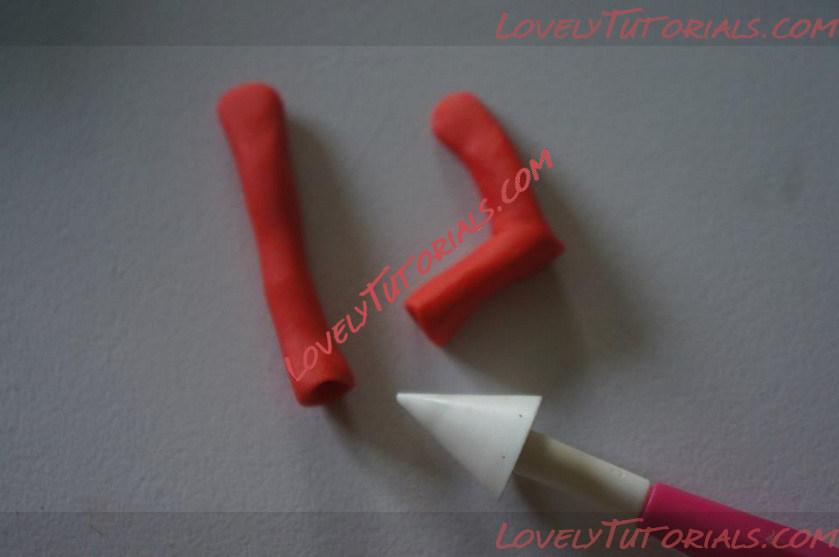
Название: 56.jpg
Просмотров: 1

Размер: 52.4 Кб
Roll two sausages for the arms. Flatten one end of each, and at the other end, use a cone tool to make an indentation for the hands. Shape one arm into a right angle
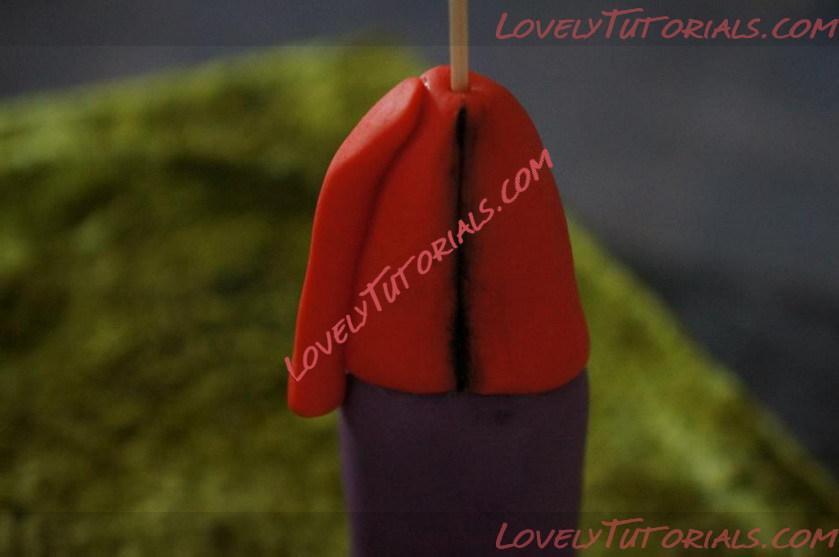
Название: 57.jpg
Просмотров: 0

Размер: 56.0 Кб
Attach the 'straight' arm to the body. Leave the other to dry until it holds its shape
Название: 58.jpg
Просмотров: 0

Размер: 64.4 Кб
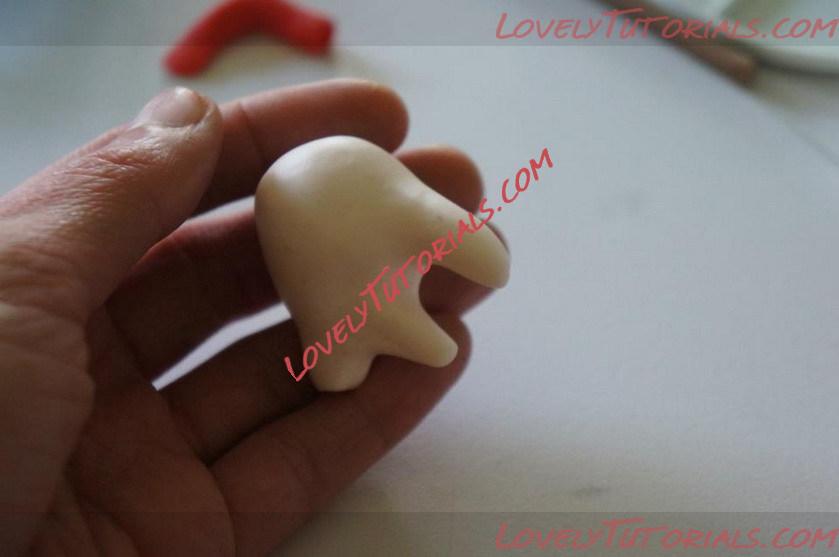
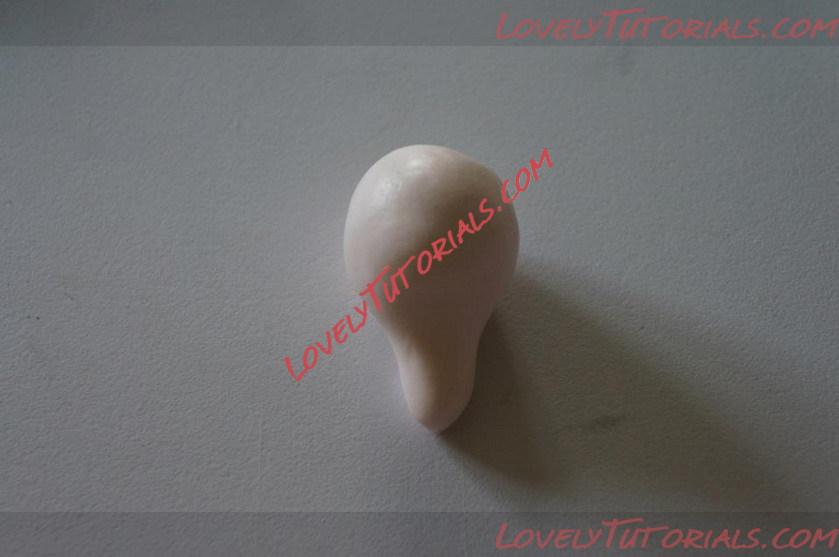
For the head roll a cone shape from flesh coloured fondant. Roll one end into a neck shape
Название: 59.jpg
Просмотров: 0

Размер: 62.9 Кб
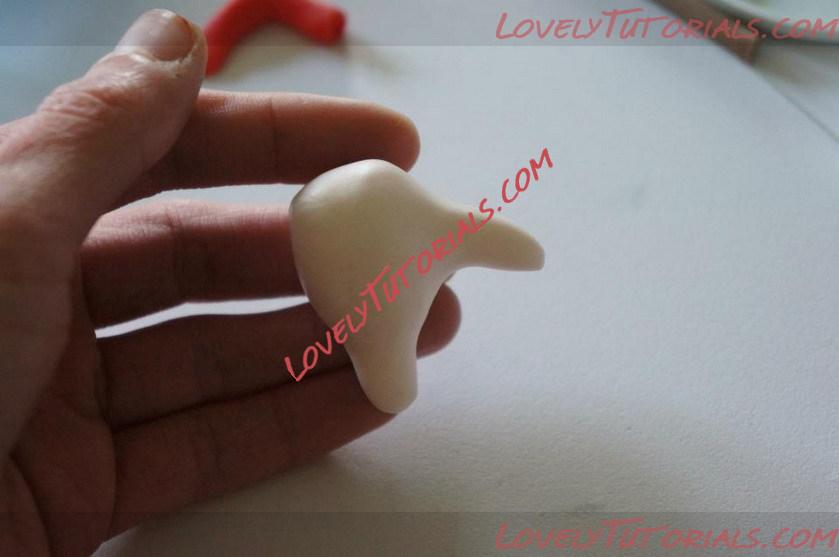
Gently roll out a long nose
Название: 60.jpg
Просмотров: 0

Размер: 55.3 Кб
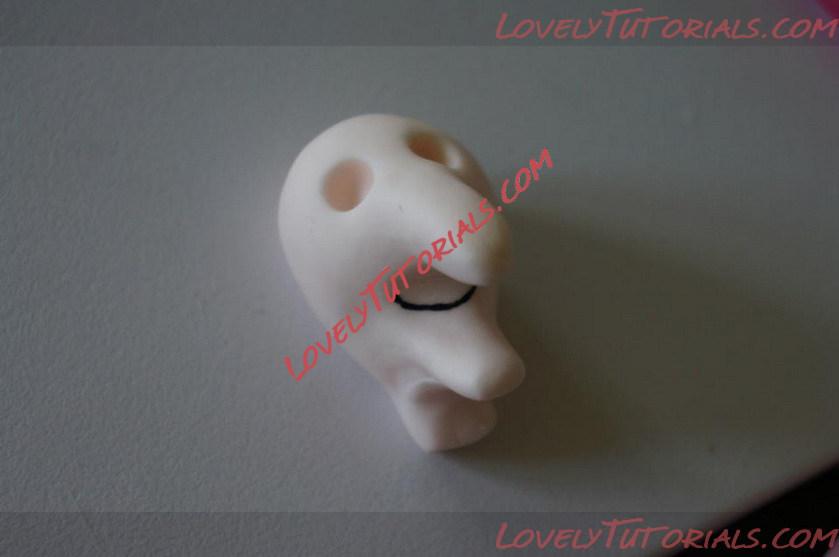
Pinch out the chin
Название: 61.jpg
Просмотров: 0

Размер: 45.3 Кб
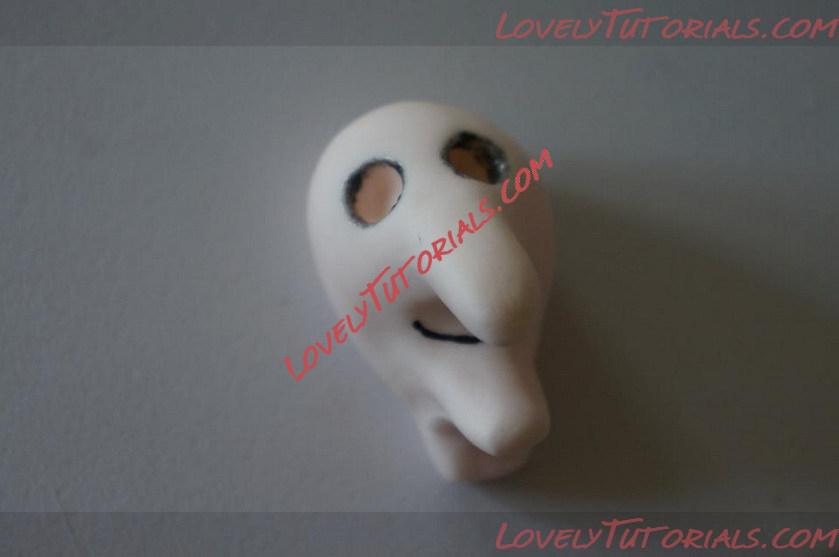
Use a ball tool to add two eye sockets and paint on a black mouth
Название: 62.jpg
Просмотров: 1

Размер: 38.6 Кб
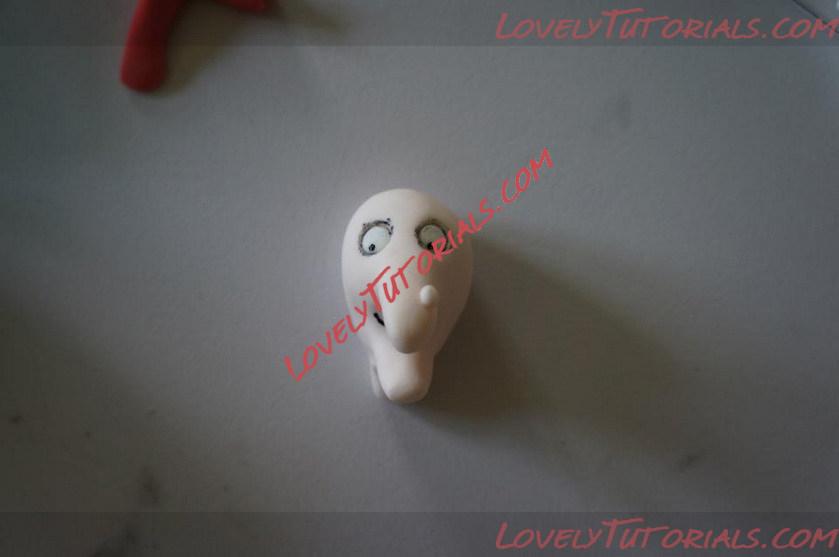
Using the black blossom tint/vodkas mix paint around the edge of each each eye
Название: 63.jpg
Просмотров: 0

Размер: 40.3 Кб
Add two balls of white fondant for the yes and paint on a black pupil. Add a wart to the nose
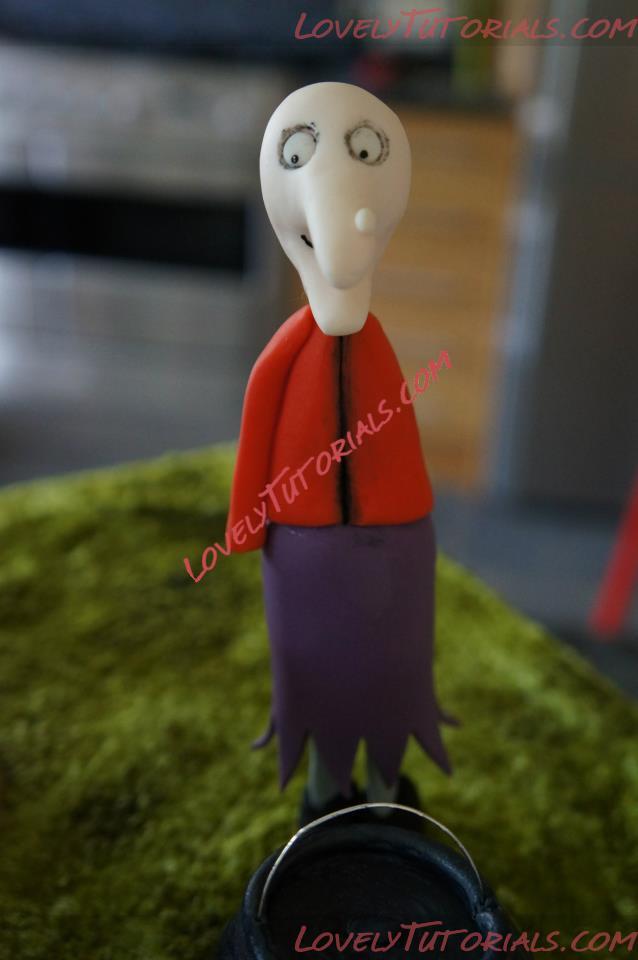
Название: 64.jpg
Просмотров: 0

Размер: 36.1 Кб
Attach the head to the body
Название: 65.jpg
Просмотров: 0

Размер: 44.8 Кб
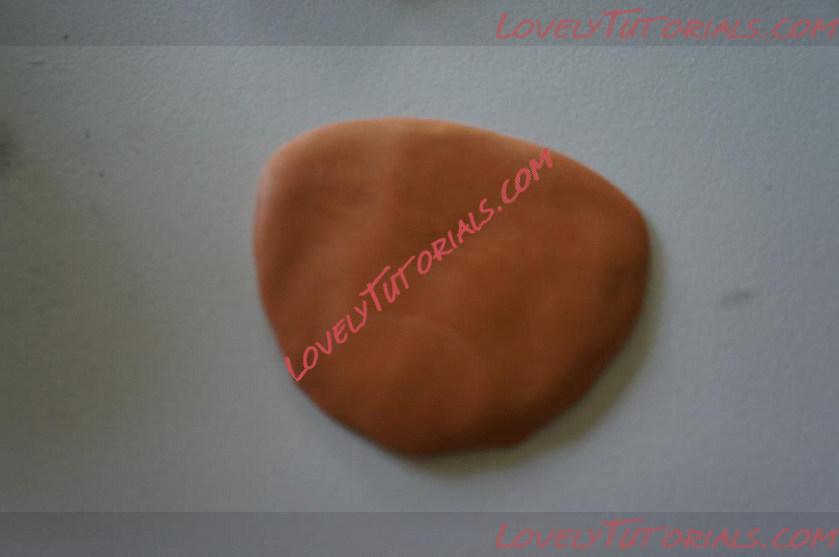
For the hair, flatten a piece of fondant into this sort of shape
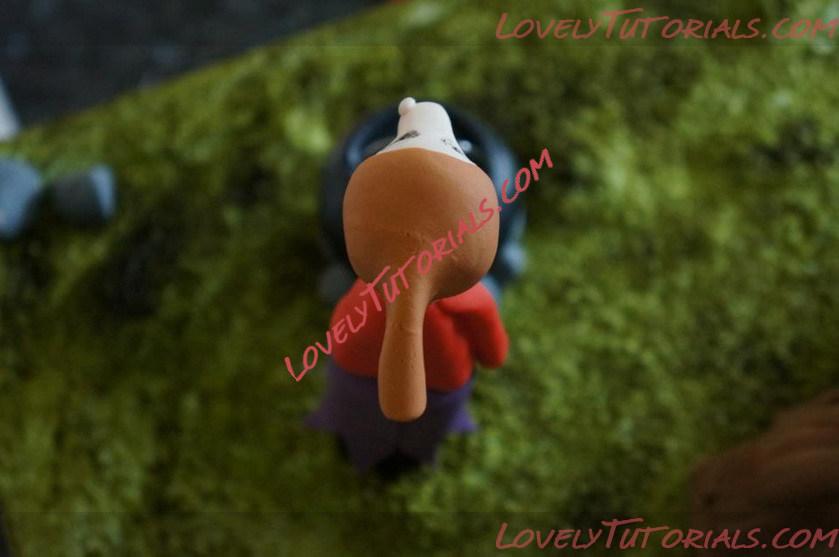
Название: 66.jpg
Просмотров: 0

Размер: 70.8 Кб
Attach to the head and trim the excess away with a sharp knife
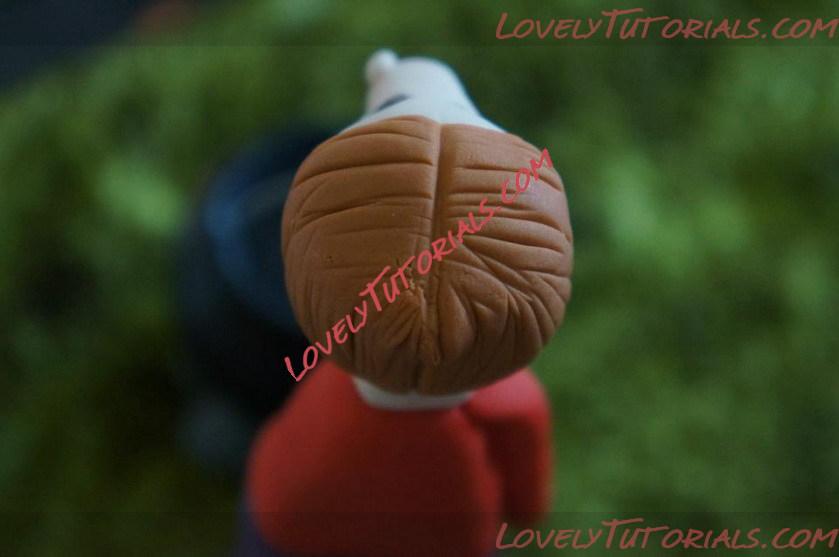
Название: 67.jpg
Просмотров: 0

Размер: 59.2 Кб
Use a dresden tool or back of a knife to add detail
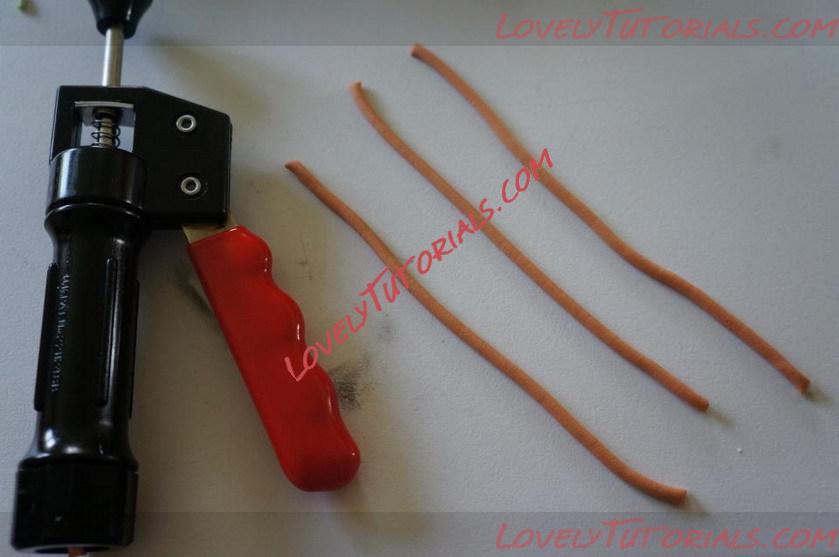
Название: 68.jpg
Просмотров: 0

Размер: 73.8 Кб
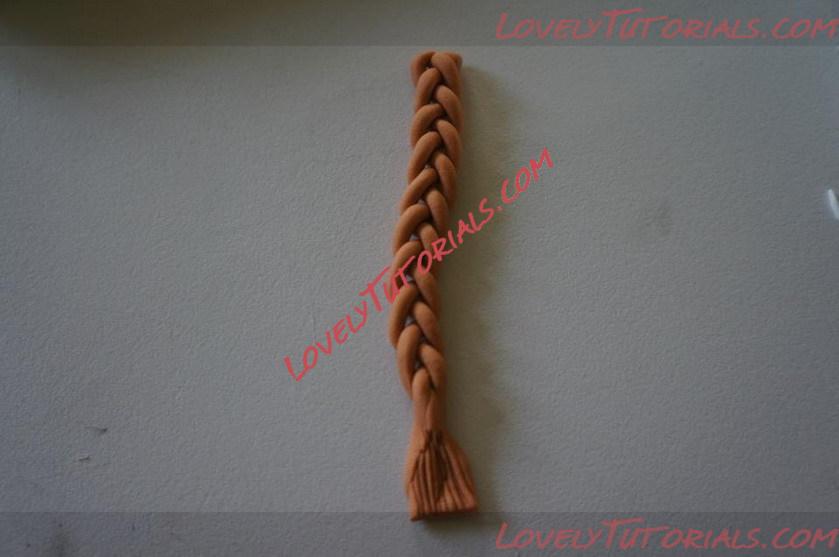
For the witched plait, I used my sugarcraft gun to create three even sausages of fondant
Название: 69.jpg
Просмотров: 0

Размер: 72.3 Кб
Plait together and pinch toward the base and score with a knife
Название: 70.jpg
Просмотров: 0

Размер: 77.0 Кб
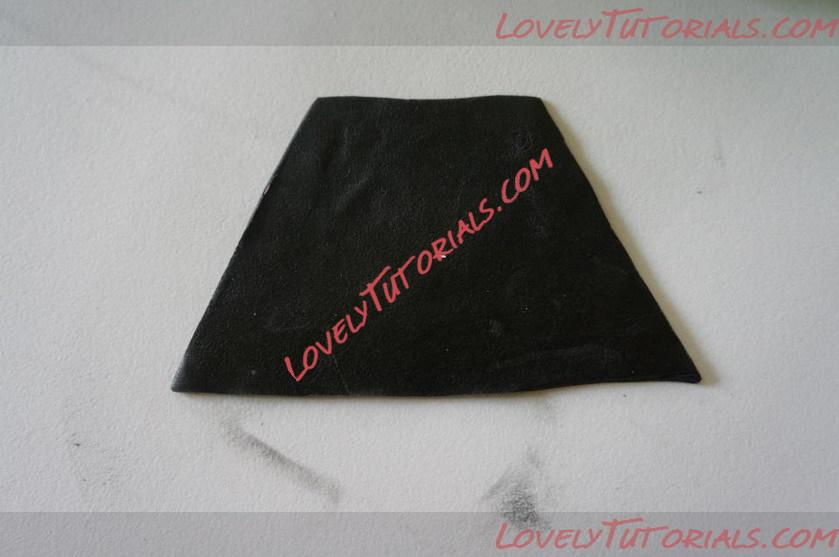
Roll out some black fondant for the cape and trim to size
Название: 71.jpg
Просмотров: 0

Размер: 69.6 Кб
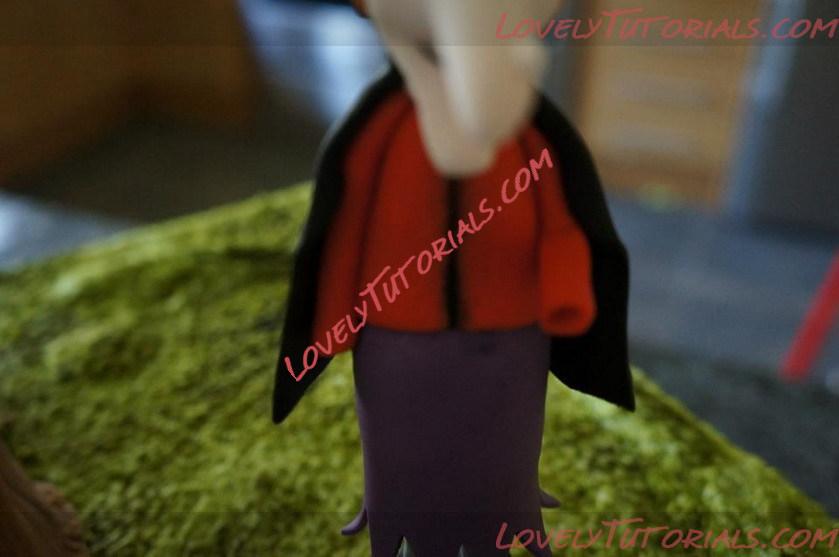
By now the second arm should be dry enough to attach, secure with edible glue. Attach the cape
Название: 72.jpg
Просмотров: 1

Размер: 56.9 Кб
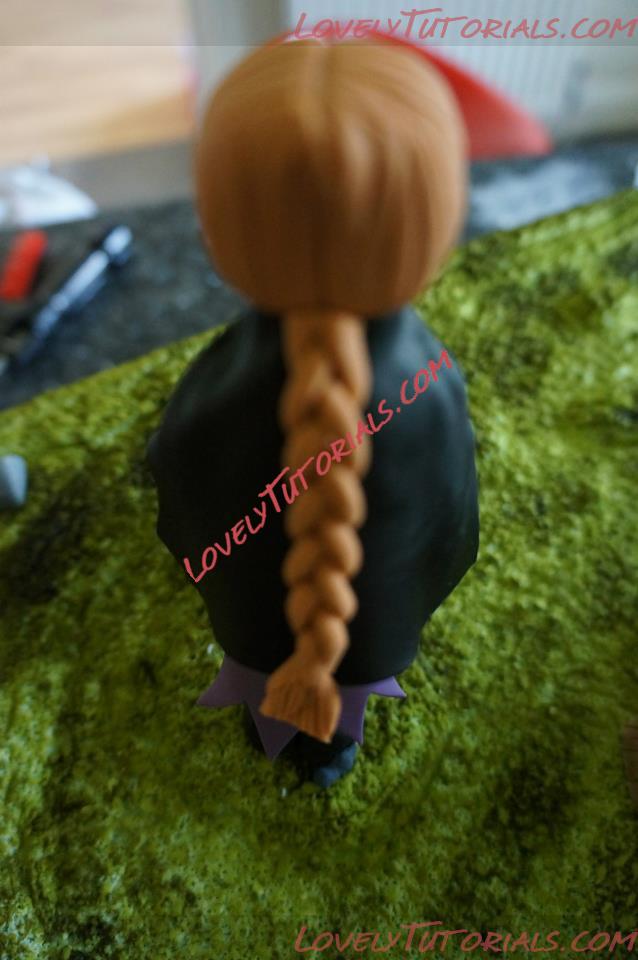
Secure the plait in place
Название: 73.jpg
Просмотров: 0

Размер: 32.1 Кб
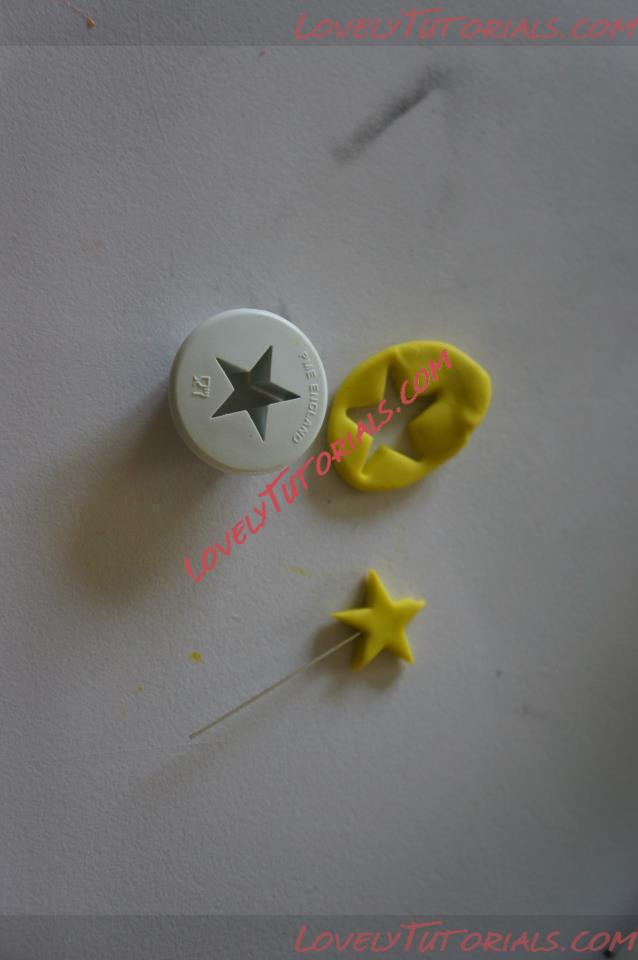
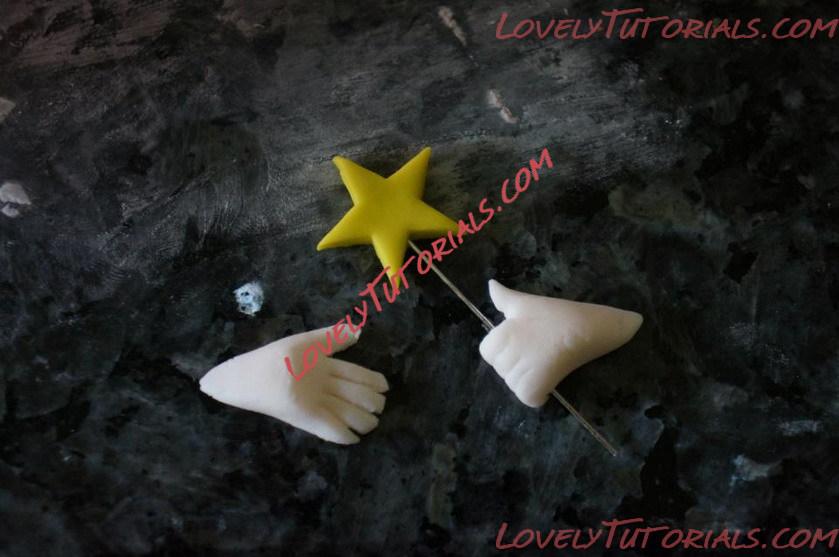
To make the wand roll some yellow fondant and cut a star, insert a piece of florists wire dipped in edible glue
Название: 74.jpg
Просмотров: 0

Размер: 94.1 Кб
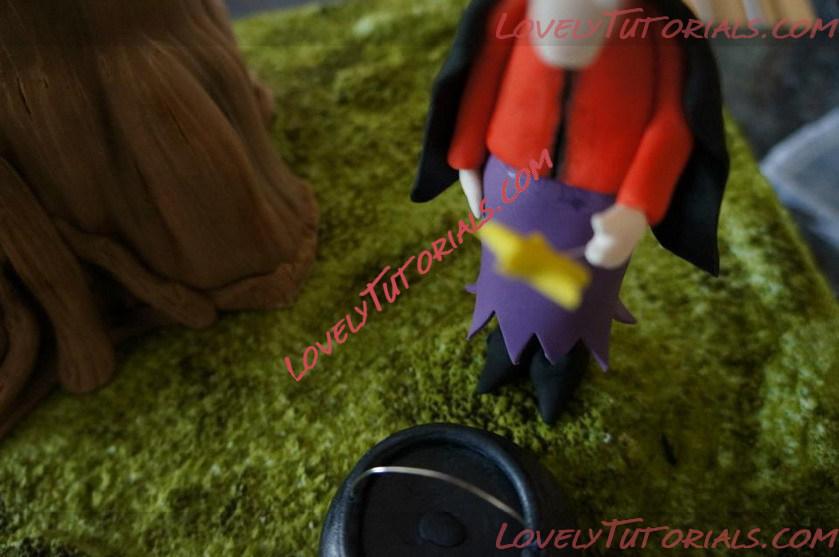
Form two hands and wrap the fingers of one around the wand
Название: 75.jpg
Просмотров: 0

Размер: 93.2 Кб
Secure the hands to the arms
Название: 76.jpg
Просмотров: 1

Размер: 44.9 Кб

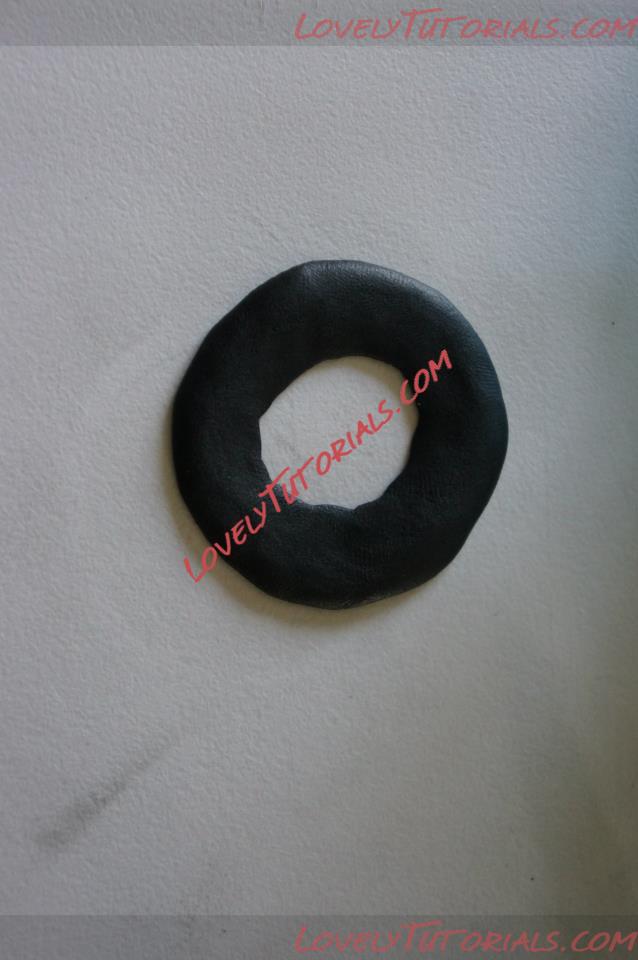
For the hat, roll some black fondant, I cut one circle and then a smaller circle from the middle. Smooth down and flatten the cut edges. I didn't photograph the next step, but I placed this part in a shallow flower former and then rolled a long pointy cone for the top part. When the hat holds its shape, attach to the witched head
Название: 77.jpg
Просмотров: 1

Размер: 67.4 Кб
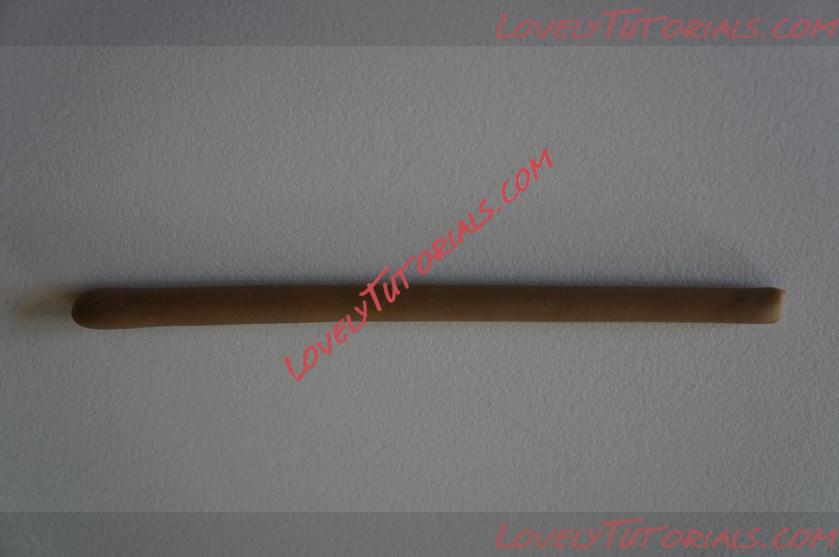
For the broom handle roll a sausage of brown fondant
Название: 78.jpg
Просмотров: 1

Размер: 79.0 Кб
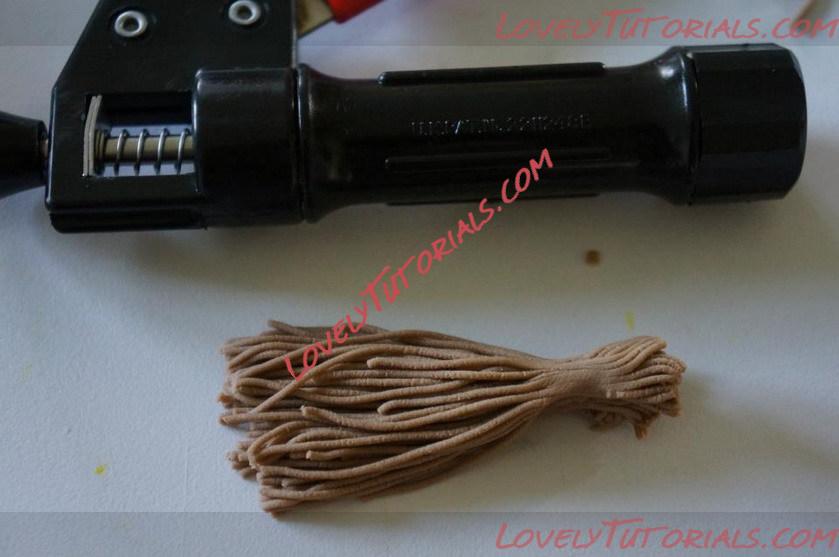
I used my sugargraft gun to create thin sausages of fondant for the broom. Attach the handle to the top of the broom part with edible glue. I left the broom to dry and then attached a thin sausage of paste toward the top of the broom part which I painted with silver blossom tint mixed with vodka
Название: 79.jpg
Просмотров: 0

Размер: 56.5 Кб
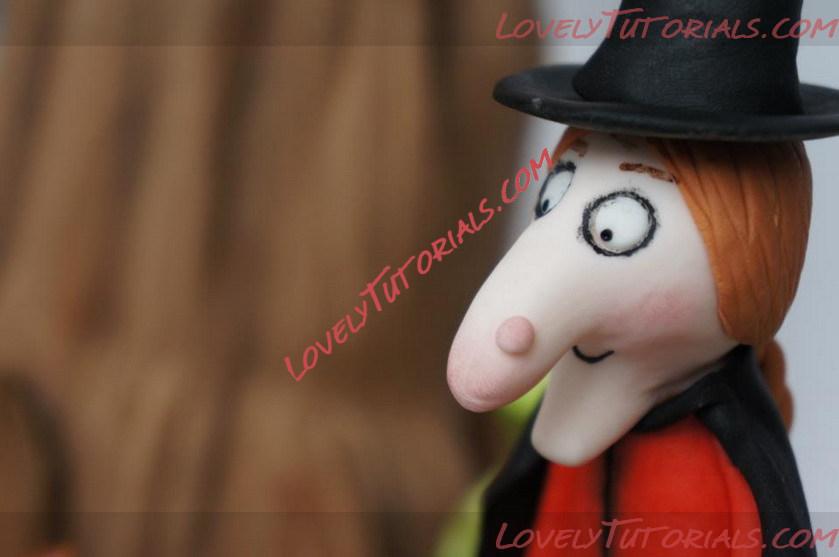
I painted on some eyebrows in brown and dusted the cheeks and end of nose/wart with pink blossom tint
Название: 80.jpg
Просмотров: 1

Размер: 36.7 Кб
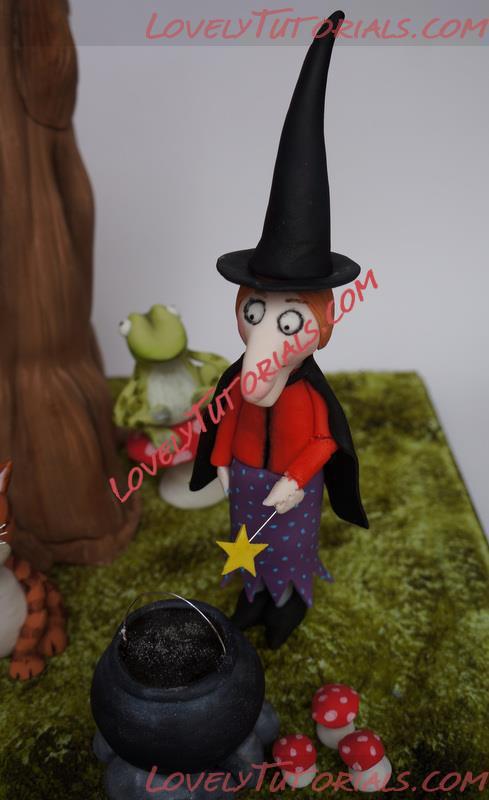
For the blue spots on the witches skirt, i painted on using a mix of pale blue blossom tint and vodka
Название: 81.jpg
Просмотров: 2

Размер: 92.8 Кб
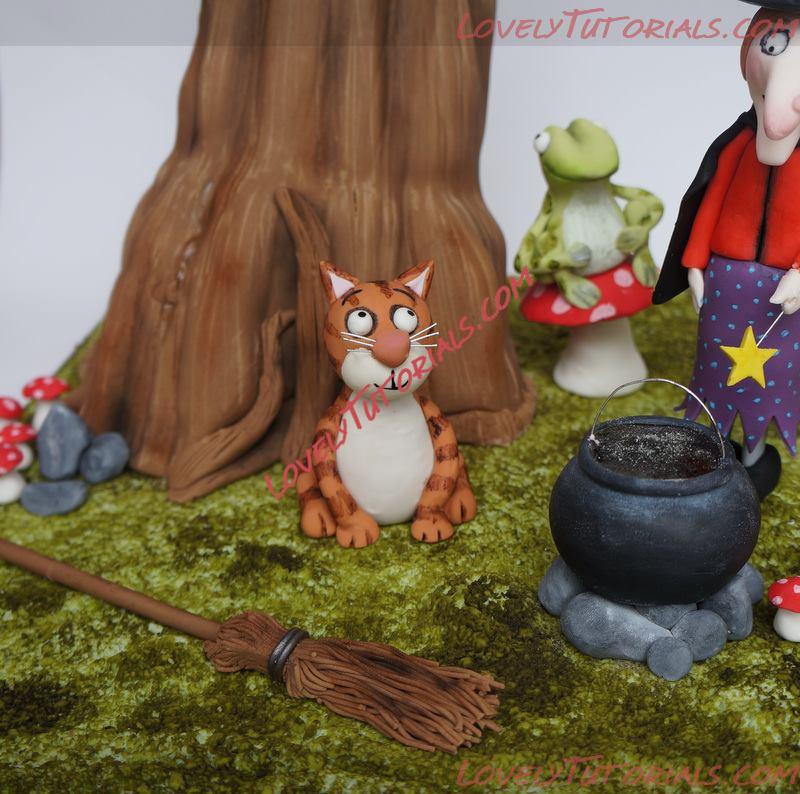
I added piping gel mixed with green colouring paste and edible glitter to the top of the couldren
Название: 82.jpg
Просмотров: 0

Размер: 58.4 Кб
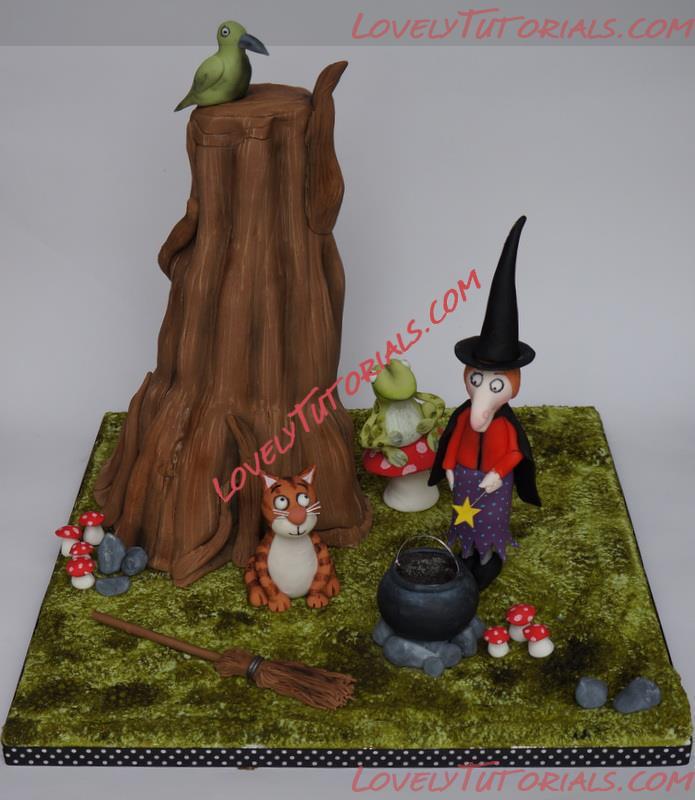
The toadstools were made by making little cone shapes from white fondant and adding a flattened ball of red fondant to the top. The white spots were painted on using white blossom tint mixed with vodka. I also added some more detail to the broom by dusting with black and brown blossom tints, and added some more little rocks to the board
Ответить с цитированием
Ответ


©2022 Lovely Tutorials