Огромная благодарность Автору globalsugarart за Мастер-класс
- 28 x 3 Inches Round Cake Pan by Fat Daddio's
- 1Satin Ice Pastel Baby Pink Rolled Fondant Icing 5 Pounds Pail
- 1Foam Core Cake Board Round White, 12 x 1/2 Inches by GSA
- 1Buttercream Icing 3-1/2 Pounds Tub by CK Products
- 1Satin Ice Pastel Yellow Rolled Fondant Icing -2 Pounds
- 1Gumpaste 2 Pounds by Satin Fine Foods
- 1Baby I Rolling Pin 16 Inches by GSA
- 1Super Pearl Dust by GSA
- 1Satin Ice White Rolled Fondant Icing -2 Pounds
- 1FMM Sugarcraft Multi-Ribbon Cutter
- 120 Inches Rolling Pin by Wilton
- 1Poly-Dowels, 16 x 1/2 Inches White by GSA
- 1Waterbrush -Medium Tip
- 1Americolor Burgundy Soft Gel Paste
- 1Small Baby Feet by First Impressions
- 1Daisy Marguerite Plunger Cutter Set of 4 PME
- 1CelPad2 by CelCakes
- 1Random Veining Tool by Holly Products
- 1Paint Tray/Flower Former by CK Products
- 1JEM Daisy Center Stamps Set of 6
- 1Scriber Needle Modeling Tool by PME
- 1Detail Embosser by Wilton
- 1Embossing Set 10, Flower Embroidery by Holly Products
- 1Round Tip #6-By Wilton
- 1Sugarcraft Gun
Step 1
Bake two 8 x 3 inch or three 8 x 2 inch round cakes using
Fat Daddio's round cake pans. Allow to cool. Trim, stack and fill to create a 6 inch high cake. Cover the cake using
Satin Ice Baby Pink rolled fondant.
Step 2
For the
12 inch round cake board, roll out
Satin Ice Pastel Yellow fondant, lightly dust with cornstarch and texture using
GSA Baby I Rolling pin. Cover the cake board and lightly dust with
super pearl dust by GSA. Wrap the bottom with a 5/8 in ribbon of your choosing. Place the fondant covered cake in the center of the board.
Step 3
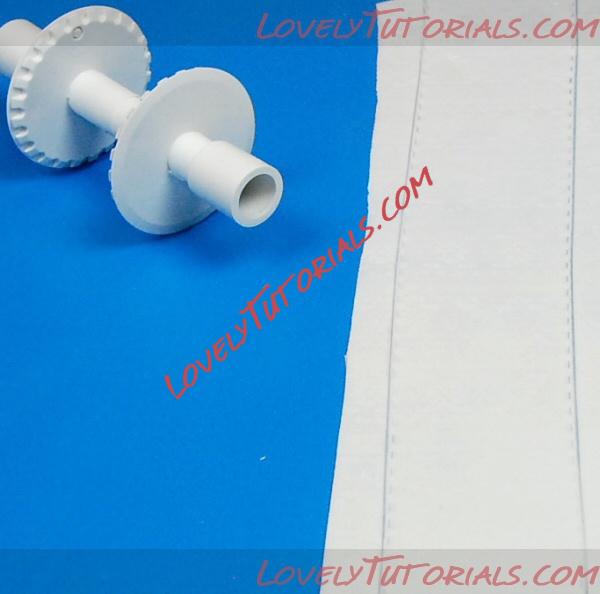
For the fondant ribbon along the bottom of the cake, thinly roll out a piece of Satin Ice white rolled fondant. Lightly dust with cornstarch and texture using a rolling pin of your choice. Cut a long strip (approximately 27 in long) using the FMM multi ribbon cutter set with the stitch wheel and two large spacers (1.5 in width). Moisten the non- textured side of the strip and adhere to the bottom of the cake. Make sure the strip meets the bottom of the cake board and that the two ends cleanly meet in the front and center of the cake.
*Note: When using the multi ribbon cutter, place a little shortening on the wheel and lightly dust the top of the fondant/gum paste with cornstarch. This will help prevent movement and pulling.
 Step 4
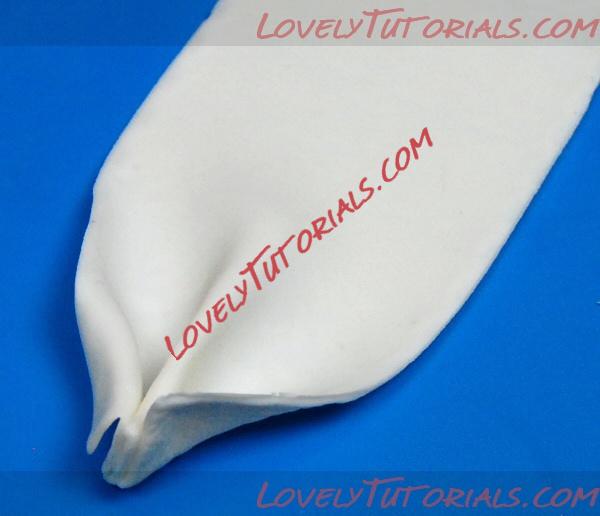
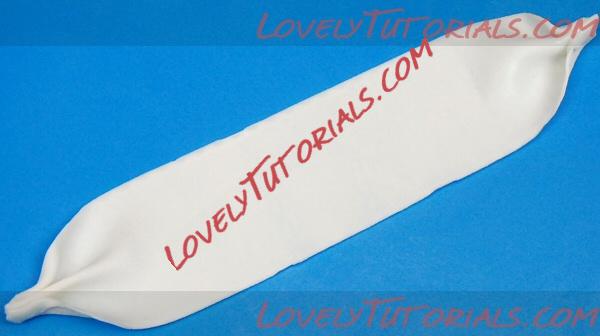
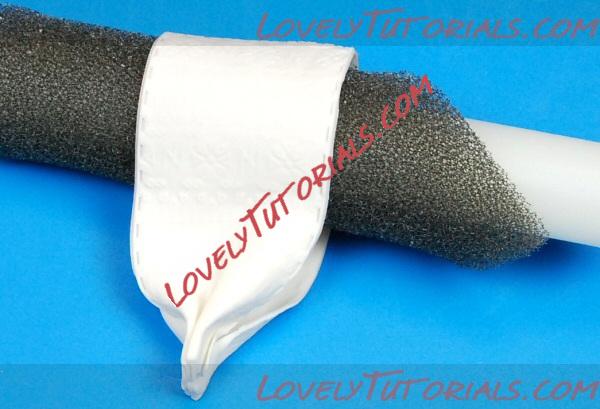
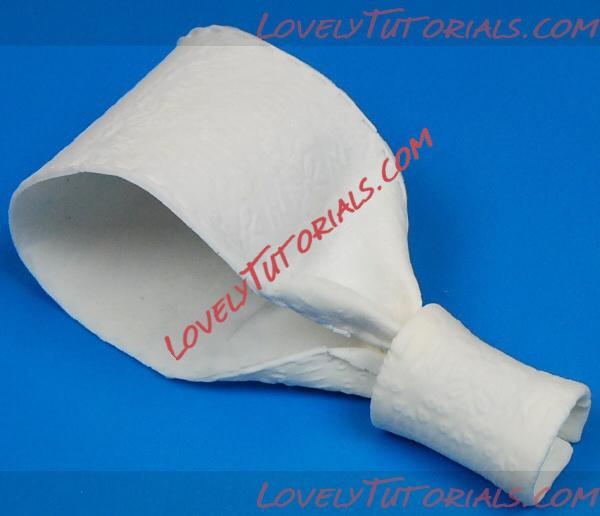
For the bow, follow the same steps for rolling and cutting out the ribbon but use gumpaste rather than fondant. To make the bow loops, you will need two 10 in strips. Moisten the ends of the non-textured side of the strip, gather the ends to taper them and gently pinch together. Moisten the two tapered ends and fold the strip to allow the two ends to meet. To give the bow a realistic loop, stuff the center with foam or paper towel and allow to dry. * Depending on how much of a loop you want will determine how much foam or paper towel to use. You may also fold the strips over desired sized dowel or rolling pin, allowing the two tapered ends to meet and hang to dry. Once the loops have dried, dust with pearl dust.
 Step 5
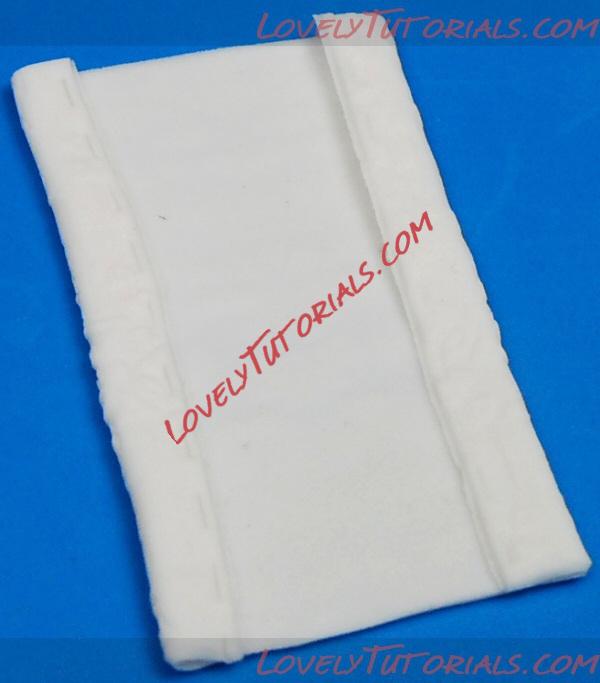
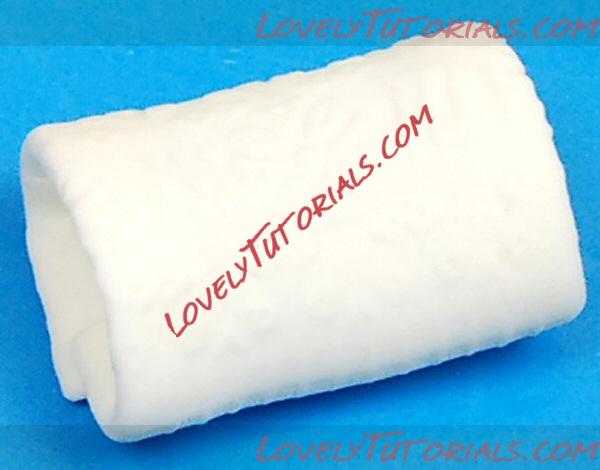
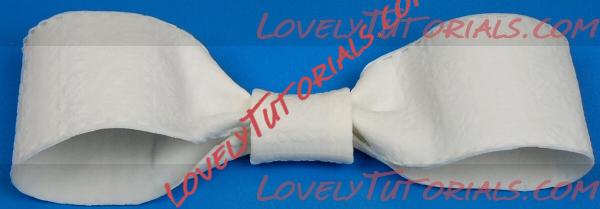
For the center of the bow, cut a piece of the textured gumpaste approximately 5.5 in long. Using a water brush, moisten along the side edges of the non-textured side and fold sides in, just enough to hide the stitch. Attach the two ends using a water brush and form a loop. Dust with pearl dust. Once the bow loops have dried, using gum glue place them in the center of the center loop and make the two tapered ends of the bow meet. Allow to dry and attach to the center of the ribbon on the bottom of the cake, where the two ends meet.
 Step 6
*After you place the bow on the cake, you may have to place a small dowel under the bow until it dries.
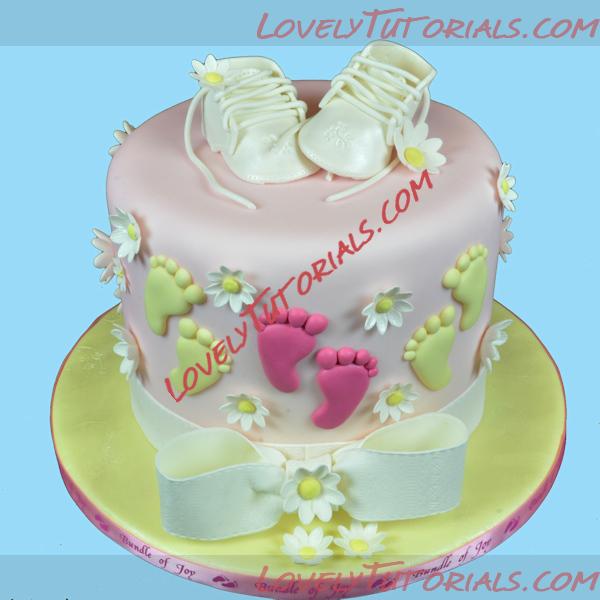
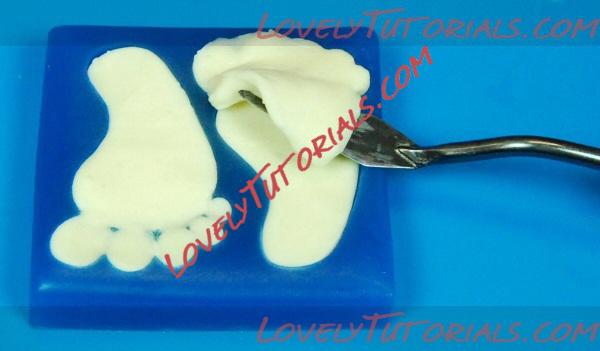
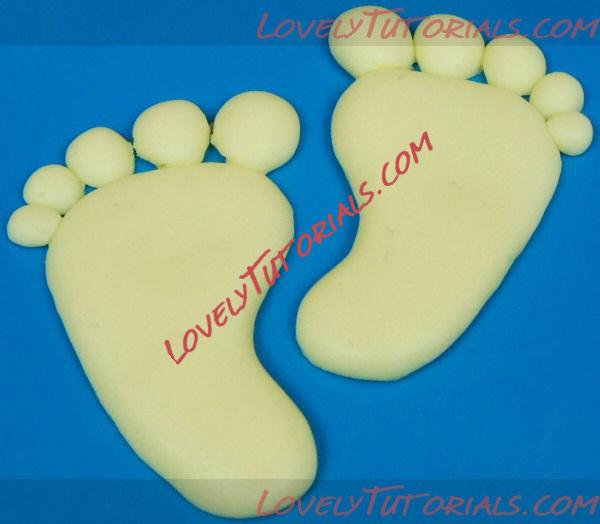
The baby feet on the cake were created using Satin Ice Pastel Yellow fondant and Satin Ice Baby Pink fondant darkend with burgundy soft gel paste from Americolor. The fondant was placed in the small baby feet mold by First Impressions and placed in the freezer for 2-3 minutes. Once gently unmolded and dried, the backs were moistened using a water brush and then placed on the cake.
 Step 7
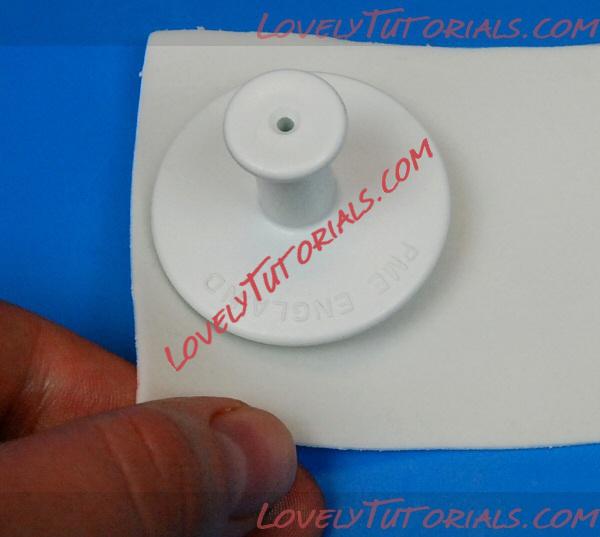
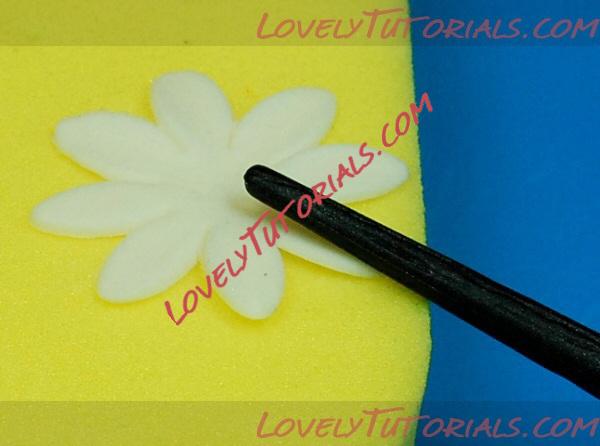
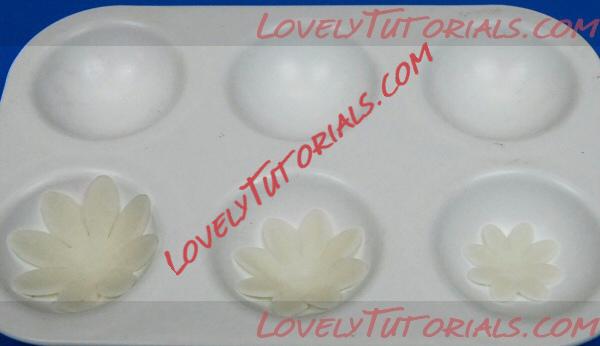
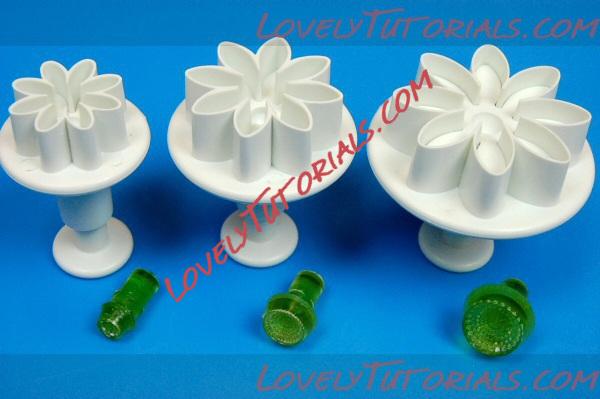
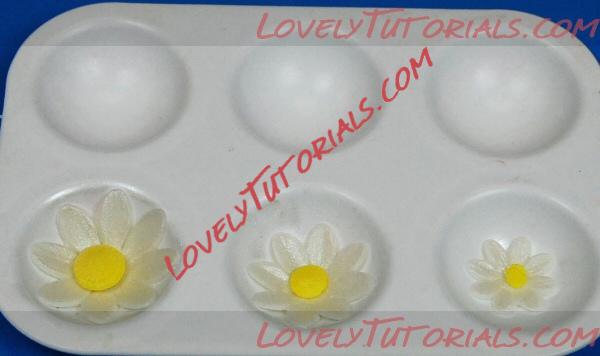
Create the daisies using the PME Daisy Plunger Set of 4. Start by rolling out your gum paste rather thin. Using the cutter, press down on the gumpaste and gently lift the gumpaste around the sides of the cutter. Lift the cutter and push the top down to release the daisy. Place the flower on a celpad and gently roll the petals with the random veining tool by Holly products from the middle to the outside edge. Place in a flower former to achieve a curved appearance. Once dry, dust with pearl dust.
 Step 8
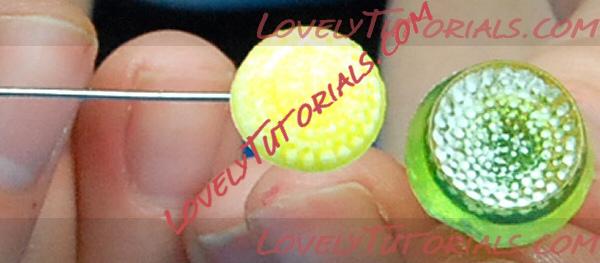
For the center of the daisies, use Jem Daisy Center Stamps and a little yellow fondant. Dust the stamp with cornstarch and place a tiny ball of fondant in the center, press down to fill the stamp and remove all excess fondant. Round the fondant on the top of the stamp and remove using a pin tool or a pin. Lightly wet the center of the daisy with a water brush and carefully place down the center.
 Step 9
Once dried, use the water brush to securely place the daisies sporadically around the cake. Reserve one large daisy for the center of the bow, and one large and one medium sized daisy for the baby booties.
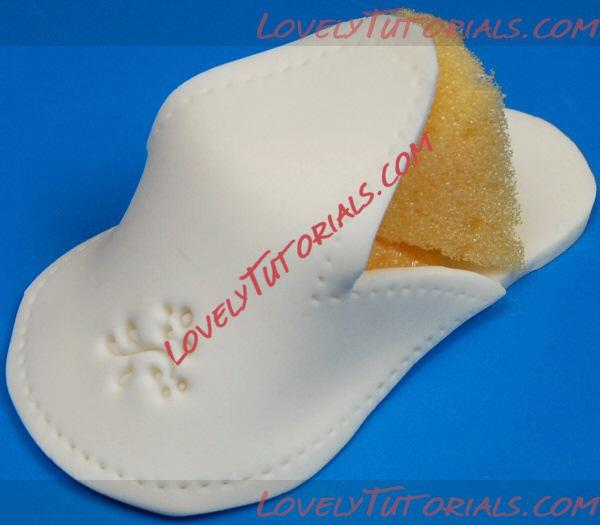
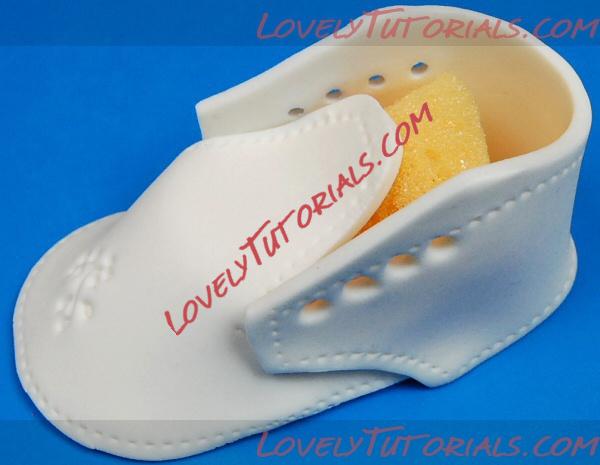
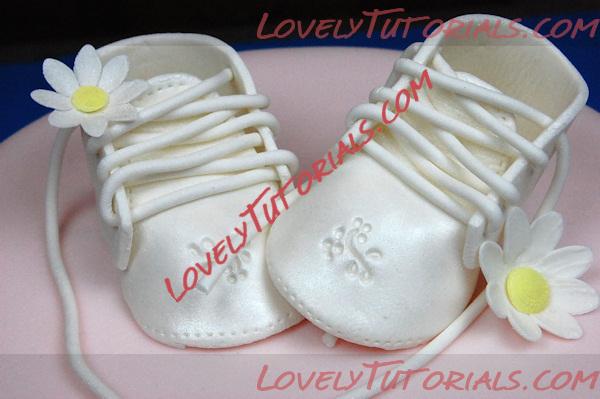
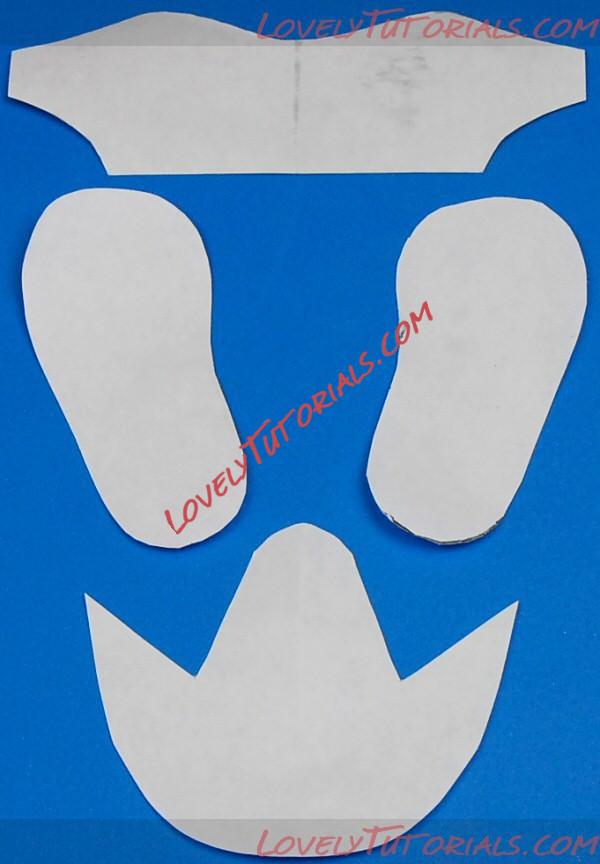
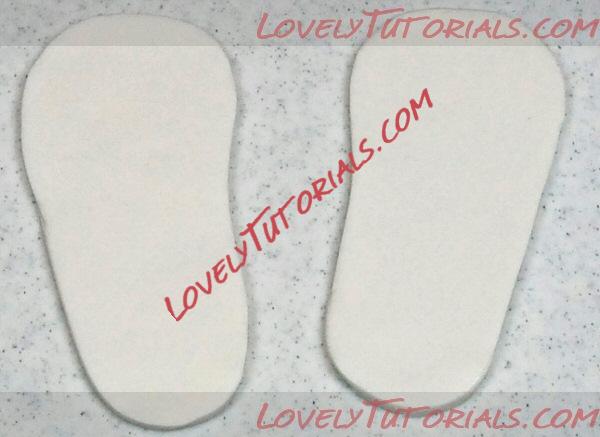
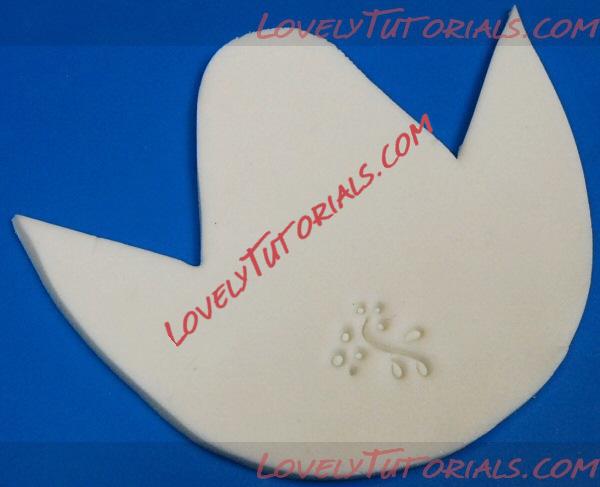
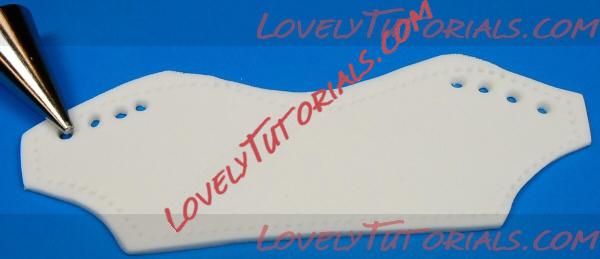
The baby booties were created using the baby bootie template. You first start by rolling out your gumpaste to about ¼ in thick. Using a palette knife or x-acto knife and the template cut out the soles of the shoe. Next, cut out the front flaps. Using an embosser for stitching, roll along the outer edge to achieve a stitched appearance. Emboss the front center using an embosser from the embossing set 10 flower embroidery from Holly Products. The back flaps are created using the template and the same method as the front, without using the flower embroidery. The holes for the shoe laces were created using a number 6 small round tip.
 Step 10
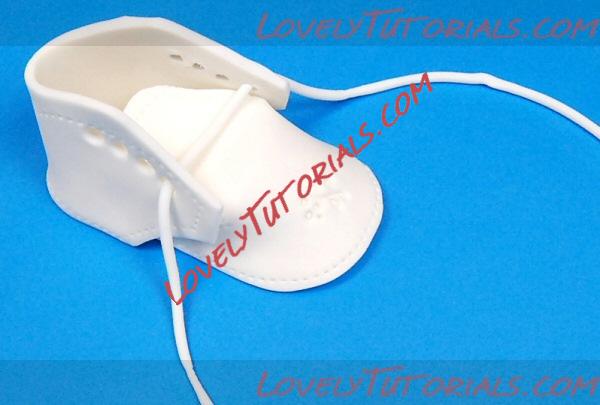
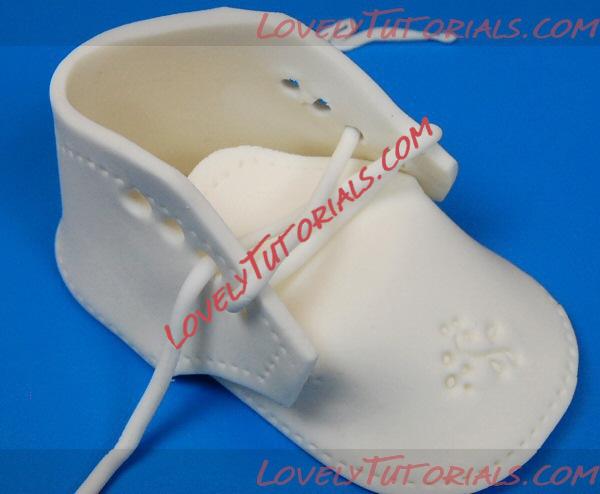
To assemble the shoe, first attach the front flap to the sole by moistening along the bottom edge of the sole with a water brush. To give the shoe it's shape, place either a ball of paper towels or foam underneath the front flap and leave it until it dries. You can remove this later with long tweezers. Adhere the back flap to the sole and sides of the shoe using a water brush. Allow the shoe to dry before handling. Dust the shoe with pearl dust to give it shine.
The shoe laces were made using white fondant and a clay gun. They were laced as you would a real shoe. Once the shoe is dry, place on the top center of the cake. Place the reserved daisies on the top of the left shoe, and bottom of the right.
