|
|
МК лепка -Гибискус, Hibiscus Tutorial, ibišek, ibisco, hibisco
|

02.07.2011, 16:48
|
|
Администратор
|
|
Регистрация: 07.09.2010
Сообщений: 7,669
|
|
 МК лепка -Гибискус, Hibiscus Tutorial, ibišek, ibisco, hibisco
|

15.07.2011, 20:38
|
|
Администратор
|
|
Регистрация: 07.09.2010
Сообщений: 7,669
|
|

спасибо огромное duskyroseveiners за МК
слова и фото автора
There are more than 200 species in the Hibiscus (Malvaceae) family of plants, with flowers ranging in colour from white to pink, red, purple and yellow, and in size from around 2" to more than 6" in diameter.
The flower demonstrated here is based on the flower the petal veiner was made from.
A Google search of images will bring you many examples of this stunning exotic looking flower, and should you wish to make an alternative, you should consider whether you need to change the method shown here for shaping and drying your petals.
What you will need
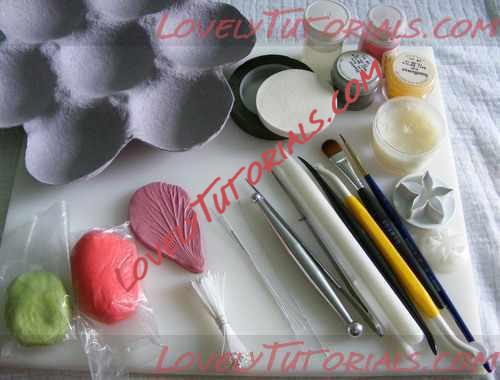
Rolling Board
Orchard pad or similar
Flower paste (colours of choice)
Rolling pins (Cel pin/orchard pin)
Calyx cutter
Daisy cutter
Trex
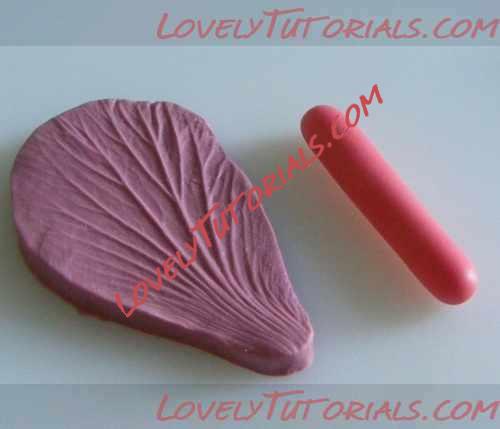
Hibiscus petal veiner (here)
Wires 24g & 26g (quarter length)
Ball or dogbone tool
Cutting Wheel
Dresden tool
Tweezers
Fine white stamens(round head)
Glue of choice and paintbrush
Dusting colours of choice & dusting brushes
Apple tray or formers of choice
Green stem tape(half width)
To make the pistil(column)
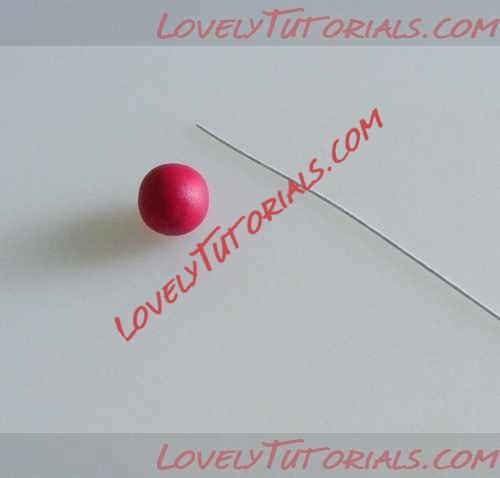 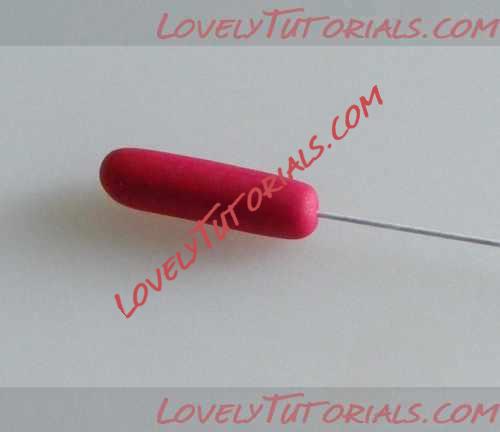 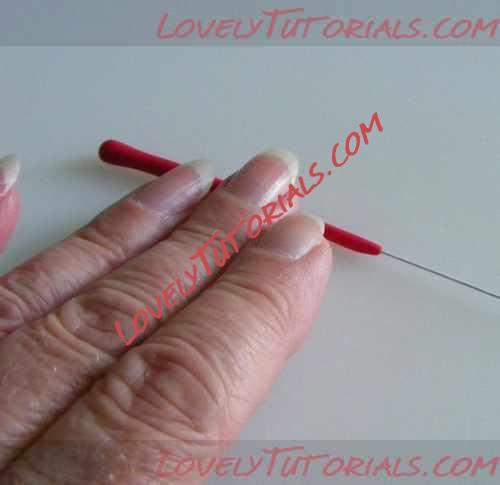
Take a small pea sized piece of well worked flower paste, roll into a sausage and thread a dampened 24g piece of wire into the paste. You should aim for the wire to be through the length of the paste, but not poking through. Roll the sausage with your fingers on your rolling board, until you have the thinness and length you require, but tapering slightly so that the tip of the pistil is slightly thicker than the rest. Any excess paste should be removed from the bottom end of the wire.
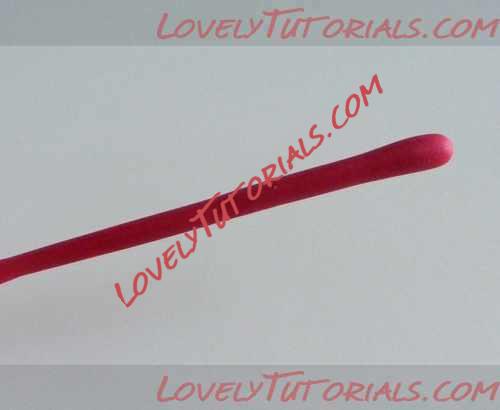 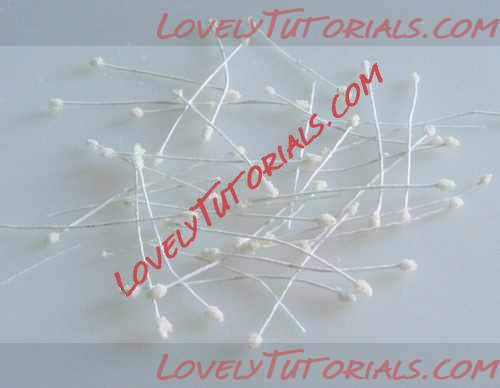 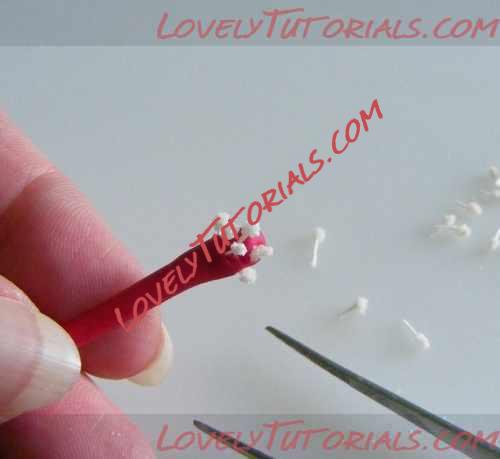
Leaving the tip of the pistil slightly thicker than the rest makes it easier to insert the stamens and stigma.
The stamens I am using here are not shop bought but have been made from stamen remnants, i.e. the lengths of stamen cotton left after you have cut the ends off to use for something else. They are made by dipping the ends into a non toxic pva glue and then dipping into some natural coloured polenta or similar. You can of course use bought stamens, but I think these have a much nicer natural look.
Cut your stamens into very short lengths and insert around the top of the pistil as equally as possible with a pair of tweezers. How many you insert will probably be a matter of choice, as this can be a tricky process, and many of these will end up on the floor and not in the pistil (trust me!) but leave the area at the very tip clear, as this is where the stigma will be inserted.
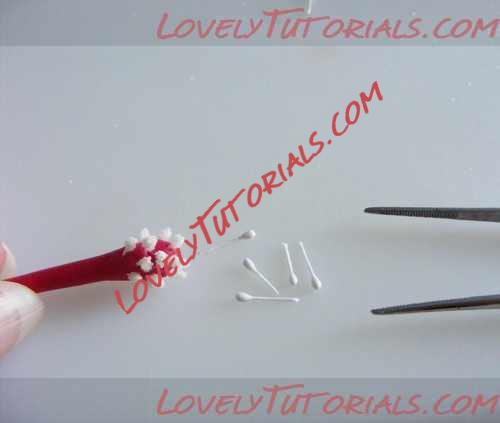 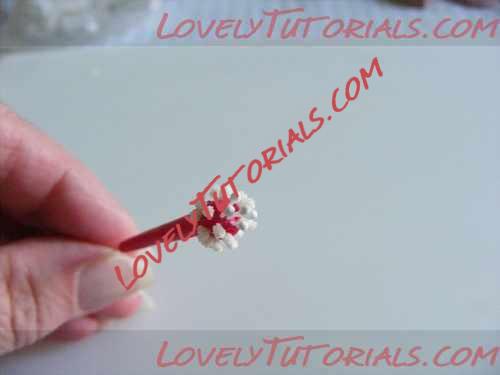 
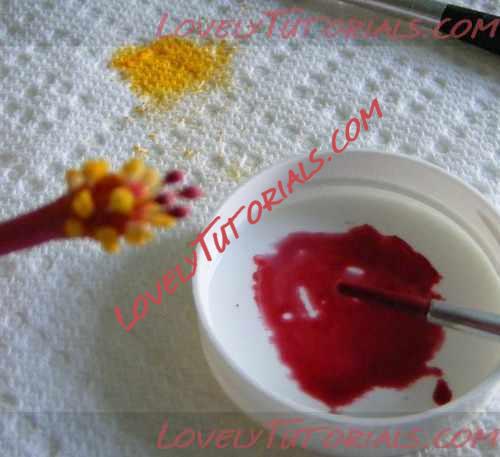
The stigma consists of five furry "branches" on a real flower, but here I have cut the ends off small round headed manufactured stamens. Insert these in the very tip of the pistil. Leave to dry before colouring.
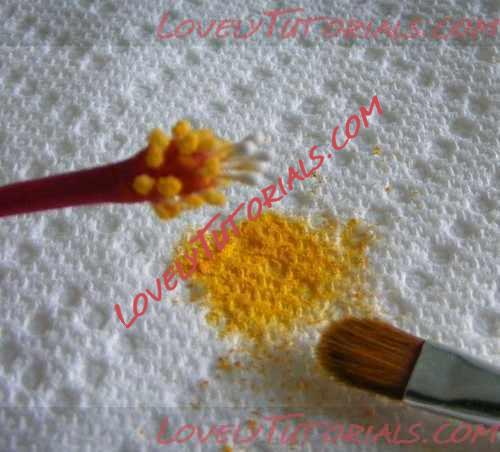
When the pistil is dry, dust the stamens with yellow to represent pollen and paint the stigma with red petal dust. Here I have mixed the red petal dust with a gum arabic solution, and this gives a slightly shiny finish.
To make the petals
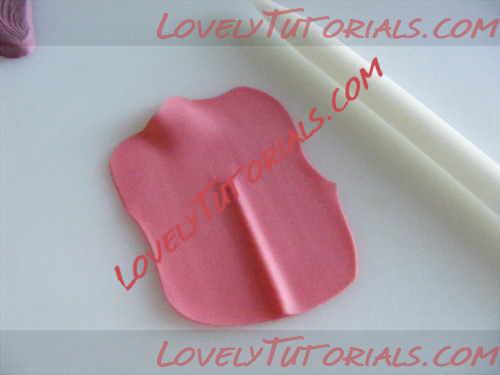 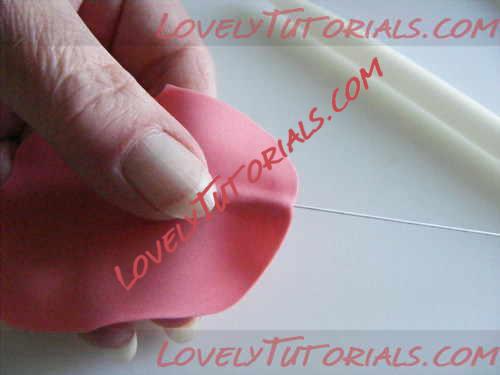 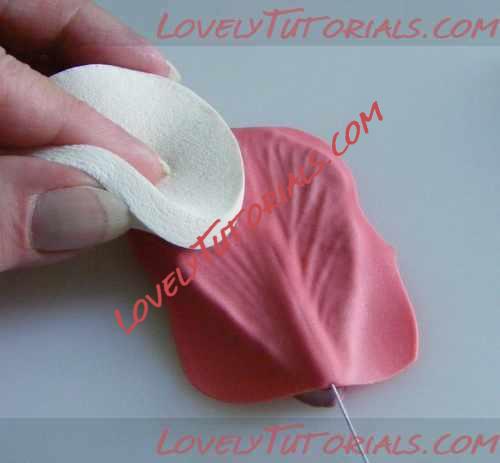
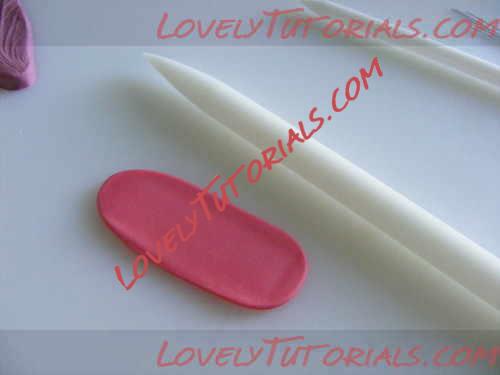
Take a slightly larger than pea sized piece of paste and roll into a sausage shape. Roll out the paste to a thickness of 2-3mm with the small rolling pin, and then roll away the paste with a slim pin to leave a ridge in the paste to accommodate the wire.
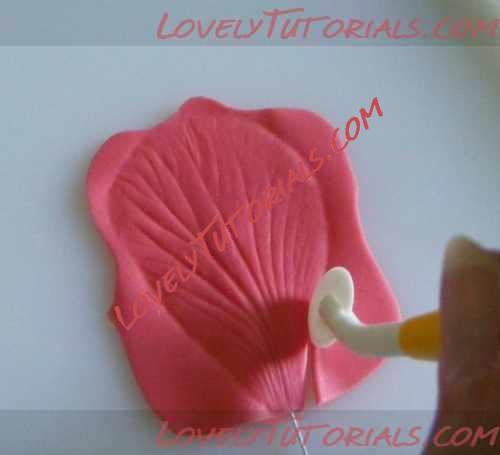 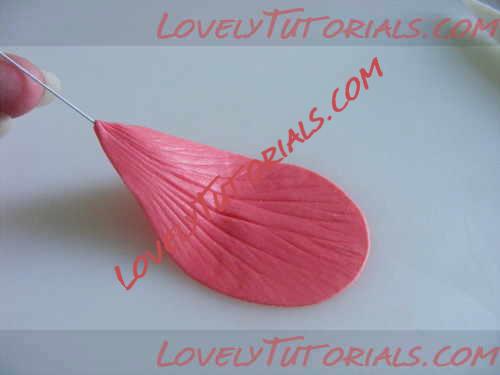 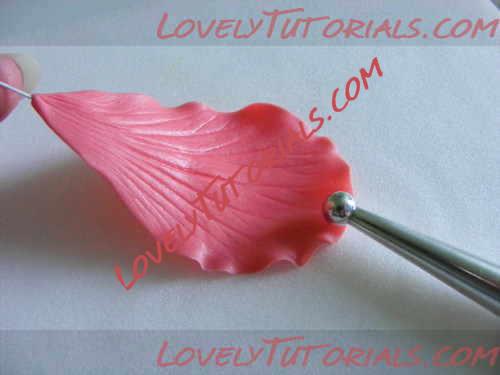
Insert a dampened 1/4 length piece of 26g wire into the ridge left in the paste, feeling the way of the wire between your finger and thumb.
Place the paste over the veiner, keeping the ridge in the centre. Press the paste onto the veiner with the length of your fingers or a piece of foam. Take the paste off the veiner and turn over. Using your cutting wheel, cut around the impression left in the paste.
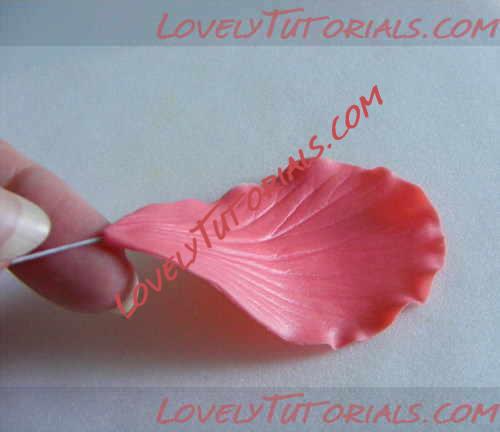 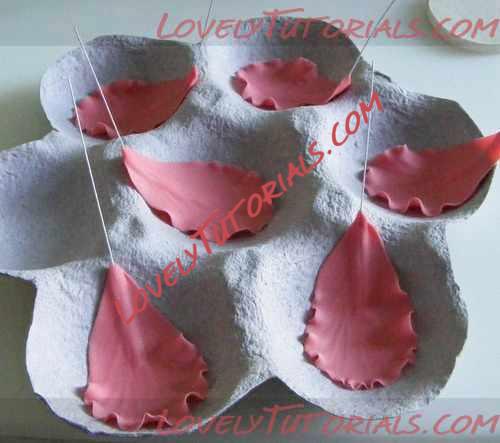 
Pinch the paste at the base of the petal to the wire to neaten. Transfer the petal to a softening pad and gently frill the edge of the petal with a ball or bone tool. Curve the wire slightly while holding the petal between your thumb and forefinger.
 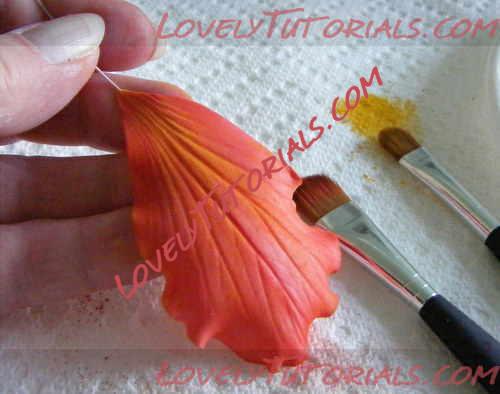 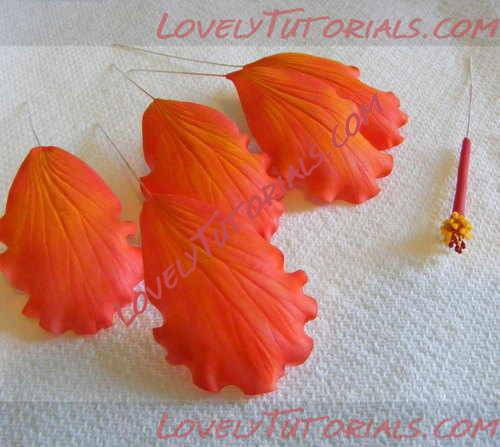
Place the petal to dry in the former of your choice. You need five petals for the flower, but its a good idea to make an extra petal in case of breakage.
When the petals are dry, dust in your chosen colours. Here I have dusted very lightly with Poppy Red and have overdusted in the centre of the petals with Sunflower yellow.
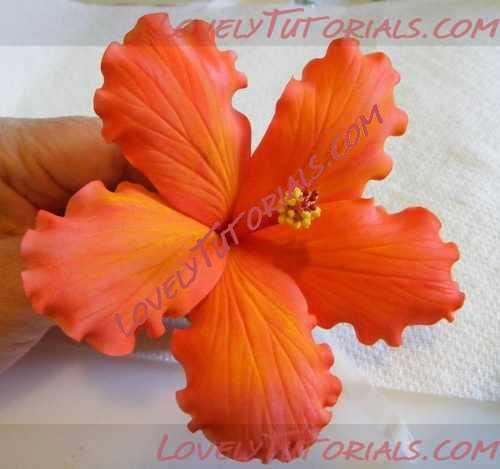
Assemble the flower by taping the five petals equally around the pistil, overlapping slightly as you go.
Add the calyx's to the flower (as shown in the next step) and then steam to set the colour.
Making a bud
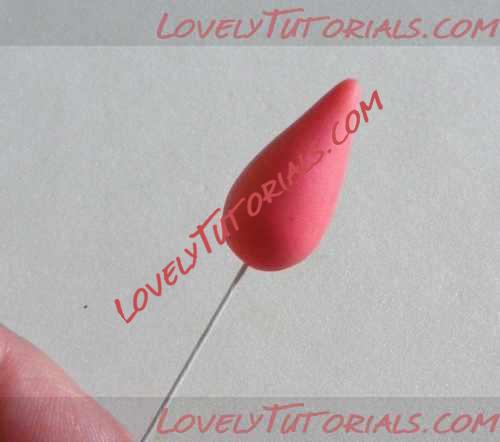 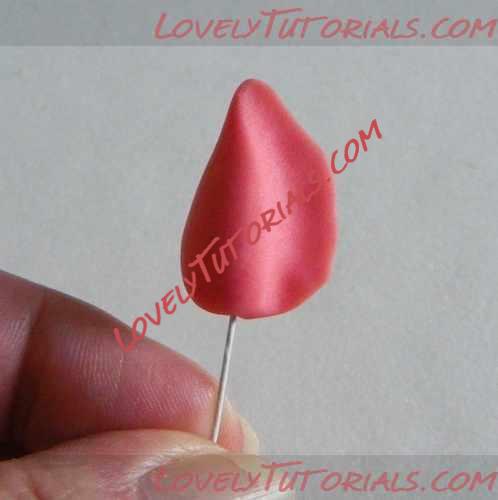 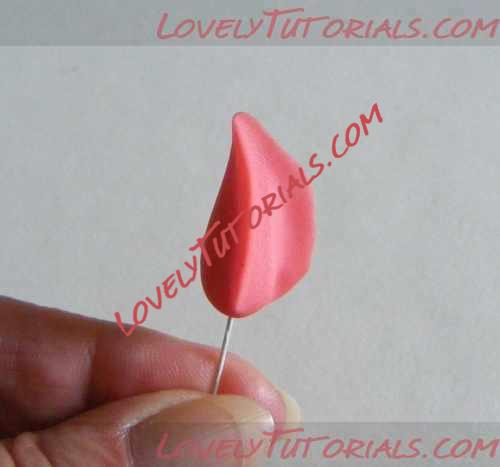
Shape a pea sized piece of paste into a teardrop, and insert a 24g hooked wire. Pinch the paste from the tip of the bud to the base, in three equal "wings"
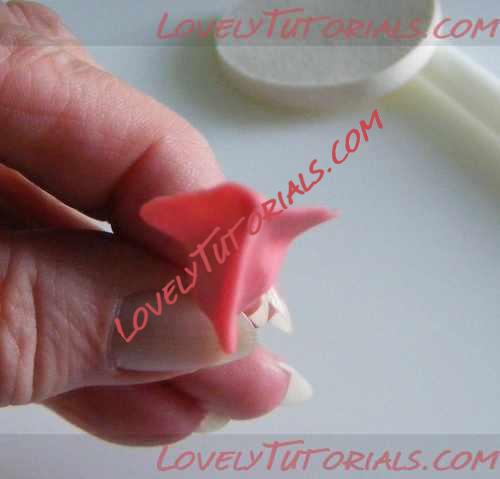 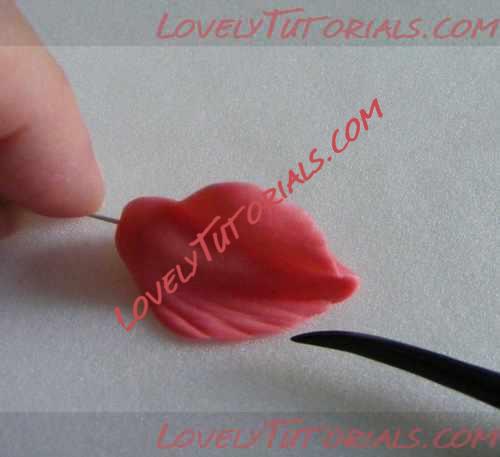 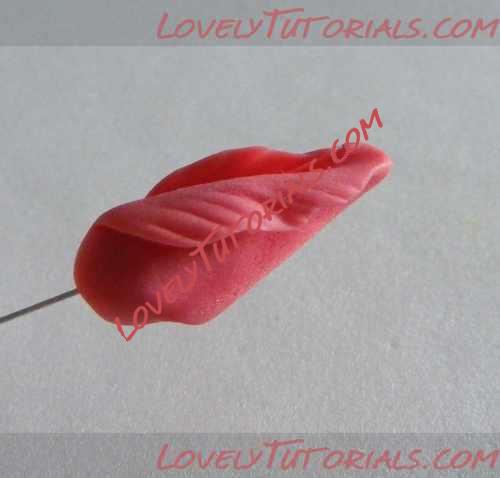
Place the bud on your softening pad and using the fine end of the dresden tool, mark veins into the wings as shown. Twist the wings around the bud, to resemble an opening flower. You may wish to dust the bud at this stage before adding the calyx's.
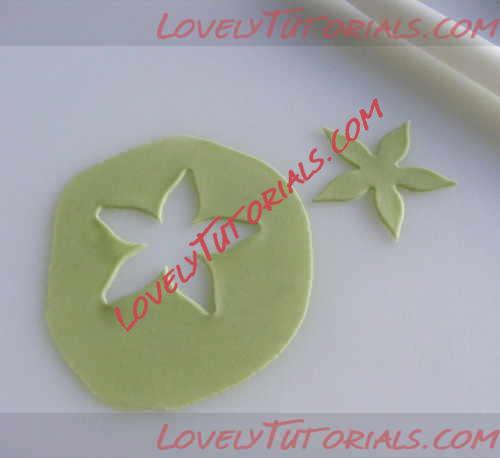 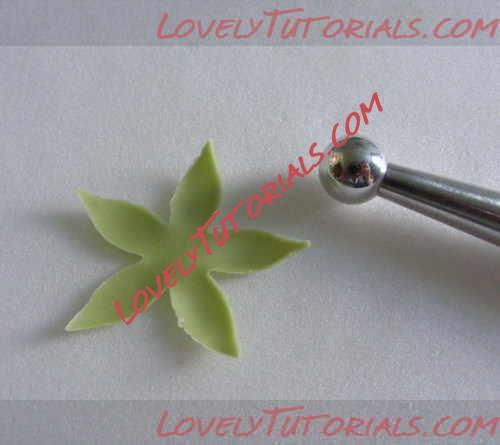 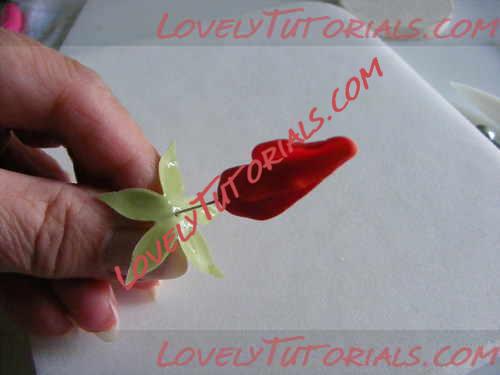
The first calyx has been made using a calyx cutter. Roll out green paste thinly, and cut out. Thin out the cut piece with ball or bone tool. Moisten the sepals with your chosen glue and attach to the bud as shown.
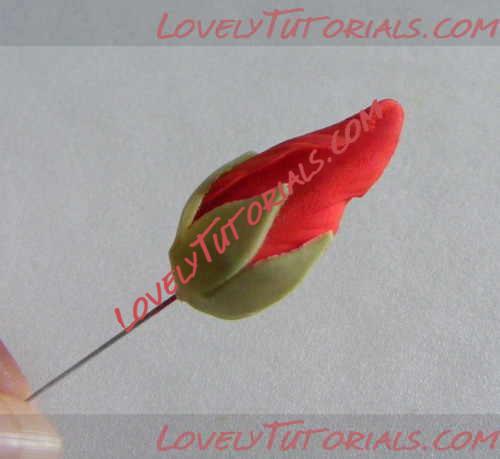 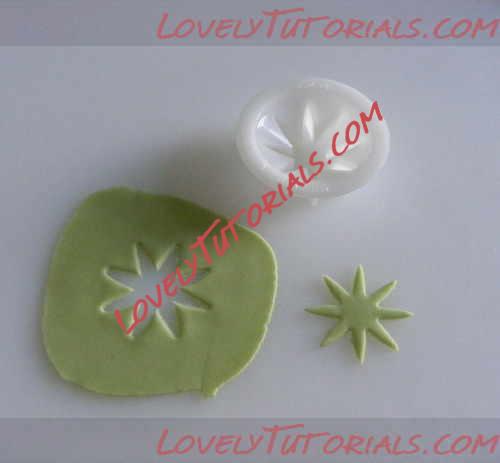 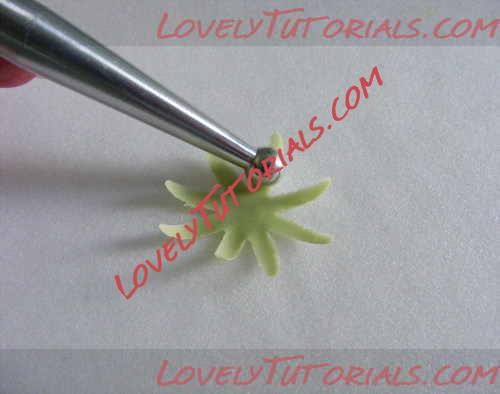
The second calyx has been made using a small daisy cutter, as this is the most suitable cutter from the ones I have. You may have something more suitable in your toolbox. If using a cutter like this, the sepals need to be lengthened using a ball or bone tool.
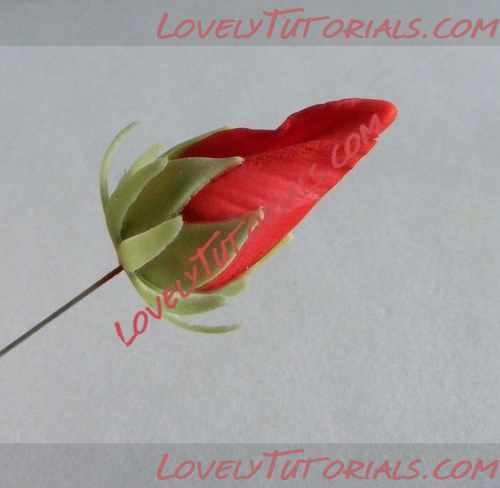 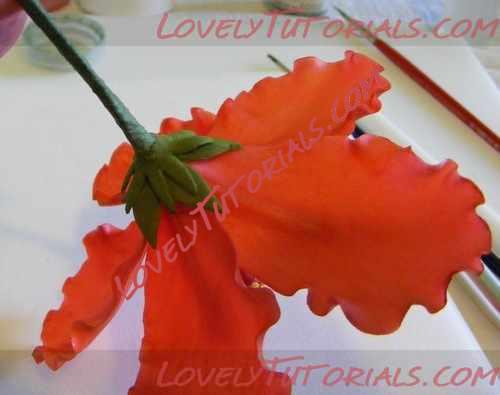
Moisten just the centre of the calyx , and thread onto the wire. The sepals of this second calyx sit open away from the bud, this does make them more likely to break when handling, so should be a consideration if the buds are going to be a part of a mixed display.
You should attach the calyx's to the Hibiscus flower in the same way as for the bud.
|

20.05.2012, 08:37
|
|
Администратор
|
|
Регистрация: 07.09.2010
Сообщений: 7,669
|
|
 Живой гибискус,Строение цветка
|

07.04.2013, 21:47
|
|
Администратор
|
|
Регистрация: 05.03.2013
Сообщений: 665
|
|
|
 |
|
Метки
|
anlegget, anläggning, armado de los ramos, arranjo, artesanatos passo a passo, augalas, baking, biljka, bitki, blad, blade, blader, bladeren, blatt, bloem, bloemen, blomma, blommor, blomst, blomster, blume, blumen, blüten, blütenpaste, blätter, boeket, bouquet, buchet, buket, bukett, bukiet, buquê, cake decorating, cake decorating techniques, cerâmica plástica, chiodi di garofano, clavo de olor, clous de girofle, cloves, cold porcelain, cold porcelain figurines, cold porcelain flowers, confeitando bolos, csokor, cukrinių gėlių, curso completo de flores, curso de modelado, cvijet, cvijeće, decoracion de pasteles, decoración de tortas, decorare le torte, decorazioni, deko fondant, dekorace na dort, dekoracija, dekoracije, dekorasyon, dekorácie, ebegümeci, el abc del armado de ramos, feuille, feuilles, fimo, fimo flowers, fiore, fiori, fleurs, floare, flogistica, flor, floral inspirations, flores, flores azucar, flores e folhas, flori, floristics, floristik, floristikk, floristique, florística, flower, flower paste, flowering plants, flowers, flowers on a wire, foglia, foglie, folha, folhas, folhas pintadas, fondan, fondant, fondente, fotopostup, frunze, gum pasta, gum paste, gum paste flowers, gumpaste, gumpaste flowers class, gėlė, gėlės, hand painting, handmodelliert, hibisco, hibiscus, hibiscus tutorial, hibiskus, hibiskusa, hibiszkusz, hideg porcelán, hladno porculan, hoja, hojas, how to, how tцветы на проволоке, ibisco, ibišek, ibišek postup, ibištek, impianto, kaldt porselen, kallt porslin, kalt porzellan, kasvi, kolde porcelæn, koud porselein, kukka, kukkakimppu, kukkia, kvetina, kvety, květina, květiny, kwiat, kwiaty, kylmä posliini, kytica, lapai, lapas, leaf, leaves, lehdet, lehti, levelek, levél, list, listí, lišće, liście, liść, lístia, lístky na drátku, making sugar flowers, mazzo, modellierpaste, modelləşdirmə, modelovanie, modelování, modelowanie, montando, motivtorten, nelken, návody a postupy, návody na květy a lístky, növény, oasis o esponja de floristeria, pap, paso a paso, passo a passo, passo-a-passo, pasta flexible, pflanze, plant, planta, plante, plantes, plantă, pocelana fria, polymer clay, polymer clay flowers tutorial, porcelaine froide, porcelana fria, porcelana fría, porcellana fredda, postup klinček, postupak za ukrasavanje, puokštė, ramo, rastlina, rece porţelan, rododendron, rostlina, roślina, schritt für schritt anleitung, schritt-für-schritt, sculpey flowers, sculpting, simple, soğuk porselen, stamens, steg for steg, step by step, step-by-step, strauß, studený porcelán, styrofoam, sugar cane flowers, sugar cloves, sugar flower, sugar flowers, sugar flowers for cake decorating, sugar paste flowers, sugarcraft, sugarpaste, sukker art, technique utilisée fleurs en sucre cru, tecnicas de decoracion, tecniche, thai flowers, torte, torte decorate, torten dekorieren, torti, trin for trin, trin-for-trin, trinn for trinn, tutorial, tutorijal, ukrašavanje torti, uputstvo za dekoraciju, virág, virágok, wedding cake, wedding cakes, wire, yaprak, yapraklar, zimno porcelany, zuckerblumen, ดอกไม้, सजा केक, मॉडलिंग, モデル, çiçek, çiçek modelleme, šalto porceliano, 建模, 裝飾蛋糕, 진달�?, κρύα πορσελάνη, μπουκέτο, αζαλέα, λουλούδι, λουλούδια, τα φύλλα, υβίσκος, φύλλα, φυτό, кветка, кветкі, квіти, квітка, куст, гибискус, гибіскус, гвоздика, гібіскус, полимерная глина, полевые цветы, пошагово, природа, мк, моделиране, майстер-класи, маршмеллоу, мастика, мастер-класс, азалия, азалія, букет, завод, листа, листья, листя, лепим цветы, лепка, ліплення, лісце, рослина, растение, растения, украшение тортов, украшение торта, свадебный торт, сахарная мастика, сахарный клей, уроки прикрашання, студен порцелан, торт, фимо, флористика, флора, хибискус, холодного порцеляни, холодного фарфора, холодный фарфор, халоднага фарфору, цветок, цветочная паста, цвете, цветя, цветы, цветы из полимерной глины, цветы из холодного фарфора, цветы на торт, шаг за шагом  |
|

