|
|
хризантема,chrysanthemum, Chryzantéma, chrysanthème, chrysanthemum, crisantemo,
|

02.03.2013, 19:24
|
|
Администратор
|
|
Регистрация: 07.09.2010
Сообщений: 7,669
|
|
|

05.05.2013, 19:31
|
|
Администратор
|
|
Регистрация: 05.03.2013
Сообщений: 665
|
|
|

14.05.2013, 12:55
|
|
Администратор
|
|
Регистрация: 05.03.2013
Сообщений: 665
|
|
|

23.01.2014, 16:50
|
|
Местный
|
|
Регистрация: 14.08.2013
Сообщений: 1,029
|
|
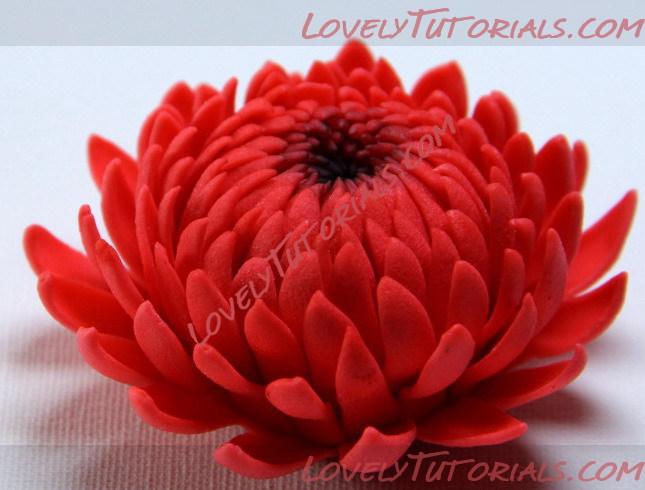
 Tutorial – chrysanthemum without cutters
Огромная благодарность Автору Tarttokig за Мастер-класс
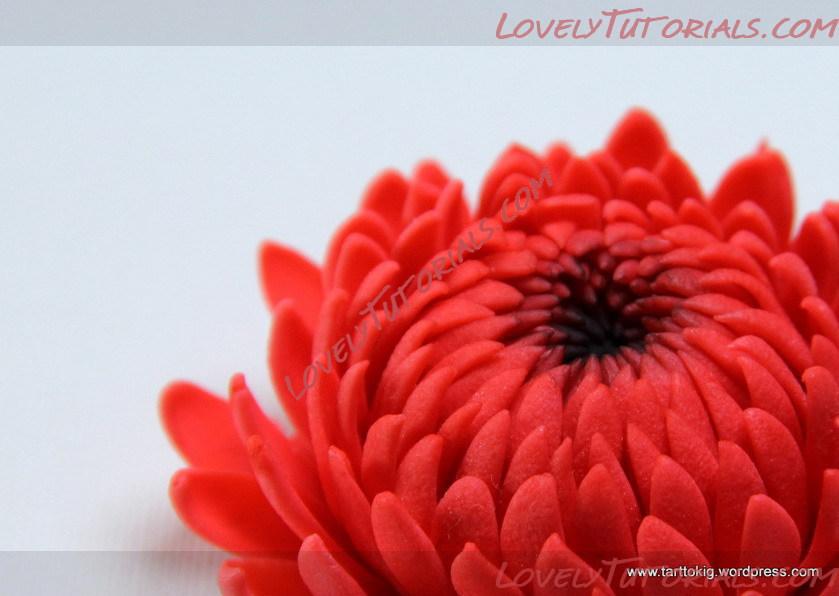
When I made mini roses out of modelling chocolate last week there was quite a lot of left overs so I spent this Friday afternoon making this red chrysanthemum flower with it. It was a lot of fun and the modelling chocolate worked surprisingly well for making flowers! The best thing about it compared to sugar paste was that the petals could support themselves so I could make the entire flower without supporting it with anything or having to wait for the layers to dry. This definitely wasn’t my last flower made from chocolate! I made it without cutters since I think that it gives it a more realistic look since the petals then become a little different in size and shape. Here’s what you’ll need:
- Red modelling chocolate
- Thin foam pad
- Flower/leaf shaper
- Black powder colors
1.. Roll a ball out of modelling chocolate. Mine was approximately 3 cm across, but you can make it larger or smaller if you want! Just keep in mind that the amount of rows will be different if you choose a different size flower!
2.. Roll a long, thin sausage out modelling chocolate, about 2 mm across. Cut it into even pieces.
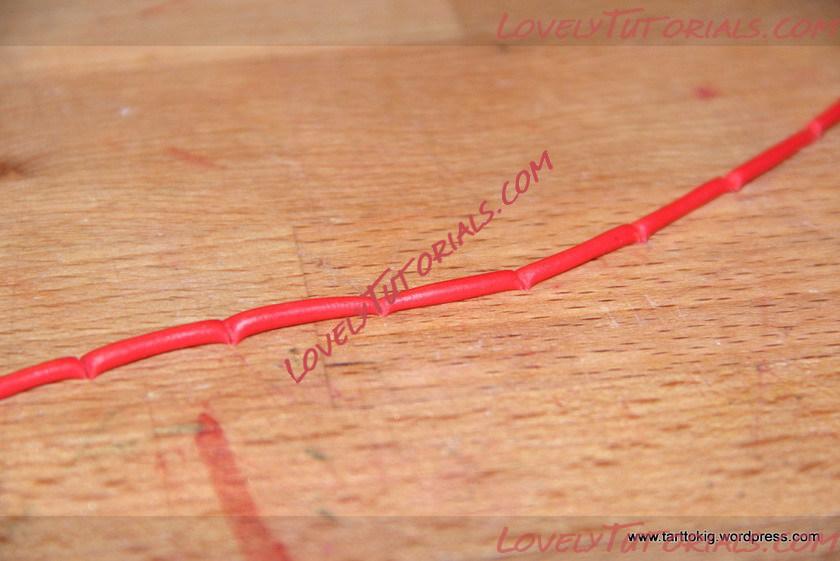
3.. Roll one edge of each piece to a point and attach them on the ball. Leave a small space in the center.
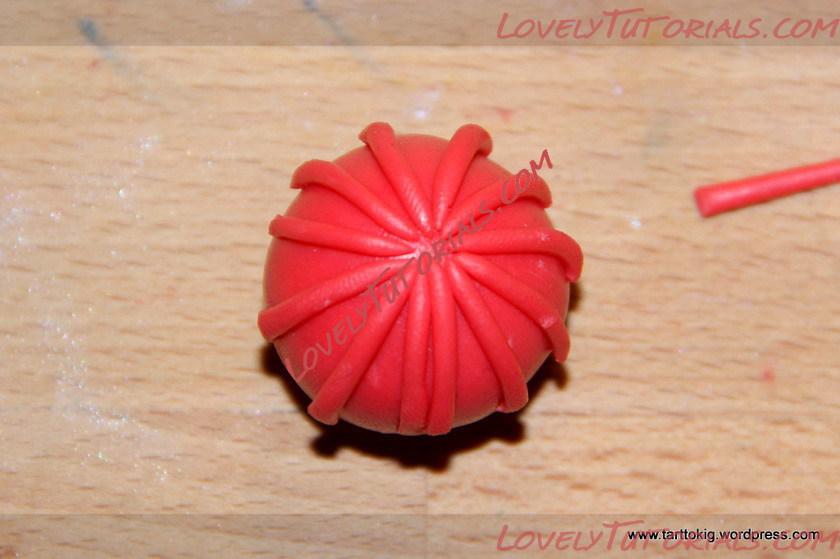
4.. Repeat step 2-3 until your flower has 3-4 rows.
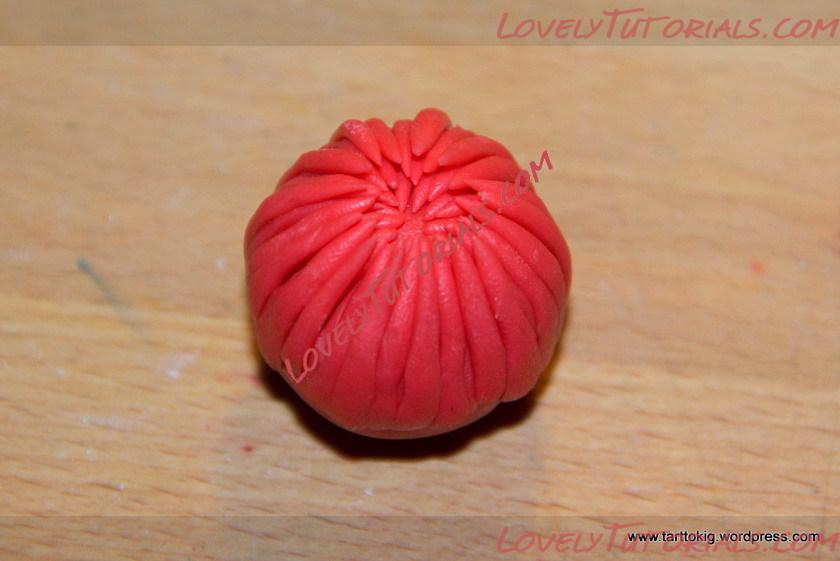
5.. Add another two rows of petals, but this time; flatten them on the foam pad using the the fat part of the flower/leaf shaper.
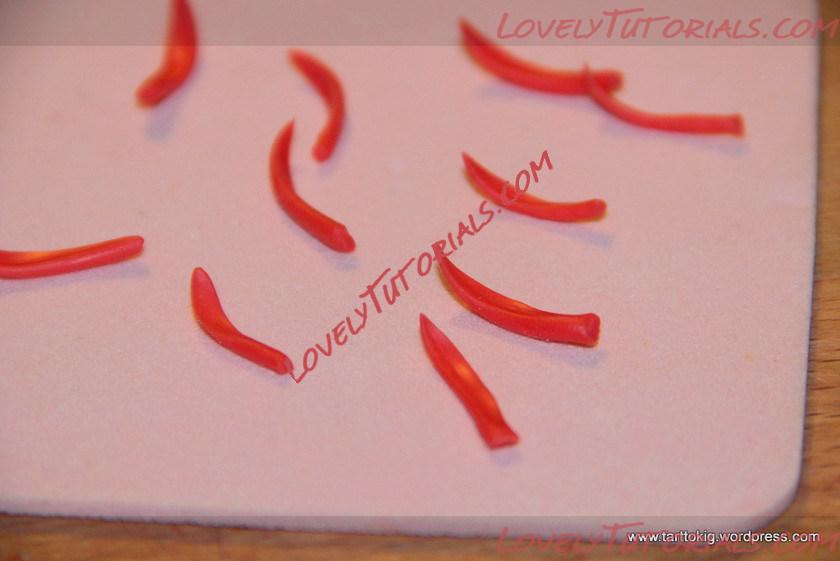 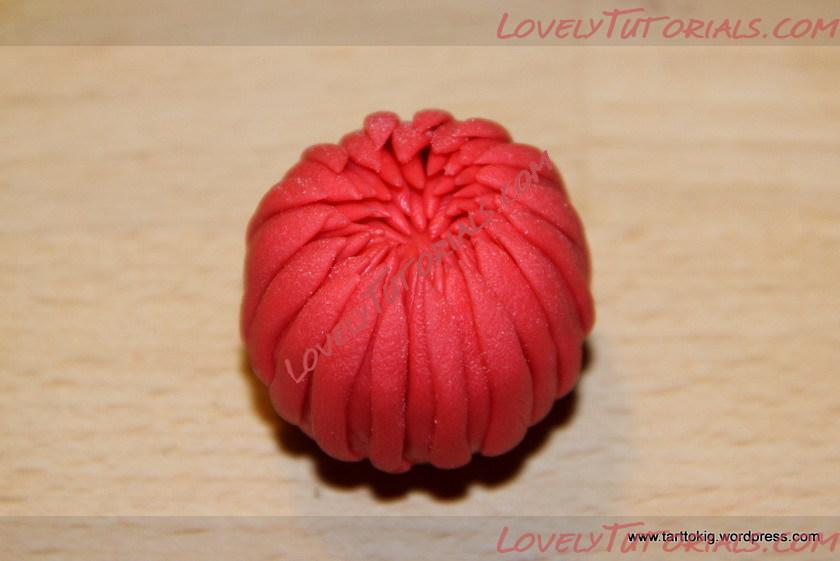
6.. Add another row of petals of the same size, but this time, leave some space between this row and the previous.
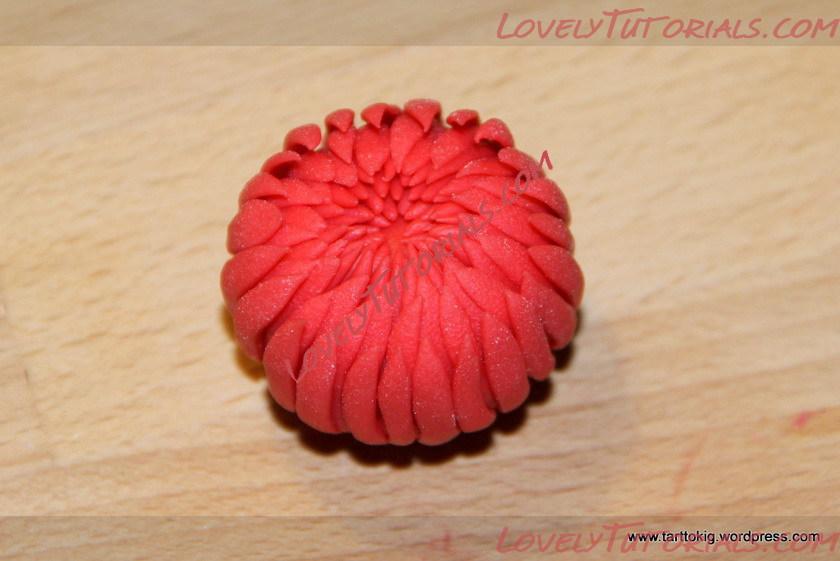
7.. Now you can gradually increase the size of the petals by rolling the sausage a little thicker each time. Continue adding petals until you’re happy with the size.
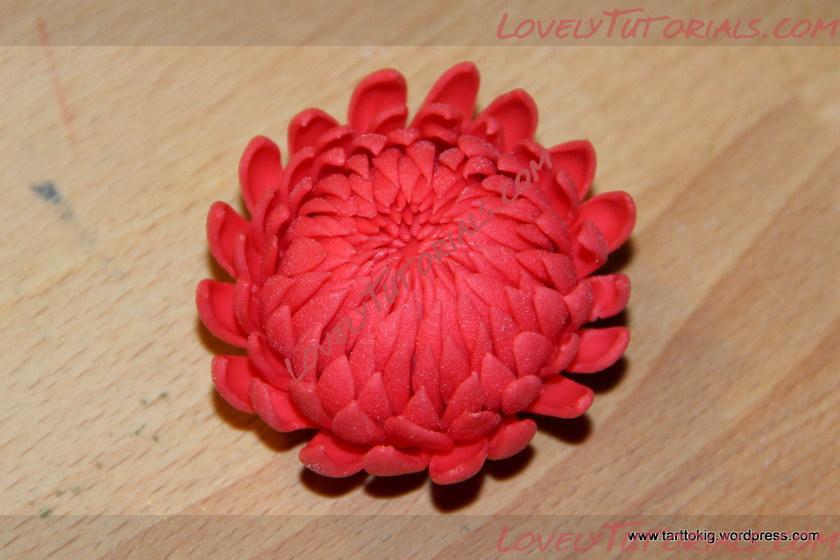
8.. Paint the center with black luster dust, and you’re done!
Hope you enjoyed the tutorial and that you’ll give it a try! If you have any questions, you can leave them in a comment below.
Thanks for watching, and good luck!
|

02.10.2014, 09:25
|
|
Местный
|
|
Регистрация: 23.04.2014
Сообщений: 201
|
|
Огромная благодарность ClayART за Мастер-класс
Материалы и инструменты:
1. Глина полимерная самотвердеющая. В данном случае - Hearty.
2. Краски масляные (для окрашивания глины).
3. Флористическая лента.
4. Проволока № 18.
5. Круглогубцы.
6. Зубочистка, рукоятка от кисточки.
7. Небольшой (5х5 см) кусочек гипюра
Время работы - 1-1.5 часа
Сложность - 1
Теперь попробуем сделать еще один цветок.
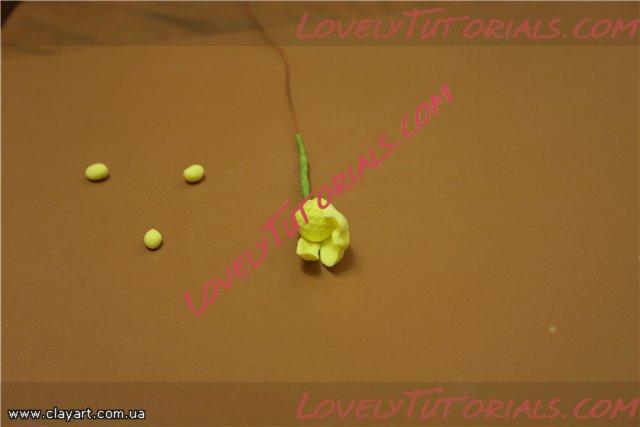
1. Берем желтую глину и отщипываем шарики не более 2 мм в диаметре. Раскатываем шарик, слегка закругляем полученную полоску с одной стороны и прижимаем к серцевине:
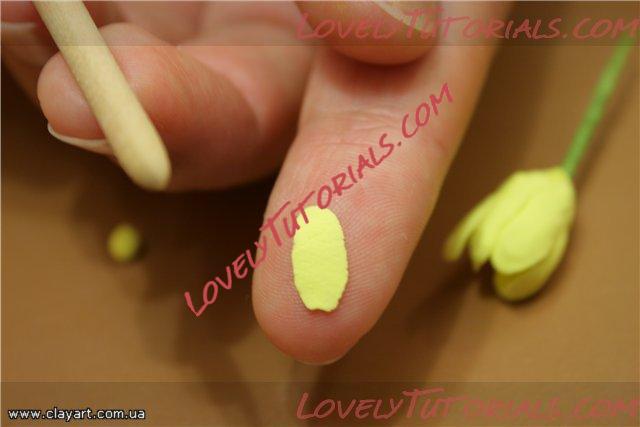
2. Затем берем шарики чуть большего размера, также раскатываем их:
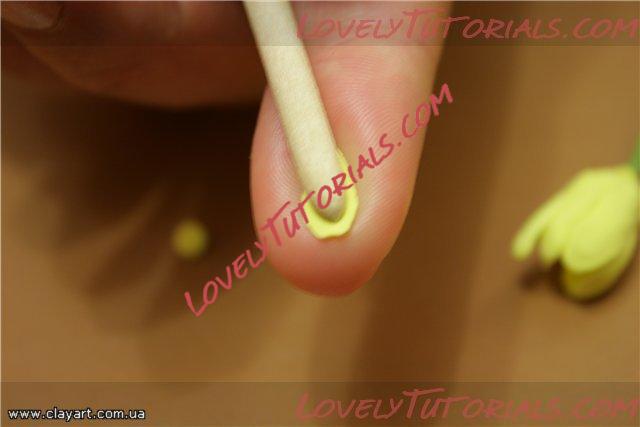
3. Закругленной рукояткой от кисточки (или стеком с шариком на конце) формируем лепесток:
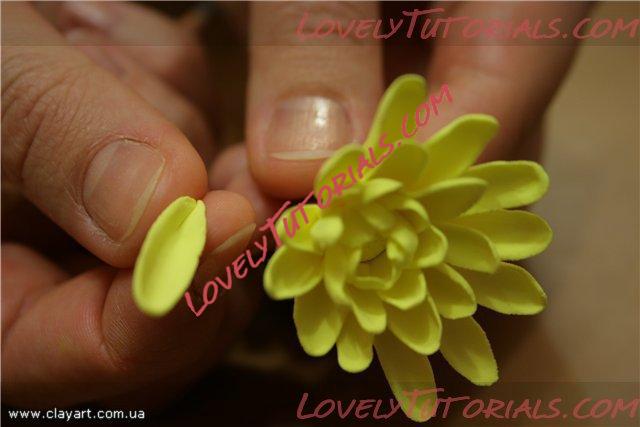
4. Приклеивая каждый новый лепесток - аккуратно разравниваем его с внешней стороны:
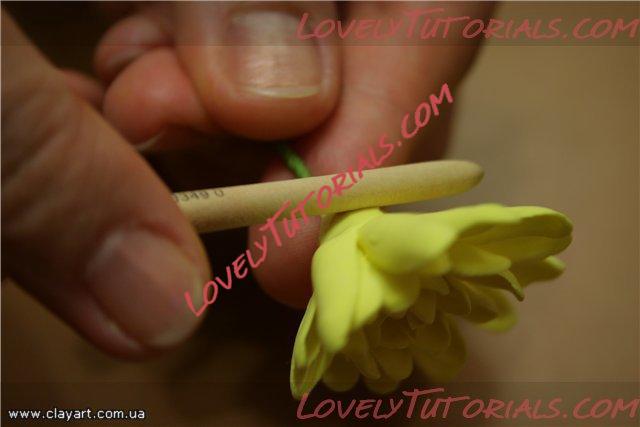
5. Продолжаем до полного завершения, каждый круг несколько увеличивая размер лепестка. Вы сами определяете, какой размер цветка вы хотите получить.
А вот что получилось у меня:
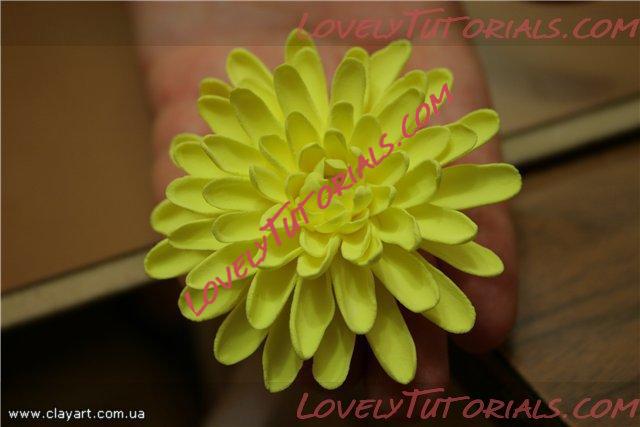
или так:
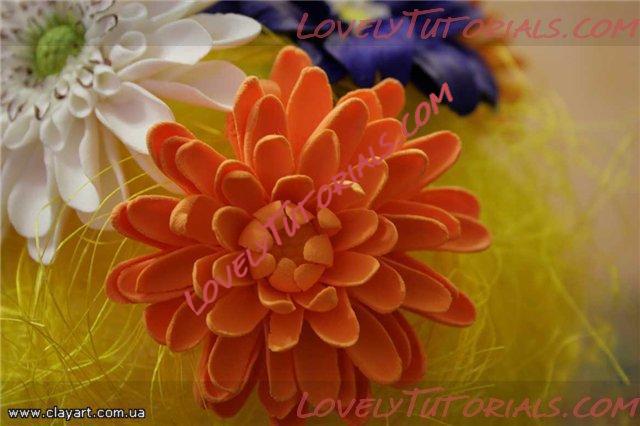
|

02.10.2014, 19:01
|
|
Местный
|
|
Регистрация: 23.04.2014
Сообщений: 201
|
|

Огромная благодарность Лана58 за Мастер-класс
я пользуюсь спицами… 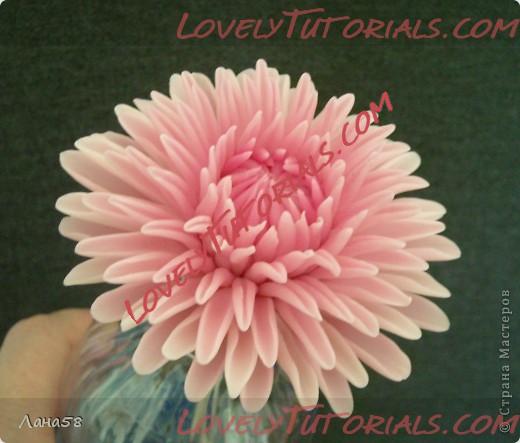
2.
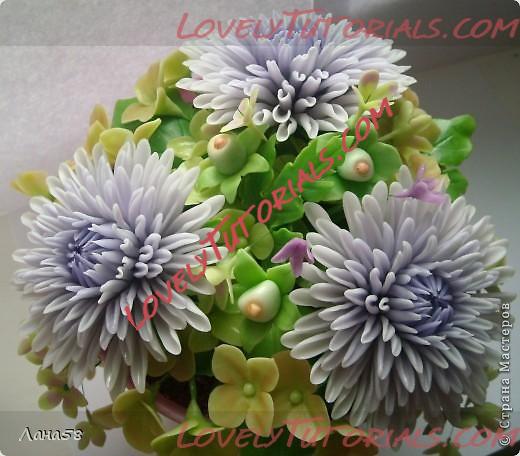
на 1 хризантему уходит 3 часа работы...но легче делать поэтапно за 2-3 дня...поэтому делаю сразу 3 цветка...первый день середины цветов(примерно 2-3 см.в диаметре) ,они высохнут и можно будет на следующий день приклеивать держа цветы в верх стеблем, сушить тоже в верх и вниз стеблем. в процессе сушки переворачивать придавая цветку желаемую форму. можно поправлять полусухие лепестки.
3.
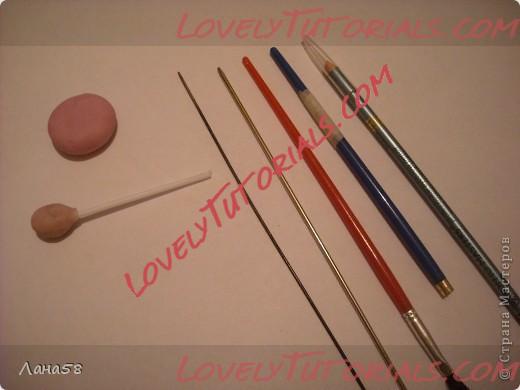
Всё, что понадобится :
4.
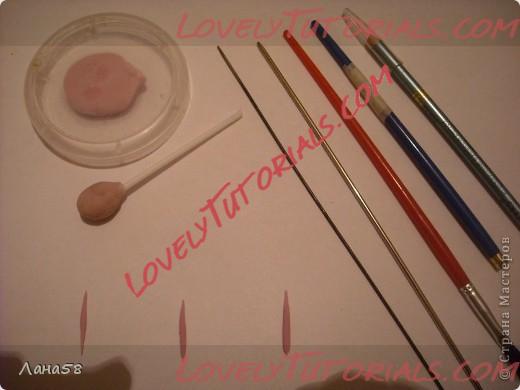
Первые ряды(по окружности) жгутики разной толщины…
5.
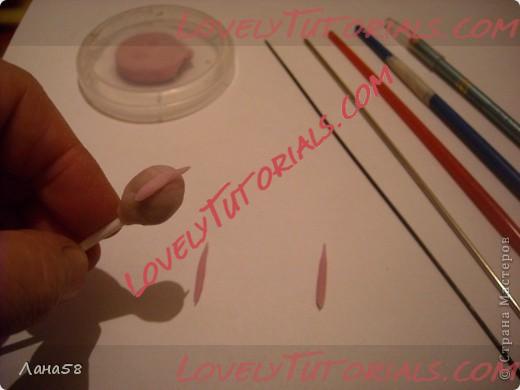
6.
Возьмём жгутик потолще, положим на него тонкую спицу и вдавим, получившиеся бортики прижмём(облепим спицу)
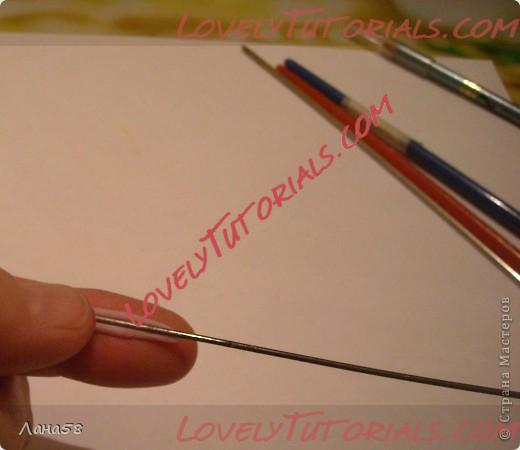
7.
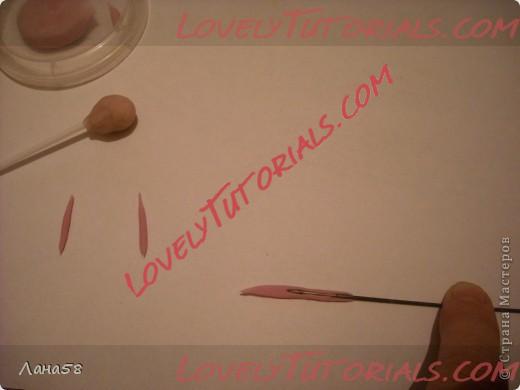
8.
убираем спицу медленно,поднимая конец спицы,одновременно лепесток выгибается дугой...
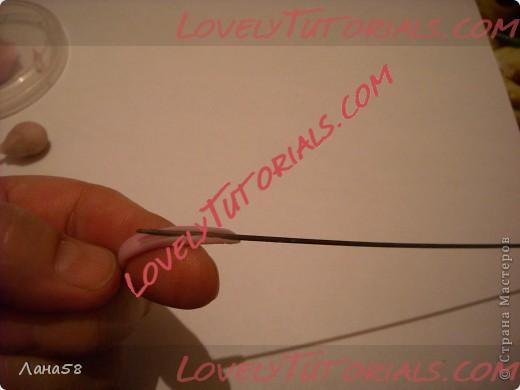
9.
Пальцами прокатать, сделать конус.
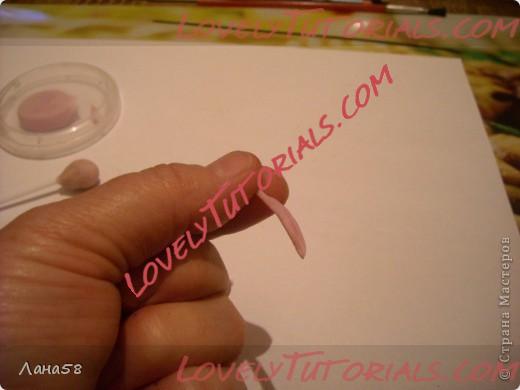
10.
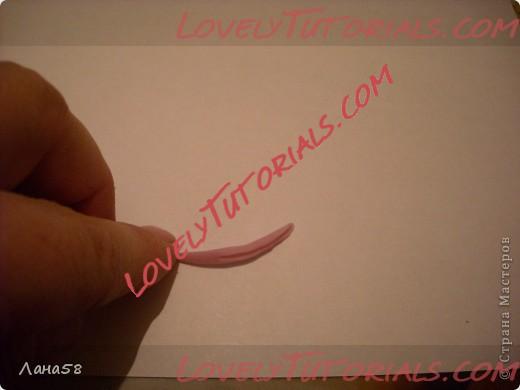
11.
Каждый ряд берём жгутики длиннее предыдущего
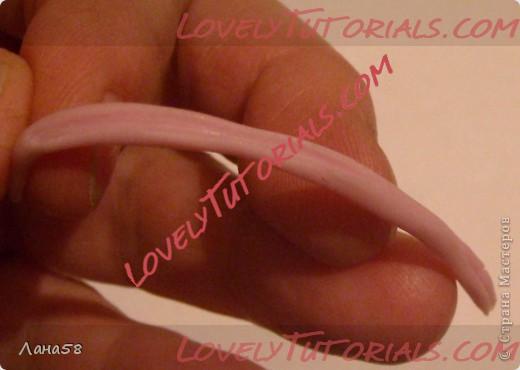
12.
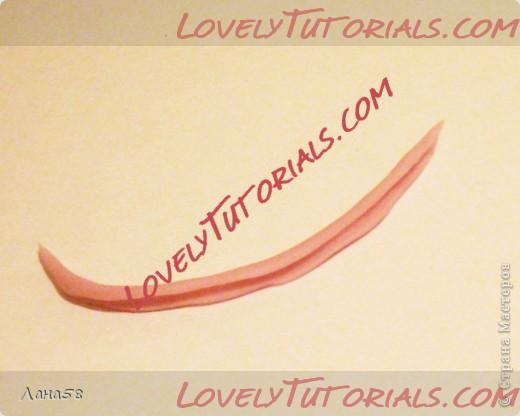
13.
В итоге получим примерно такую астру(фото живого цветка)
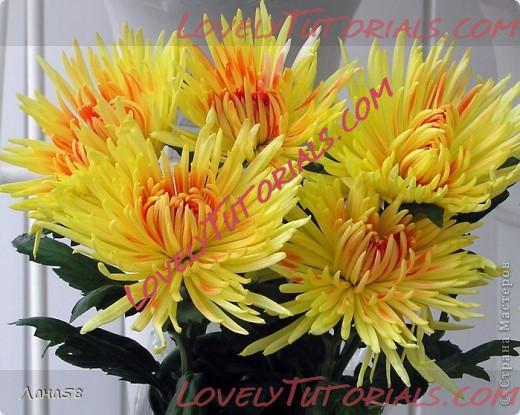
14.
Делаем жгутики с такой воронкой на конце и получим такой цветок
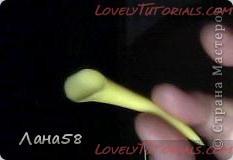
15.
фото живого цветка
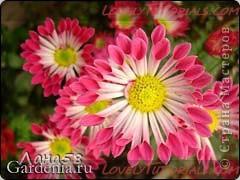
16.
фото живого цветка
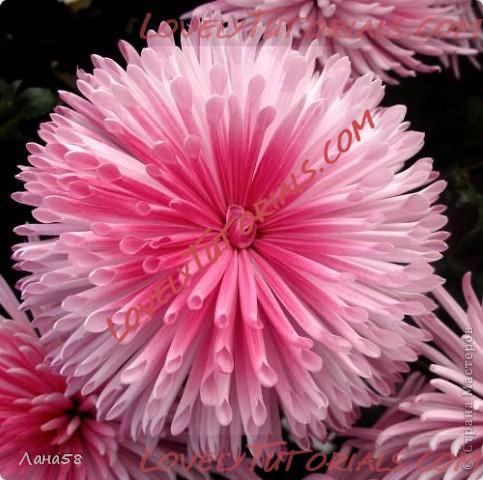
17.
Лепестки круглые, полые с лодочкой на конце делаем так (сначала фото живого цветка):
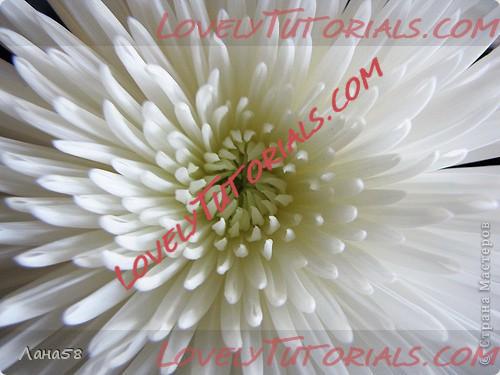
18.
ещё фото живого цветка
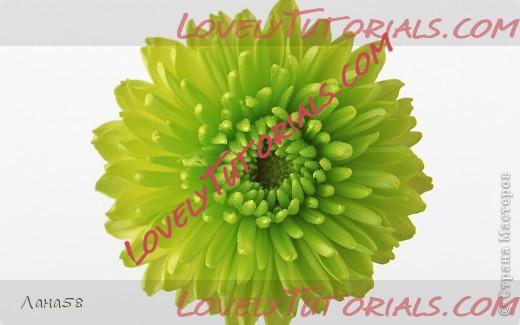
19.
здесь фото с блока Веры Анд...верхний цветок живой , а нижние её творения.по её просьбе я и делала МК....
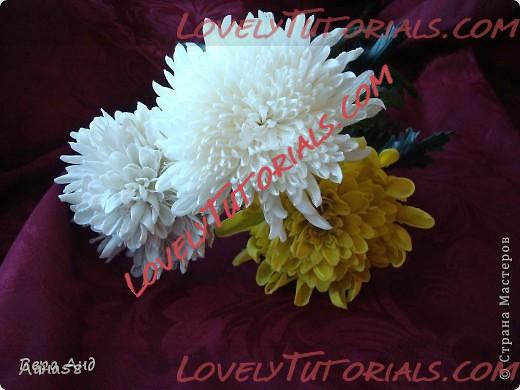
20.
Фото не получаются,…снимаю ночью…не видно загнутый носик…
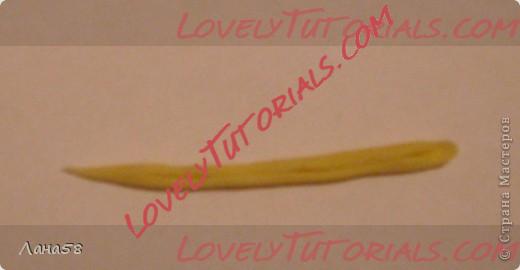
21.
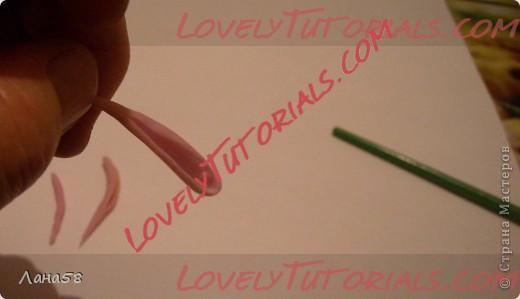
попробую подругому показать…слеплю очень грубый макет лепестка
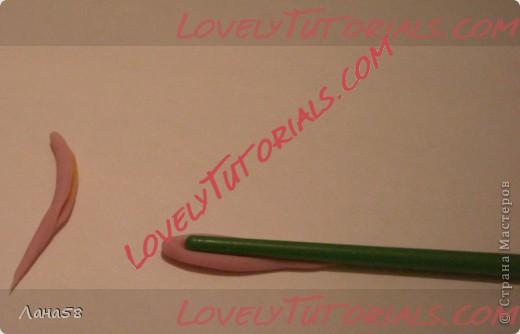
22.
вдавили,обжали...
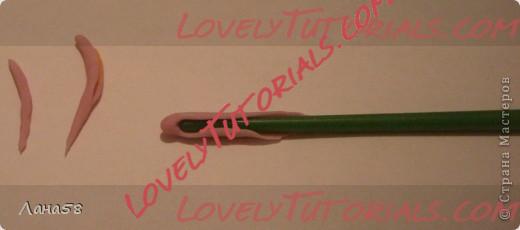
23.
вперёд продвинули и вдавили
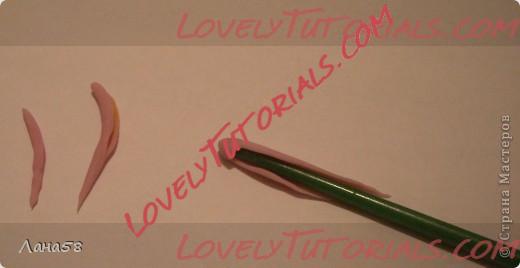
24.
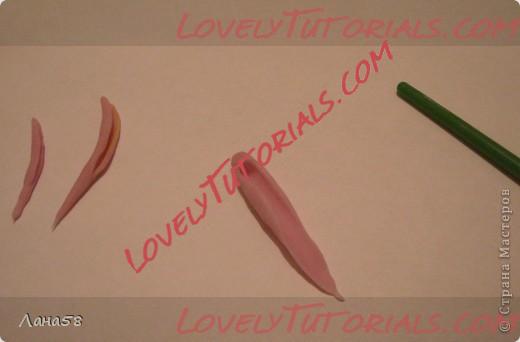
25.
Так видно лодочку на конце (здесь огромная «пещера»…иначе не видно…)
|
 |
|
|
Метки
|
armado de los ramos, arranjo, artesanatos passo a passo, baking, bloem, bloemen, blomma, blommor, blomst, blomster, blume, blumen, blüten, blütenpaste, boeket, bouquet, buchet, buket, bukett, bukiet, buquê, cake decorating, cake decorating techniques, cerâmica plástica, chiodi di garofano, chrysanthemum, chrysanthème, chryzantéma, clavo de olor, clous de girofle, cloves, cold porcelain, cold porcelain figurines, cold porcelain flowers, confeitando bolos, crisantemo, crizantemele torturile, csokor, cukrinių gėlių, curso completo de flores, curso de modelado, cvijet, cvijeće, decoracion de pasteles, decoración de tortas, decorare le torte, decorazioni, deko fondant, dekorace na dort, dekoracija, dekoracije, dekorasyon, dekorácie, el abc del armado de ramos, fimo, fimo flowers, fiore, fiori, fleurs, floare, flogistica, flor, floral inspirations, flores, flores azucar, flores e folhas, flori, floristics, floristik, floristikk, floristique, florística, flower, flower paste, flowering plants, flowers, flowers on a wire, folhas pintadas, fondan, fondant, fondente, fotopostup, gum pasta, gum paste, gum paste flowers, gumpaste, gumpaste flowers class, gėlė, gėlės, hand painting, handmodelliert, hideg porcelán, hladno porculan, how to, how tцветы на проволоке, kaldt porselen, kallt porslin, kalt porzellan, kolde porcelæn, koud porselein, kukka, kukkakimppu, kukkia, kvetina, kvety, květina, květiny, kwiat, kwiaty, kylmä posliini, kytica, leaves, making sugar flowers, mazzo, modellierpaste, modelləşdirmə, modelovanie, modelování, modelowanie, montando, motivtorten, nelken, oasis o esponja de floristeria, pap, paso a paso, passo a passo, passo-a-passo, pasta flexible, pocelana fria, polymer clay, polymer clay flowers tutorial, porcelaine froide, porcelana fria, porcelana fría, porcellana fredda, postup klinček, postup.tutorial, postupak za ukrasavanje, puokštė, ramo, rece porţelan, rododendron, schritt für schritt anleitung, schritt-für-schritt, sculpey flowers, sculpting, simple, soğuk porselen, stamens, steg for steg, step by step, step-by-step, strauß, studený porcelán, styrofoam, sugar cane flowers, sugar cloves, sugar flower, sugar flowers, sugar flowers for cake decorating, sugar paste flowers, sugarcraft, sugarpaste, sukker art, tecnicas de decoracion, tecniche, thai flowers, torte, torte decorate, torten dekorieren, torti, trin for trin, trin-for-trin, trinn for trinn, tutorial, tutorijal, ukrašavanje torti, uputstvo za dekoraciju, virág, virágok, wedding cake, wedding cakes, wire, zimno porcelany, zuckerblumen, ดอกไม้, सजा केक, मॉडलिंग, モデル, çiçek, çiçek modelleme, šalto porceliano, 建模, 裝飾蛋糕, 진달�?, κρύα πορσελάνη, μπουκέτο, αζαλέα, λουλούδι, λουλούδια, кветка, кветкі, квіти, квітка, куст, гвоздика, полимерная глина, полевые цветы, пошагово, природа, мк, моделиране, майстер-класи, маршмеллоу, мастика, мастер-класс, азалия, азалія, букет, листья, лепим цветы, лепка, лепка шаг за шагом, ліплення, растения, украшение тортов, украшение торта, свадебный торт, сахарная мастика, сахарный клей, уроки прикрашання, студен порцелан, торт, фимо, флористика, флора, холодного порцеляни, холодного фарфора, холодный фарфор, халоднага фарфору, хризантема, цветок, цветочная паста, цвете, цветя, цветы, цветы из полимерной глины, цветы из холодного фарфора, цветы на торт, шаг за шагом  |
|

