|
|
МК торт "Утка" -Duck cake tutorial V1
|

28.01.2015, 19:58
|
|
Администратор
|
|
Регистрация: 28.01.2015
Сообщений: 541
|
|
 МК торт "Утка" -Duck cake tutorial V1
Огромная благодарность tchitwood за Мастер-класс
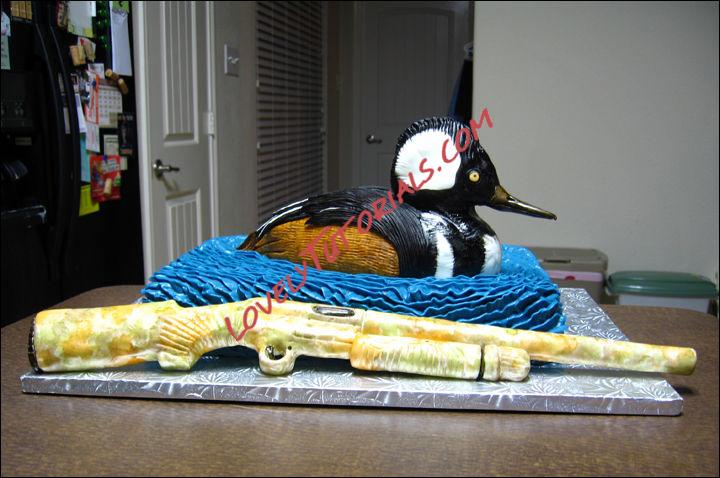
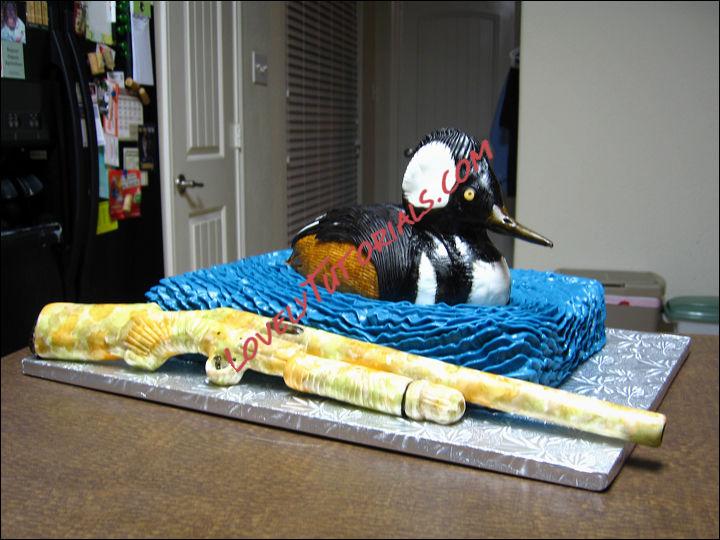
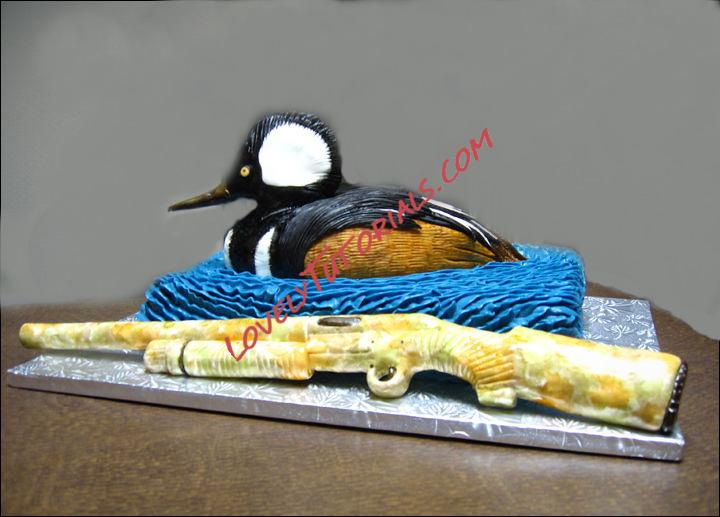
Here's a list of general supplies I used to make the cake:
• Cake pans for baking the cakes. I used a quarter sheet pan.
• General cake decorating supplies: Mixer, spatulas, turn-table, carving/clay/fondant/gumpaste tools, matt to roll fondant on, fondant rolling pin, gel food colors, knife, cake leveler, toothpicks, food-safe paintbrushes, small containers to mix food color "paints" in, tape, cake support dowels, etc.
• Ingredients to make cakes, icing, fondant and liquid to mix food colors with (you will mix the food colorings with something like vodka or clear extract, not water.)
I made a single quater sheet cake to be used as the "water" and a double batch of Rice Krispie® treats to make the duck.
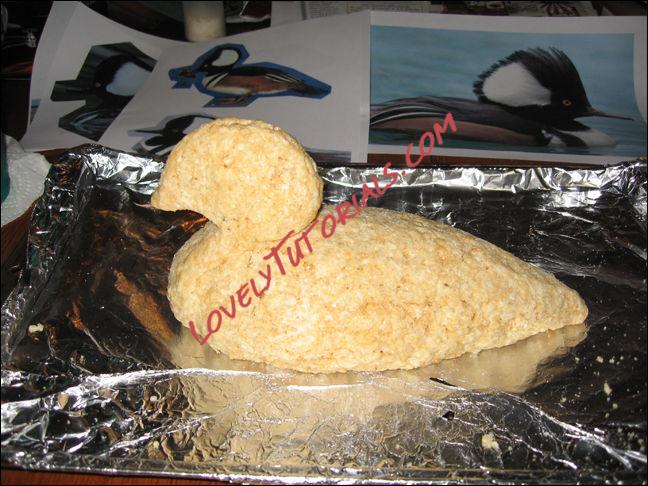
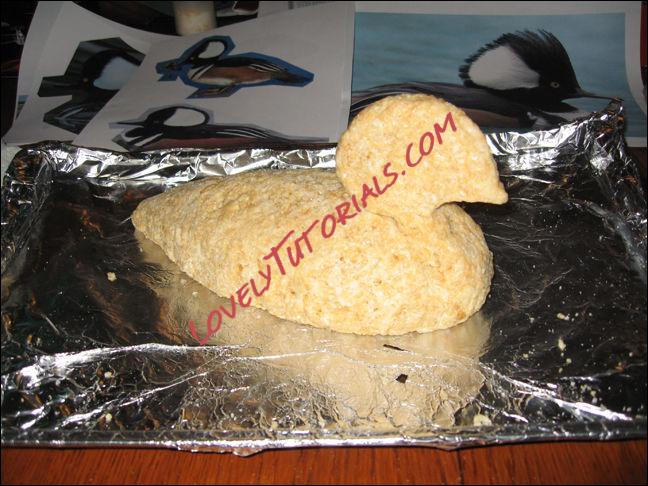
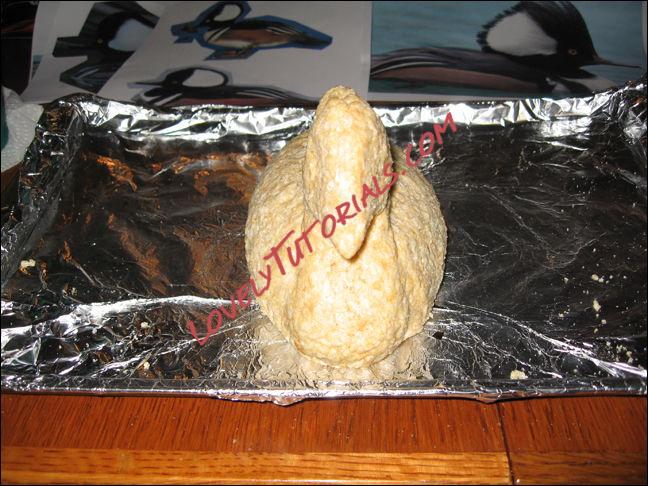
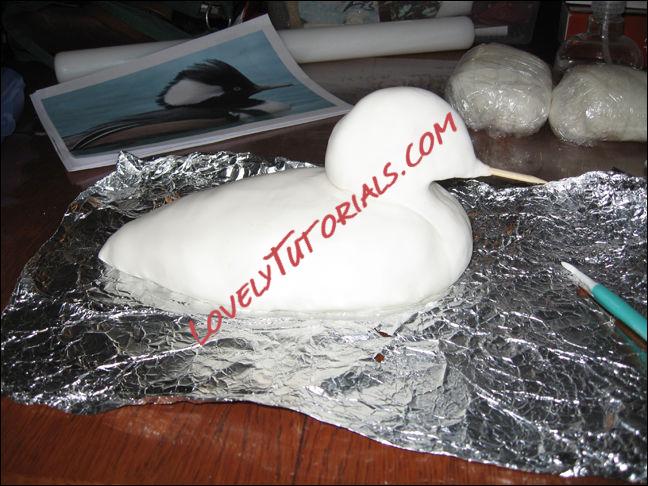
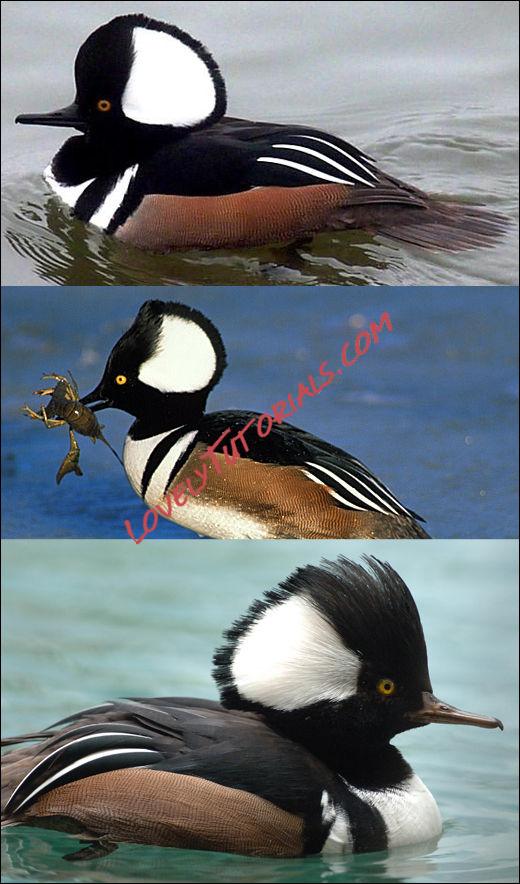
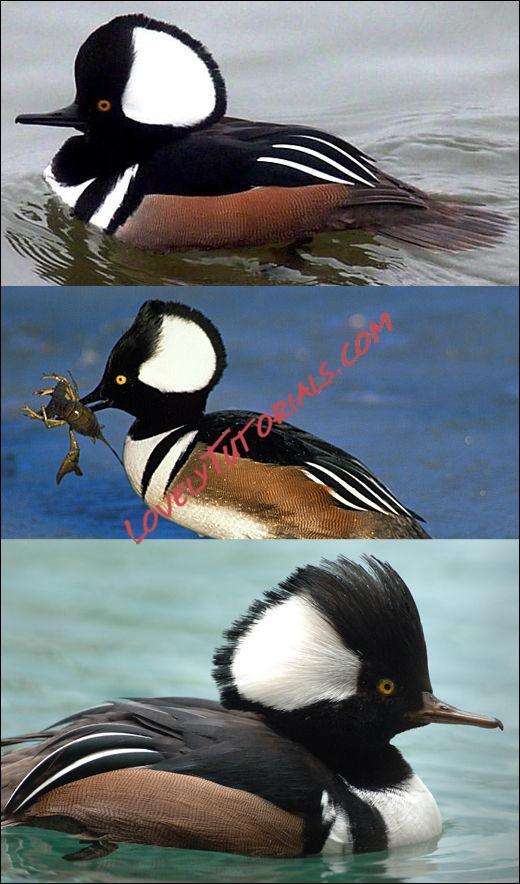
First thing I did was shape the duck out of the rice cereal treats. I did a search online of the hooded merganzer and printed up some photos of the duck from different angles that I could find. Then I started shaping it, starting with the body first, then the head. I left the beak off and used a bamboo grilling skewer, cut down, for the beak, and attached it after I was done with the fondant.
Next up, adding the fondant!
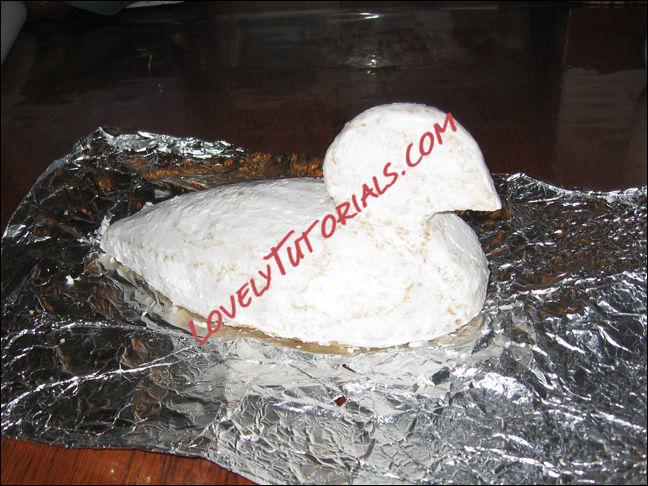
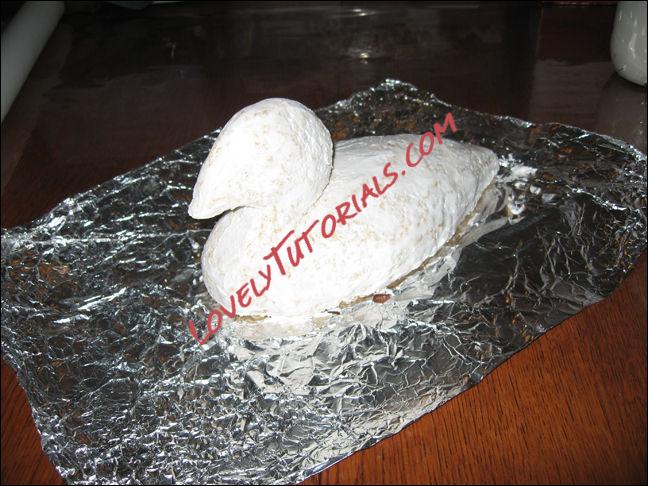
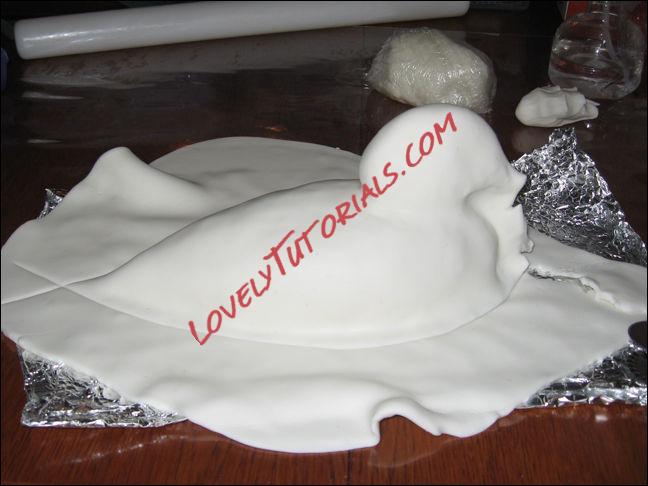
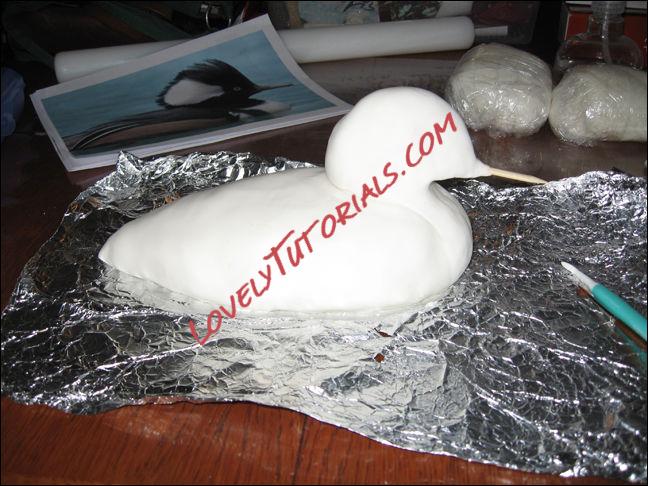
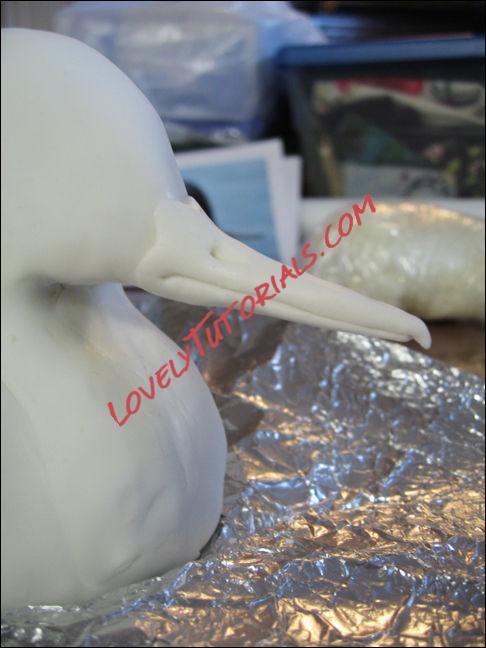
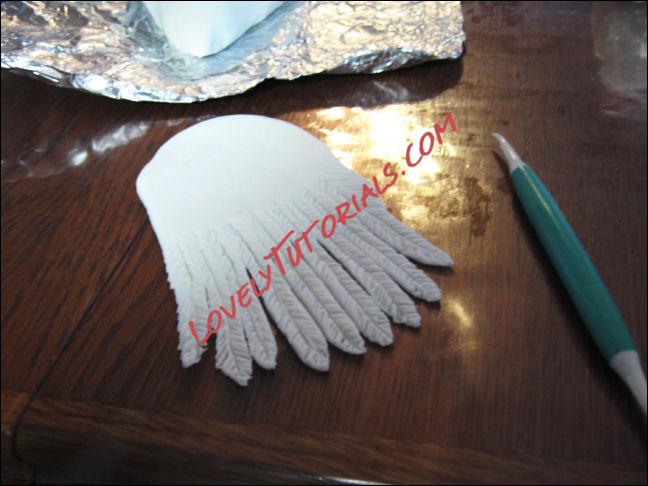
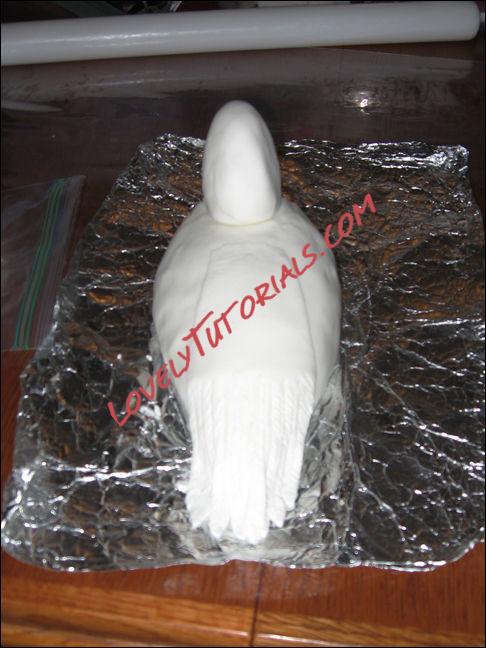
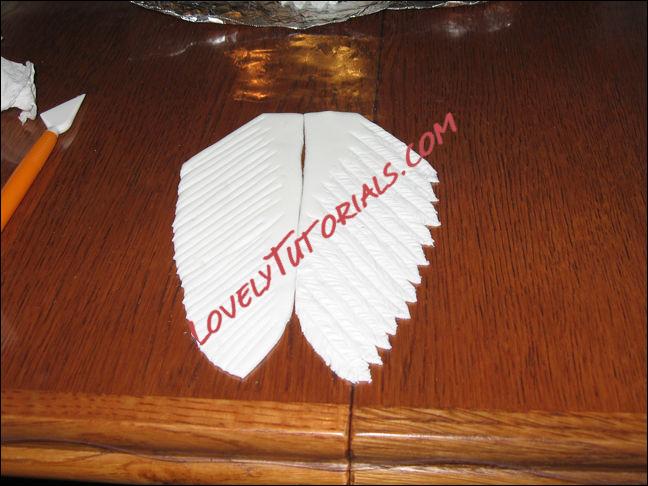
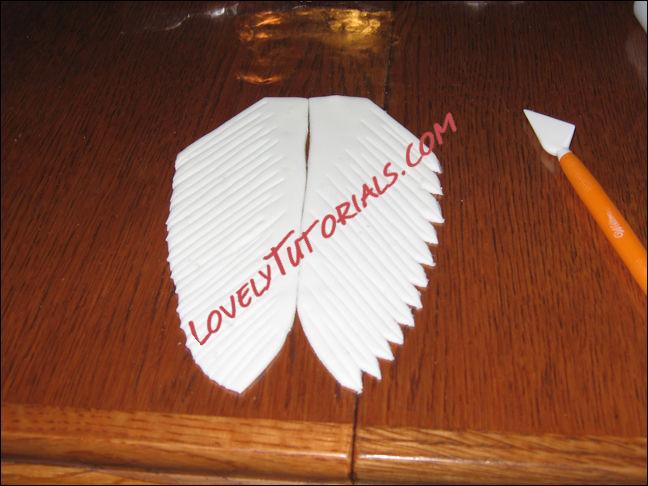
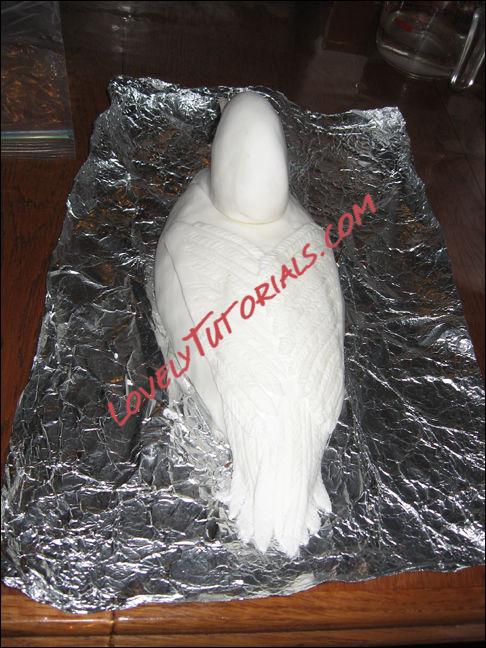
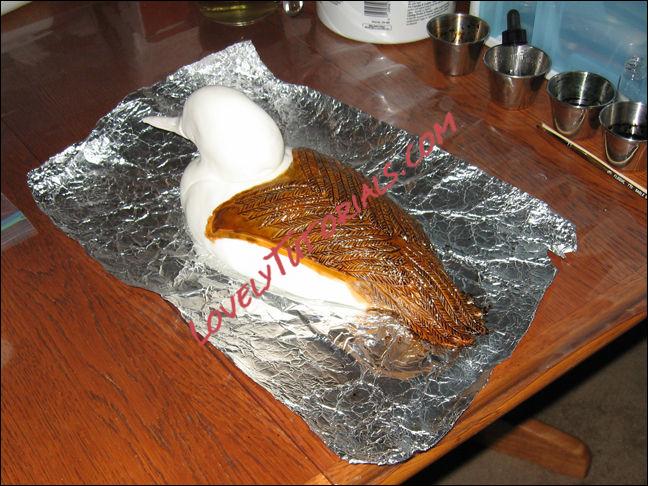
I spread a thin layer of icing on the duck and then started the fondant with an all over layer, smoothed all around and to the bottom and then trimmed the extra and smoothed under the duck.
Then added the bamboo skewer for the beak. I brushed some water on the bamboo and covered that with fondant. The water acts as a glue and adhered the fondant to the bamboo. Then I detailed the beak; shaping it, adding the line where the beak would open and adding nostrils.
Next up I started on the feathers of the body. I layered the pieces on so that I would have the right feathers where they needed to be. I thought of it as when painting. Painting the farthest background first, then painting what is next closer, and so on and so on until you paint the final foreground. or like making a pizza. Crust on the bottom, then sauce, then cheese, then toppings on top. I hope that all makes sense!
First I made the tail feathers. I made those in one piece and glued it to the Krispie duck's tail end with a little bit of water. I just used one of the pointy gum paste/fondant tools to make lines for the center feather spines and then short angled lines for the feather parts.
Next up were feathers on the back that angle in toward the center of it's back and kind of overlap. Made these the same way, one piece for each side, make the lines with the tool. Then glued them on.
Then, because it would be hard to get to after I started adding the next layers, I went ahead and painted those feathers in a brown food color & vodka mixture.
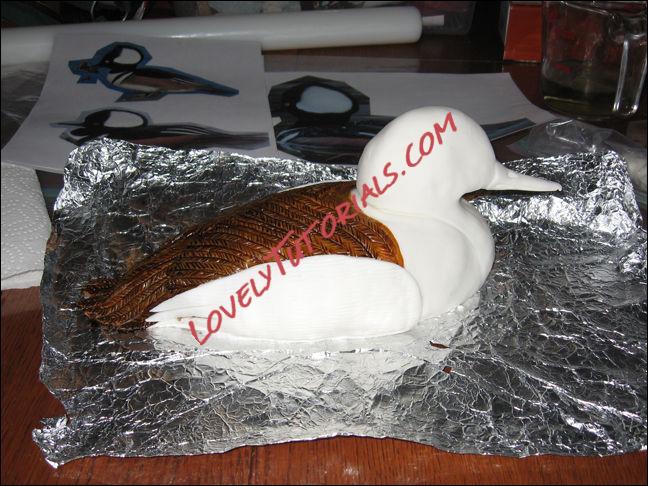
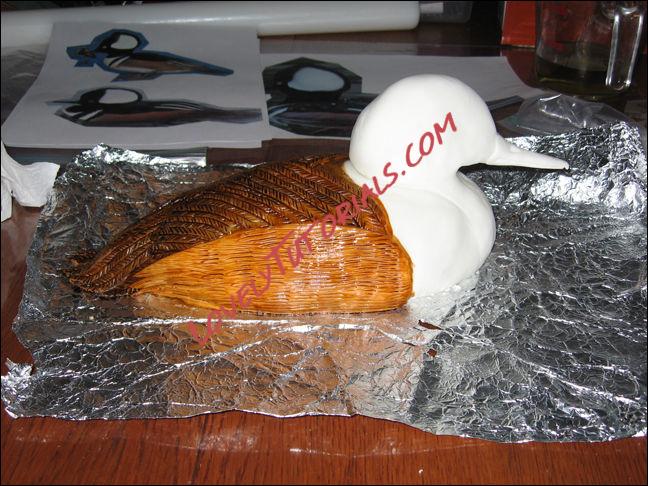
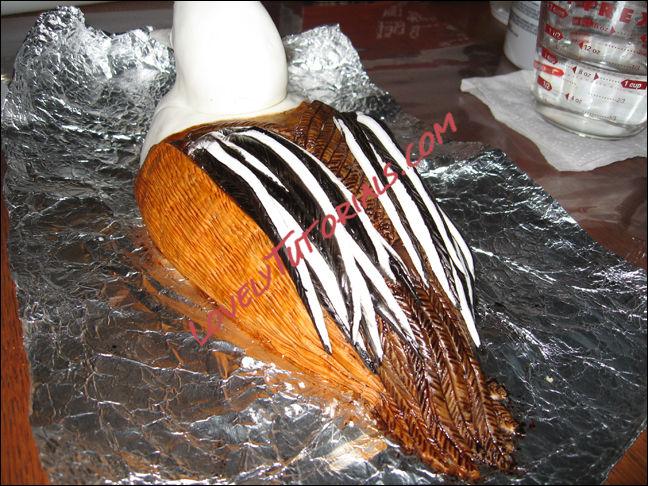
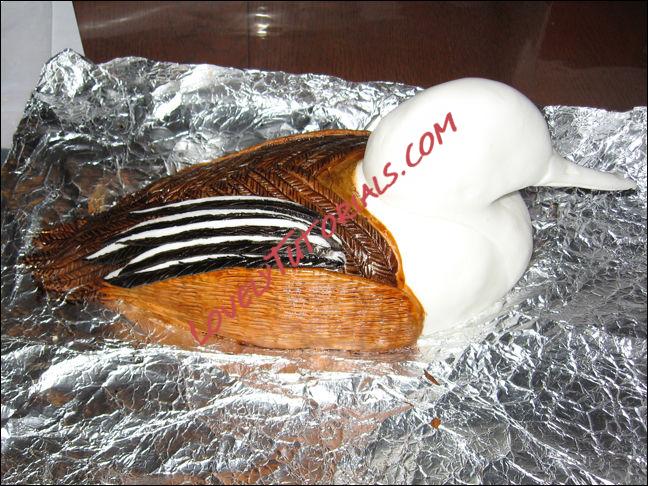
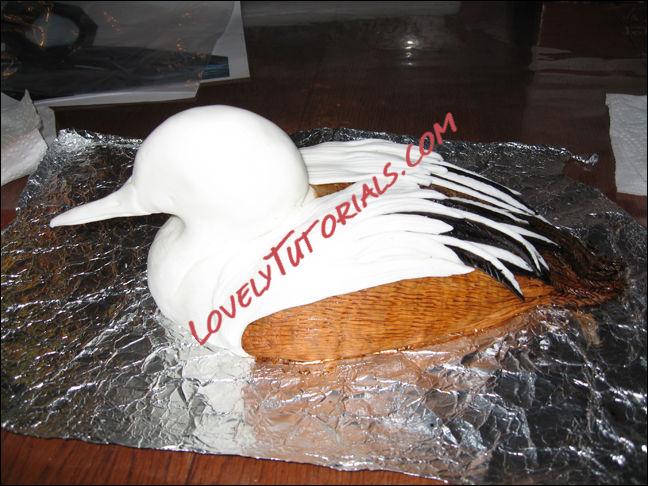
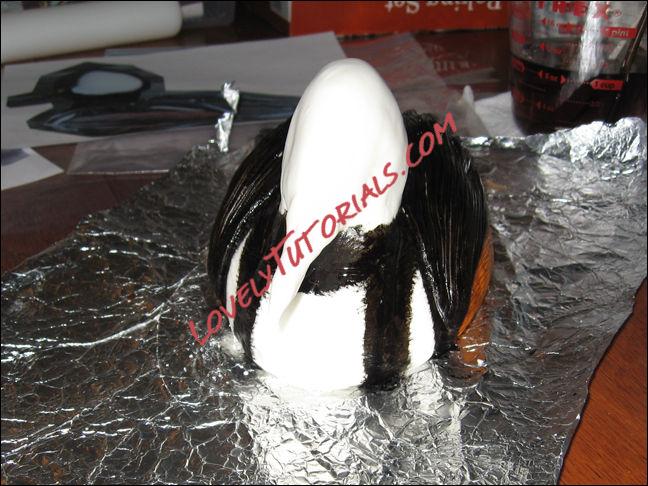
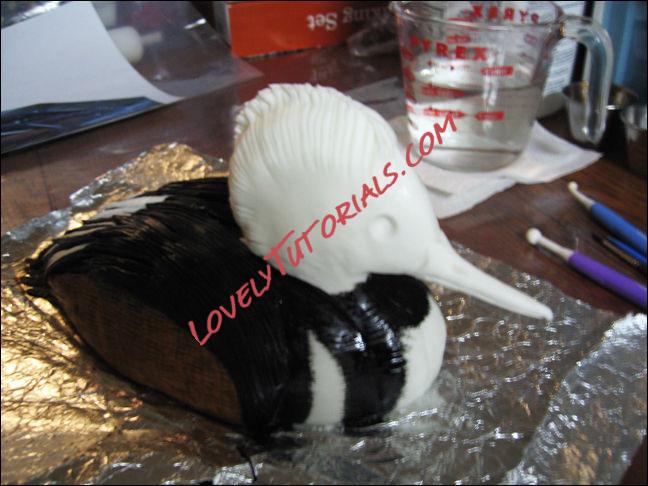
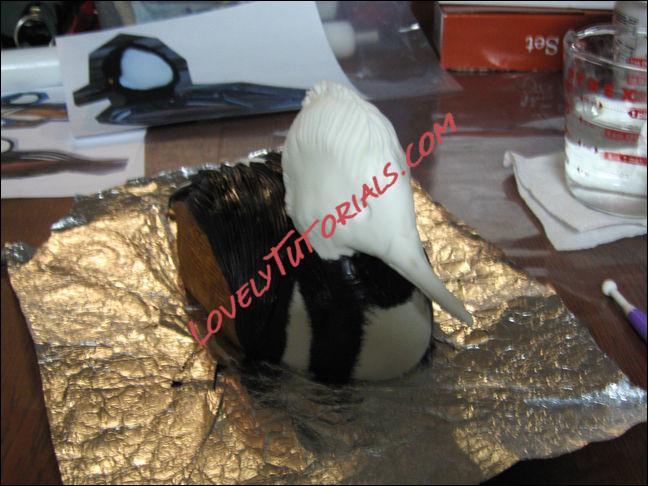
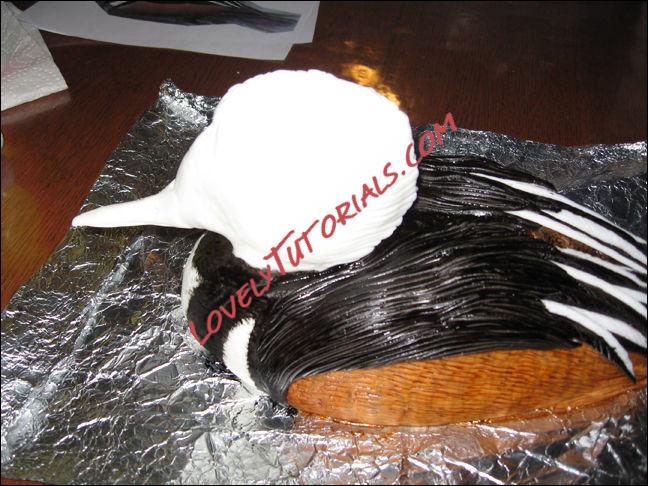
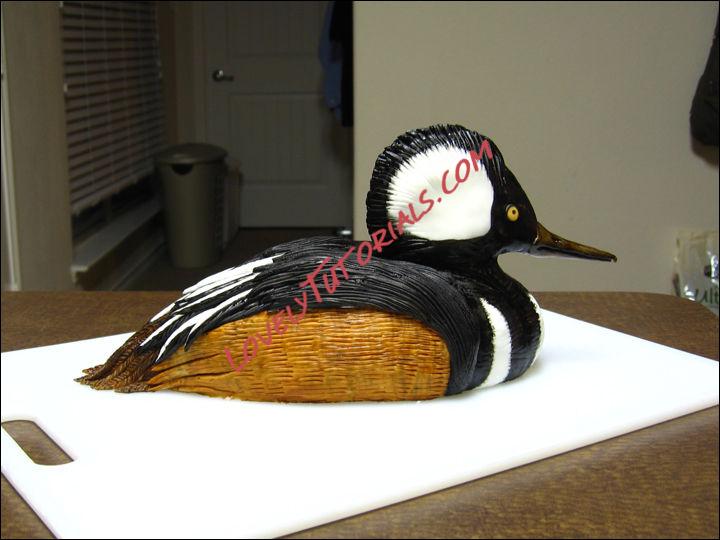
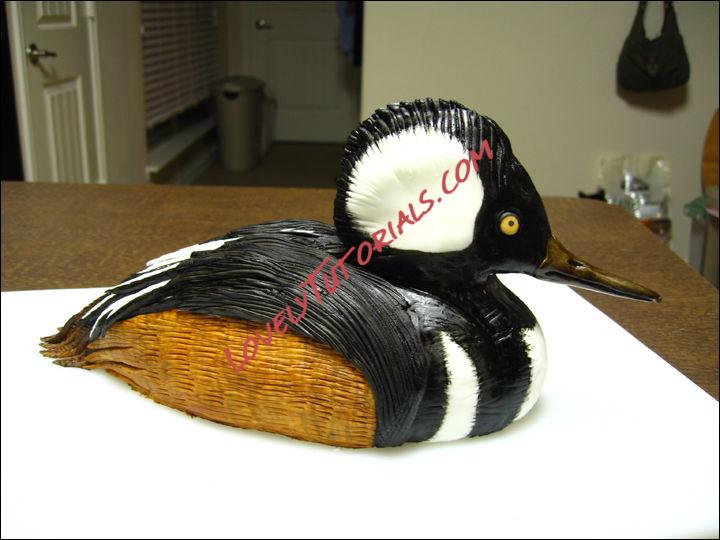
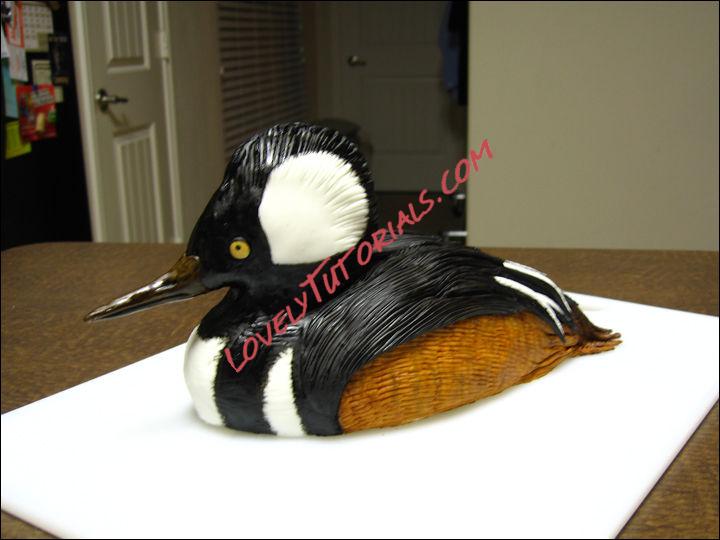
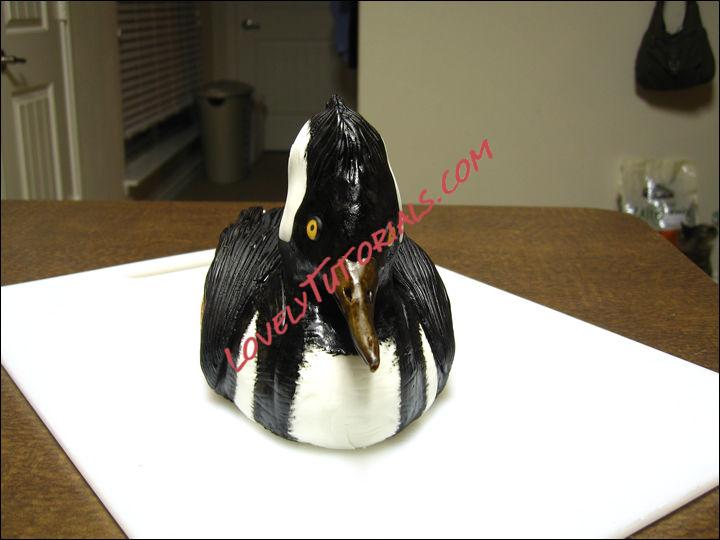
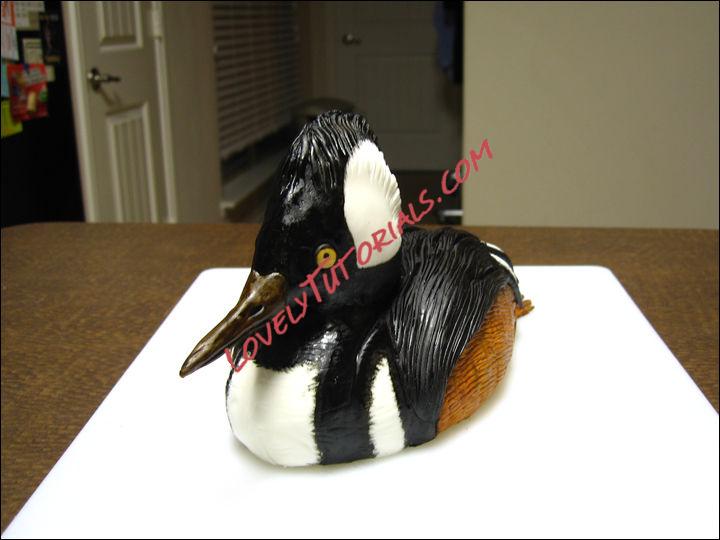
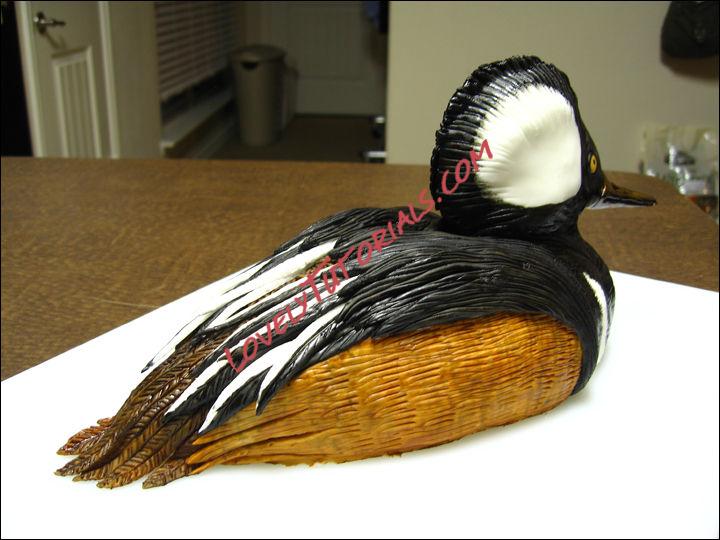
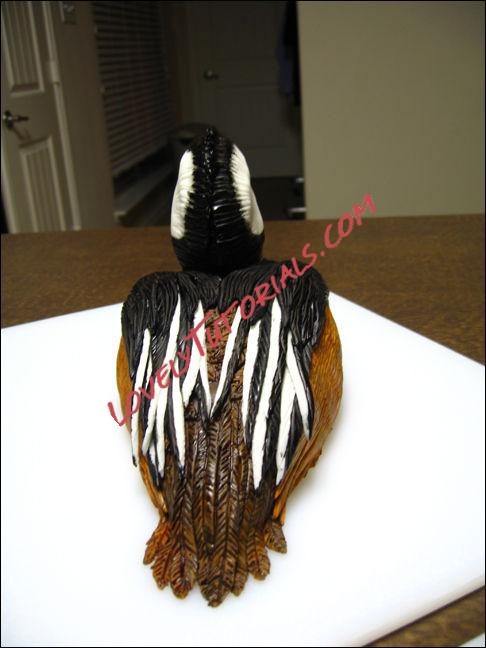
Next I made the side wing/feather panels. One for each side. Once they were shaped I glued them on the sides of the duck. Then I took one of the pointy tools and made short random lines horizontally on these parts. In the pre-painting photos it's hard to make out but you can see them well after they were painted.
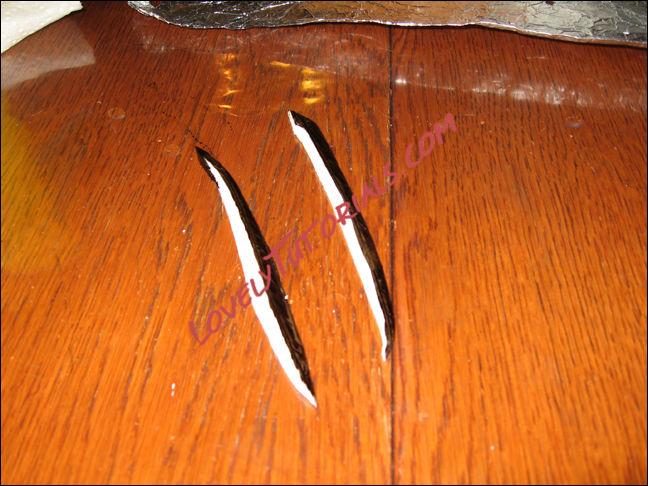
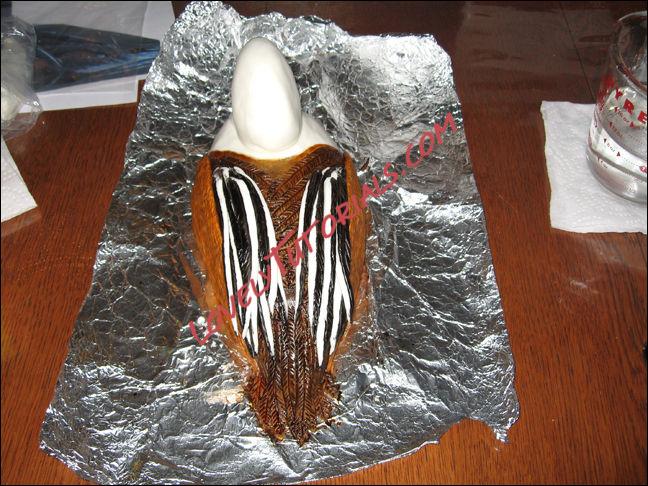
Next I made a bunch of single long skinny feathers, textured them similar to how I did the first feathers but with longer more angled lines, and painted half of them black. Then I glued each one in on the duck's back, on each side, overlapping them some on each side.
Then I added a single piece for each side to cover the front of the side parts and go over top of where the tops of the black & white feathers were glued down. I forgot to get a photo of this piece before adding it to the duck, when it was flat, but I textured this piece with lots of long lines, then glued it on and painted it black. In one of the photos you can see the texture and shape fairly well once it's painted.
Then I made some short horizontal lines around the front/breast of the duck and painted it to match the photos.
And the body is done! Next the head.
I didn't get photos of the head before I textured the crest feathers of the head. I basically gave it a mohawk that was the same width as the head at the bottom and kinf of rounded and tapered to a point along the top egde. Then I brushed on a little water where this mohawk bottom edge met up with the head and used my finger to smooth down the edge to blend it in with the sides of the head. next I took one of the tools and made the lines along the mohawk/crest/ridge.
Next I painted the head, the beak, and added eyes (little round balls od fondant glued in the socket holes and pressed in a little bit to fill out the socket a little) and painted those.
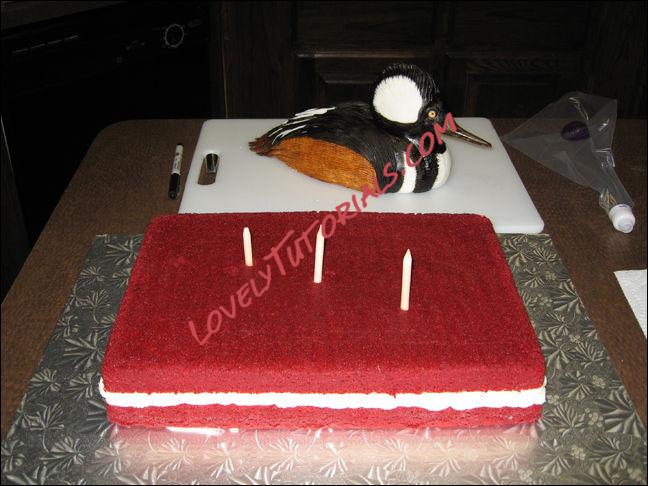
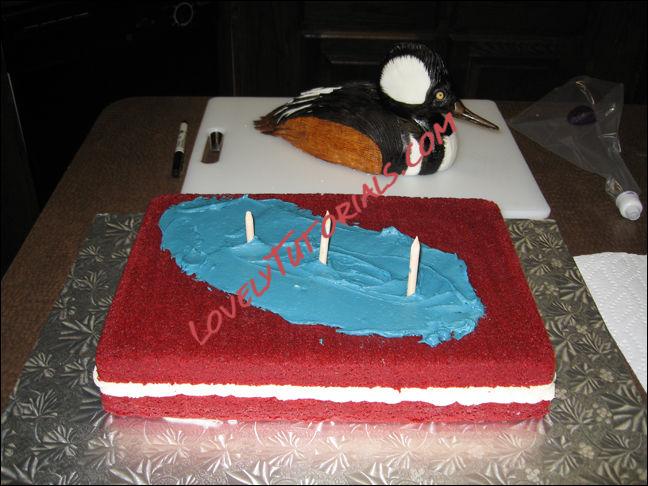
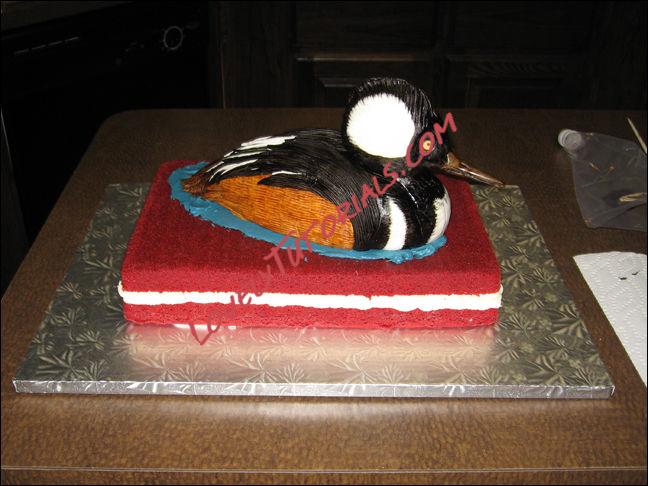
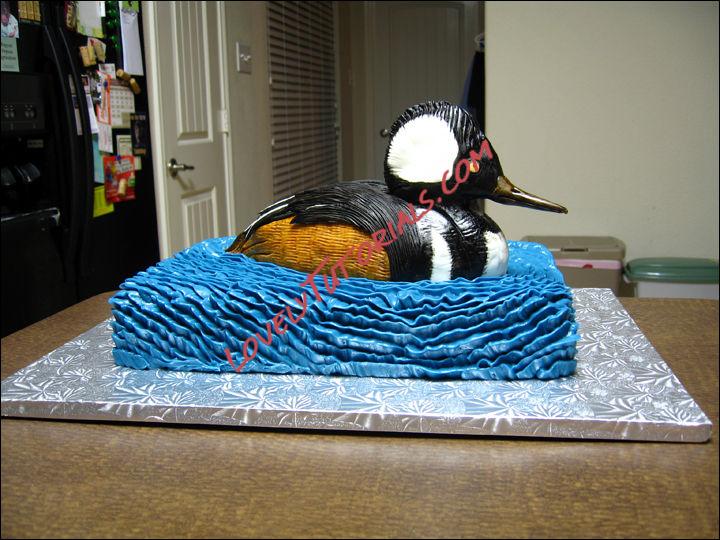
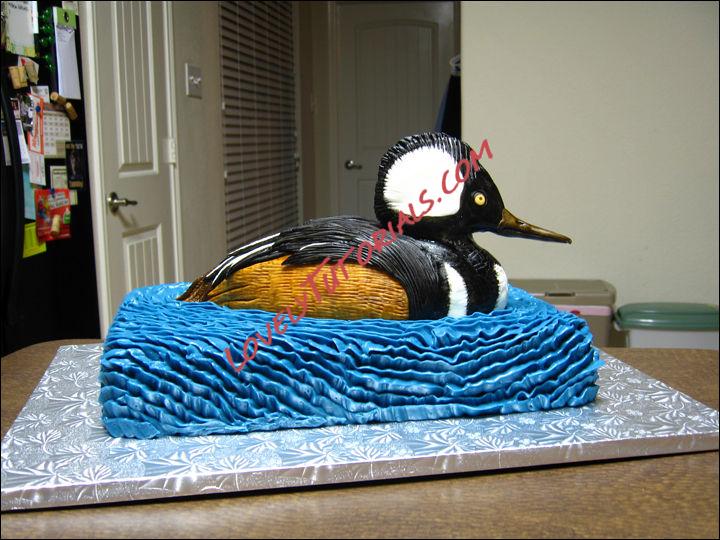
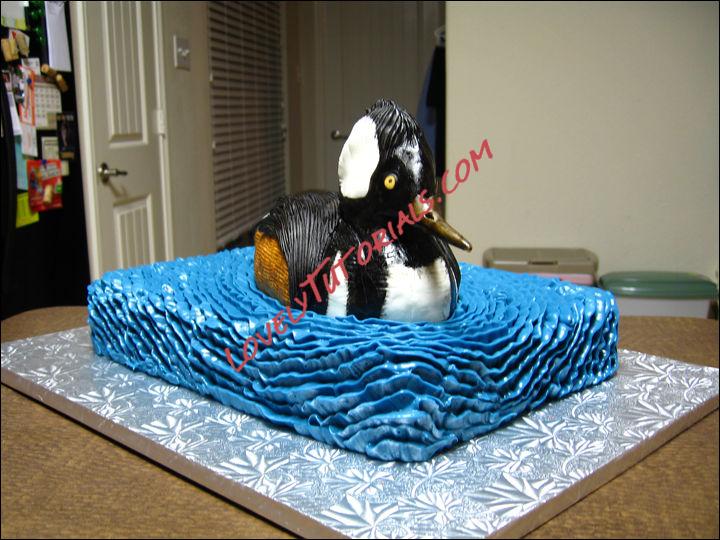
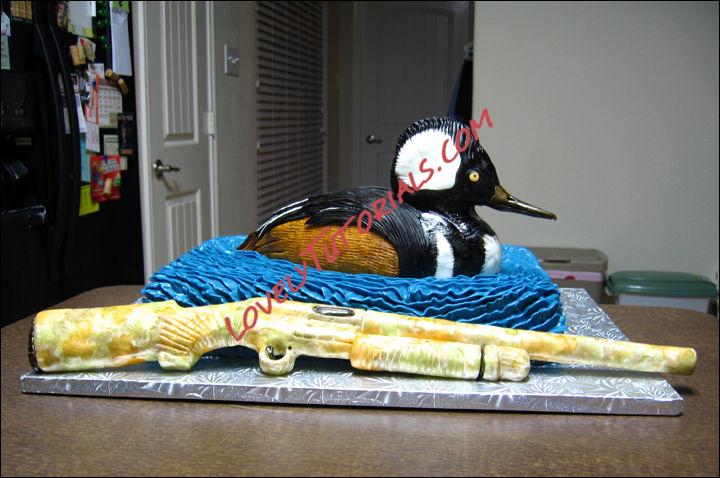
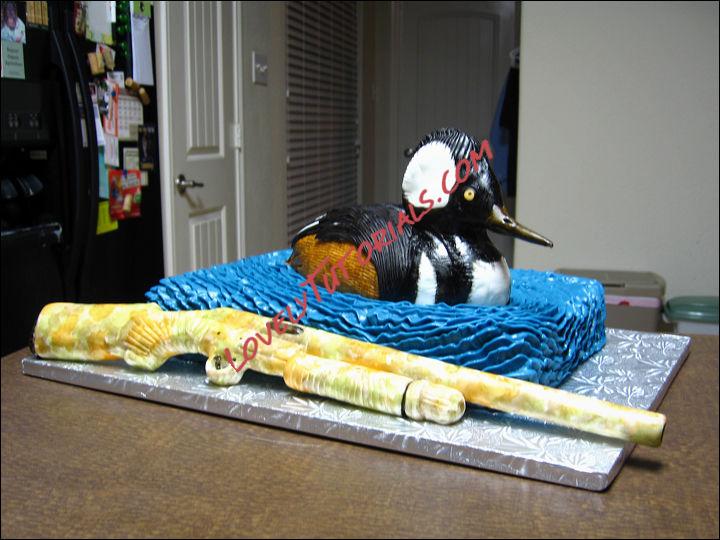
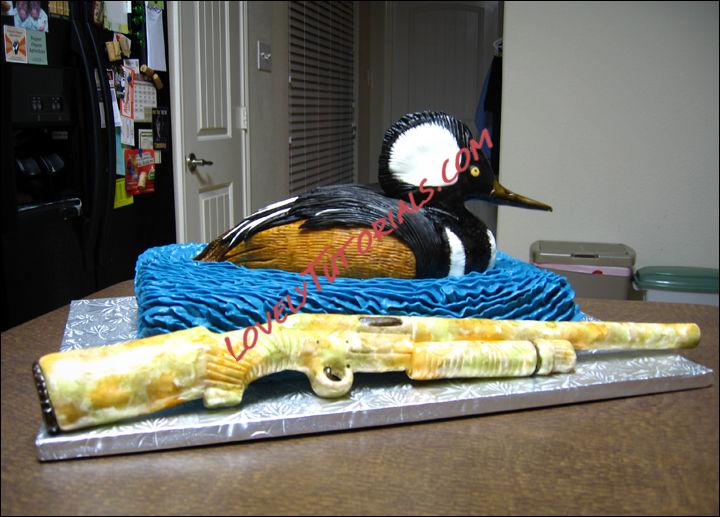
Once the duck was done I leveled, torted and filled the cake. To torte the cake means to cut it into layers, and in between the layers is the filling or icing. Once that was done I cut more bamboo skewers (making sure to sand the cut edges so they are nice and smooth) and then put them in the cake, pointy side up, where I wanted to put the duck. Pretty much in the middle due to the smaller size of the actual cake. The skewer where the tail end of the duck would be was made shorter so it wouldn't poke through.
I then spread some icing, colored blue, on the cake where the duck was going to go and the carefully pressed the duck down onto the skewers, down to the cake.
Then I filled an icing bag and used a petal tip #104, with the wider end downward, and piped in the water. I started at the back of the duck, up against it, and piped all the way around and continued out, around and around and covered all the cake.
Didn't get photos of the gun being made but it's the non-edible part. I basically hot glued plastic cake support tubes together after cutting them into the main shaped for the gun (barrel, handle?, etc.) Then covered it all with fondant, adding the other parts of the gun in fondant. Then painted it in a camo pattern. Modeled after his own gun.
Ans we are done!
|

31.05.2020, 16:27
|
|
Администратор
|
|
Регистрация: 10.03.2016
Сообщений: 1,002
|
|
МК торт "Утка" -Duck cake tutorial
|
 |
|
Метки
|
3d bizcocho, 3d bolo, 3d cake, 3d dort, 3d kage, 3d kager, 3d kake, 3d kek, 3d mallard duck cake tutorial, 3d pastel, 3d tarta, 3d torta, 3d torte, 3d torti, 3d torty, 3d κέικ, 3д дикая утка, addım-addım təlimat, adım, adım adım yönergeler, anatra, animais, animali, animals, animaux, anka, ankka, antis, artesanatos passo a passo, bemutató, bolando bolos, bolo, bánh, cake, cake decorating, cake decorating techniques, canard, ciasto, confeitando bolos, císte, de canard, decoracion de pasteles, decoración de tortas, decorada en fondant, decorare le torte, decorazioni, deko fondant, dekorace na dort, dekoracija, dekoracije, dekorasyon, dekorácie, djur, dort, duck, duck cake tutorial, duck template, dyr, dzīvnieki, eend, ente, fender, fimo, flower paste, fondan, fondant, fondente, fondente di zucchero, fotopostup, foundant, gebak, glazuur, gum pasta, gum paste, gumpaste, gâteau, hand-made, handmade, hayvanlar, heyvanlar, how to, how-to's, instrucţiuni, instrukcijas, instrukcje, jak na, kachna, kacsa, kaczka, kage, kage dekoration, kagedekoration, kager, kaka, kake, kakebaking, kakku, kačenka, kačica, kejk, kek, keks, kook, korak, korak za korakom navodila, korak-po-korak upute, koristeet ja koristelu, krok, krok po kroku, krok za krokem, krok-za-krokem, kuchen, kue, kūka, las instrucciones, las técnicas, le tecniche, les techniques, los animales, lukie, marshmallow, masa flexible, master-class, master-klasse, master-klasy, meistras klasės, metodikas, mistr třídy, modeling paste, modellierpaste, modelling past, motivtorten, návod, opplæringen, pamoka, pap, pas, pas-cu-pas, paso, paso a paso, passo, passo a passo, passo-a-passo, passo-passo le istruzioni, pasta de miel, pasta flexible, pastel, patka, pato, postup na 3d torty, postupak za ukrasavanje, pâtisserie, raca, raţă, schmelzend, schritt für schritt anleitung, schritt-für-schritt, schritt-für-schritt-anleitungen, stap, stap-voor-stap, stap-voor-stap instructies, steg for steg, steg-för-steg-instruktion, step, step by step, step-by-lépésre, step-by-step, step-by-step instructions, sugarcraft, sugarpaste, suikerglazuur, tarta, tarte, technieken, techniken, techniki, techniky, technikák, techniques, tecnicas de decoracion, tecniche, tehnici, tehnike, teknikker, teknikler, tiere, tort, torta, tortas, torte, torte decorate, torten dekorieren, torti, tortu, torty, trin, trin for trin, trin-for-trin, trin-for-trin instruktioner, trinn, trinn for trinn, trinn-for-trinn-instruksjoner, tutorial, tutoriale, tutorias, tutorias/ideas para decorar los bizcochos, tutoriel, tutorijal, técnicas, ukrašavanje torti, uputstvo za dekoraciju, vịt, zuckermasse, zvieratá, zvířata, सजा केक, जानवरों, ट्यूटोरियल मास्टर वर्ग, केक, कदम, कदम दर कदम निर्देश, तकनीक, बतख, เค้ก, アヒル, ケーキ, étape, étape par étape les instructions, ördek, ördək, öğretici, động vật, žingsnis, žingsnis po žingsnio, živali, 動物, 宗師級教程,一步,一步一步的指示� � � �技術,udžbenik, 裝飾蛋糕, 蛋糕, 鴨, 동물, 케이크, κέικ, βήμα, βήμα προς βήμα οδηγίες, οδηγίες βήμα βήμα, ζώα, πάπια, παντεσπάνι art, τεχνικές, φροντιστήριο, инструкция, как сделать, качка, крок за кроком, крок за крокам, покроково, пошагово, пошаговые фотки, пакрокава, патица, патка, миниатюра, мк, мк торт "утка", майстор-класа урок, майстар-клас, майстер-клас, майстер-класи, маршмеллоу, мастика, мастер-класс, животни, жывёлы, зд торт, зд торта, ручной работы, ручная работа, украшение тортов, сахарная мастика, уроки прикрашання, утка, стъпка, стъпка по стъпка инструкции, торт, торта, тварини, техники, техника, техніка, туториал, туторіал, тэхніка, шаг за шагом, інструкцыя, інструкція  |
|

