|
|
 |
|

25.07.2011, 11:27
|
|
Администратор
|
|
Регистрация: 07.09.2010
Сообщений: 7,669
|
|
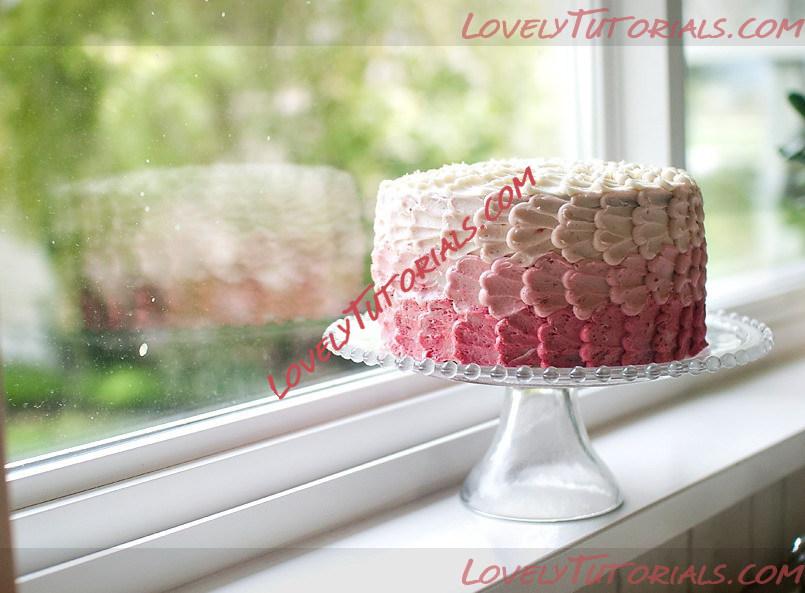
 Pretty Petal Effect
спасибо огромное Melissa Diamond за МК
слова и фото автора
Hi everybody! Today we had so much fun making this cake. I used a technique that was simple but elegant. I hope that you like it too— I’m not sure what to call it, so I’m calling it the petal effect…. :0) –
I started with vanilla buttercream, a smallish angled spatula with a rounded edge, and a piping bag fitted with a medium sized round tip (I used a Wilton Tip 12).
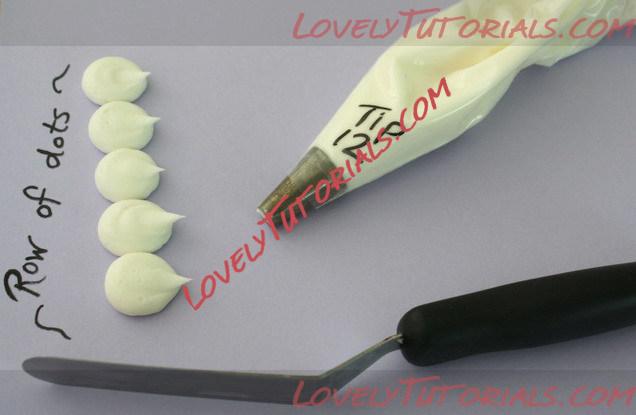
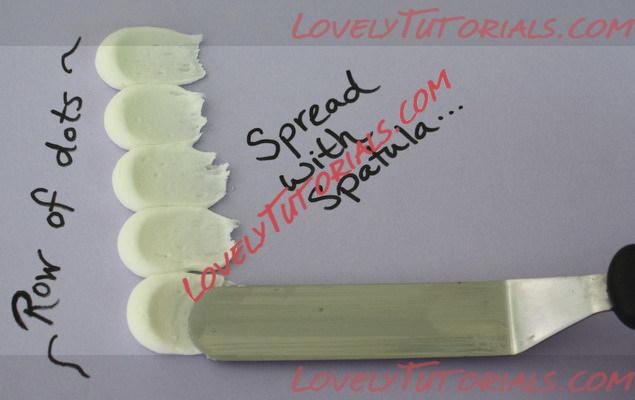
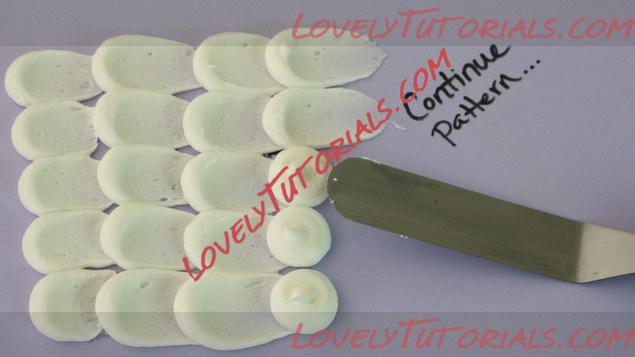
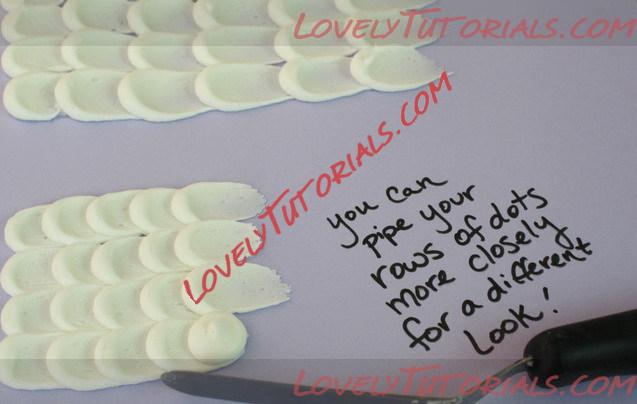
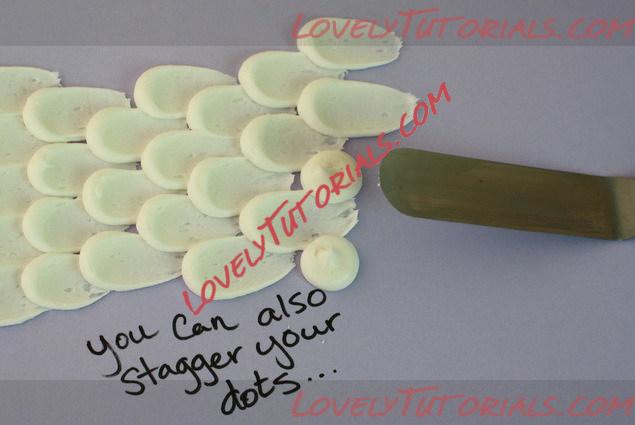
Now that you know how, grab a cake & beautify it! :0) — I crumb coated my tiers, stacked them, and then started piping and spreading. It takes a little while to make it all the way around, but the results are so worth it! I topped off mine with a gum paste flower—but really, it would have been fine without anything at all. We taped a video tutorial today as I decorated the cake–I’ll post it soon! I would love to do cupcakes sometime using this same technique. I’ll show you when I do! :0) —
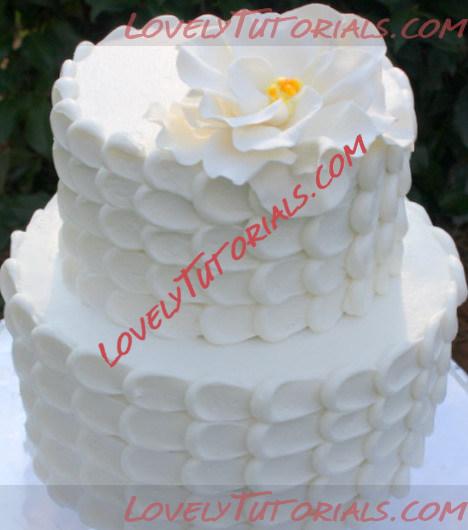 One question….how do you do the last row and have the “swipe” go under the first row?
I should have included a shot of the back. You do have to fudge it a little bit where the first and last lines meet up—but it is a pretty forgiving design and most would not notice a difference. Still, I decide in advance what the back of my cake will be (if I have a preference), and that’s where I begin & end my piping for all of my tiers. If you pipe your first row of vertical dots, and flatten all the way across (rather than leaving the left side of the dot elevated as in all of the other rows), you’ll find it easier to pipe and spread your last row of dots in a way that disguises the beginning and ending point. Hope that makes sense! Also, if you are using a crusting buttercream, you’ll find that it’s easier to manipulate the icing once it crusts if you need to.
|

25.07.2011, 13:15
|
|
Администратор
|
|
Регистрация: 07.09.2010
Сообщений: 7,669
|
|
Автор Melissa
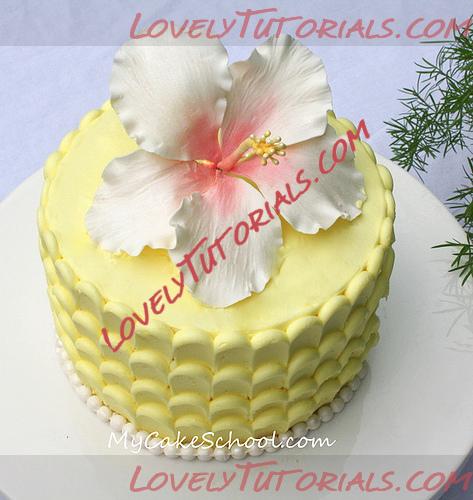
Автор Jami Messinger
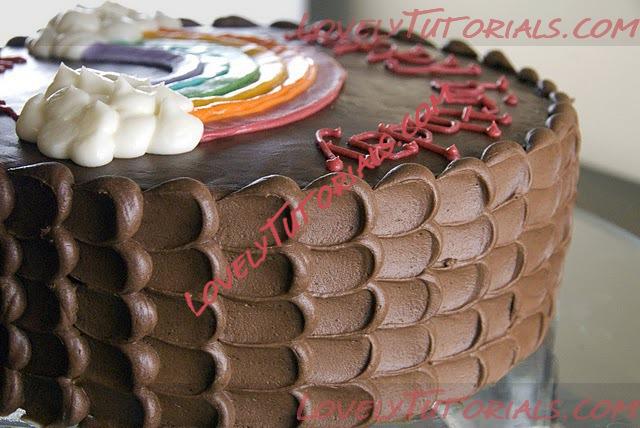
Автор kgoodpasture
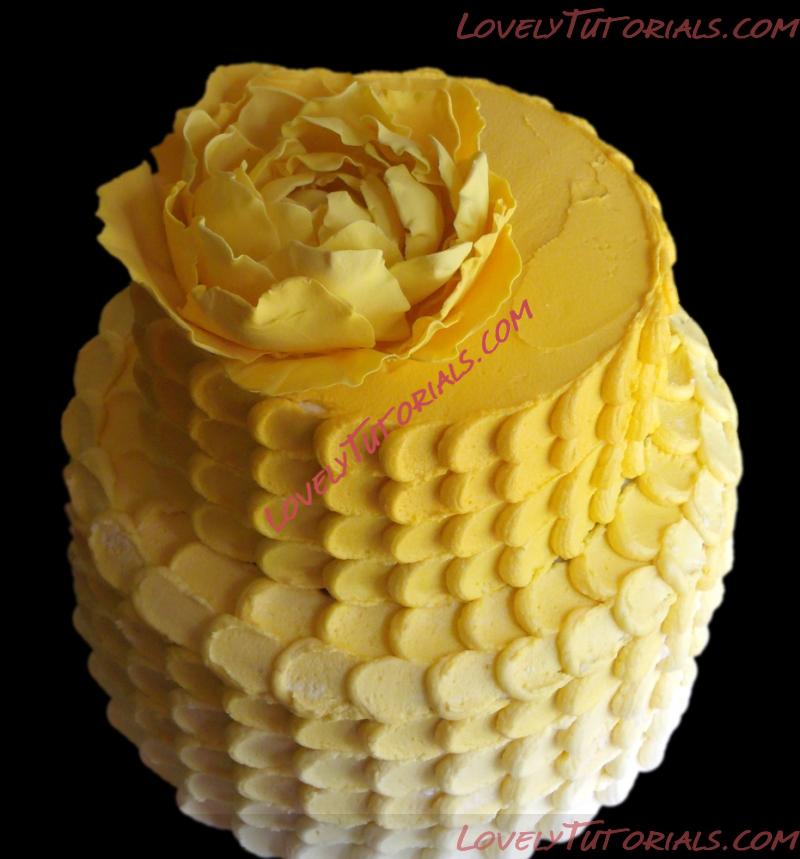
Автор Jen12345
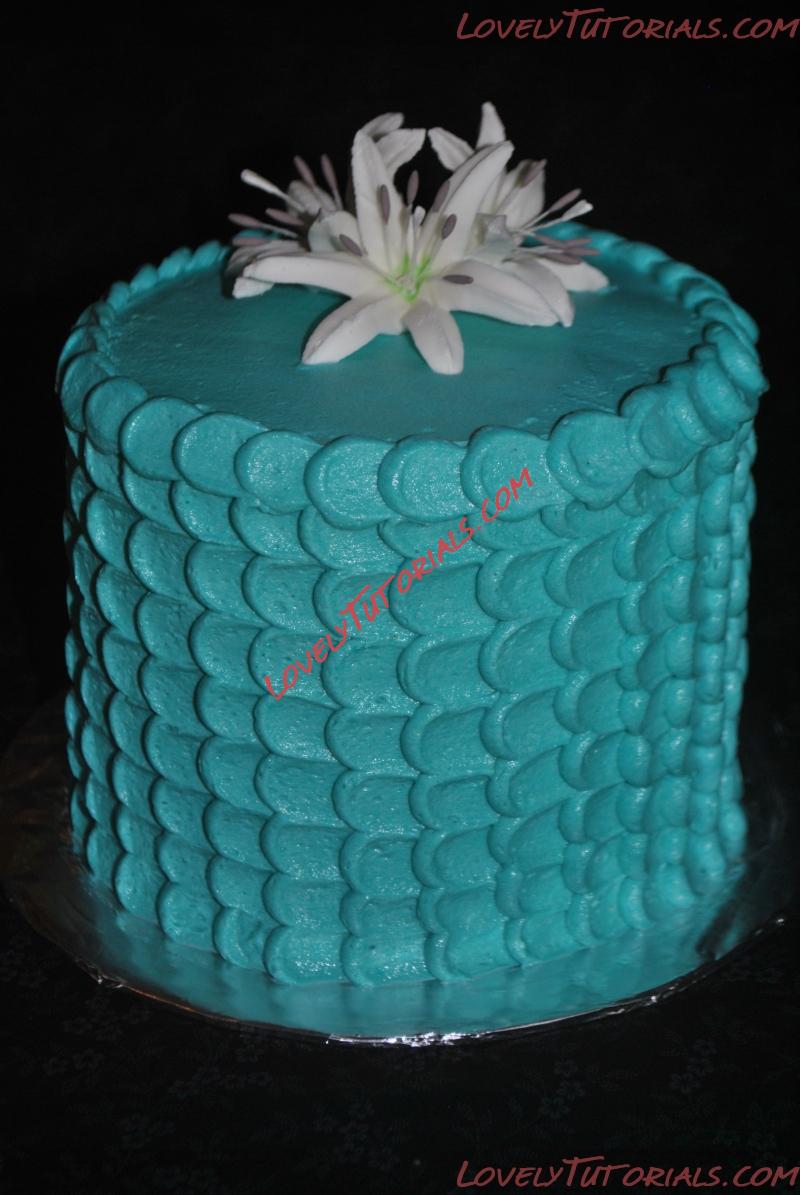
|

04.12.2011, 09:57
|
|
Администратор
|
|
Регистрация: 07.09.2010
Сообщений: 7,669
|
|
|

04.12.2011, 10:05
|
|
Администратор
|
|
Регистрация: 07.09.2010
Сообщений: 7,669
|
|
спасибо огромное iammommy за МК
I decorated this cake in six minutes last night.
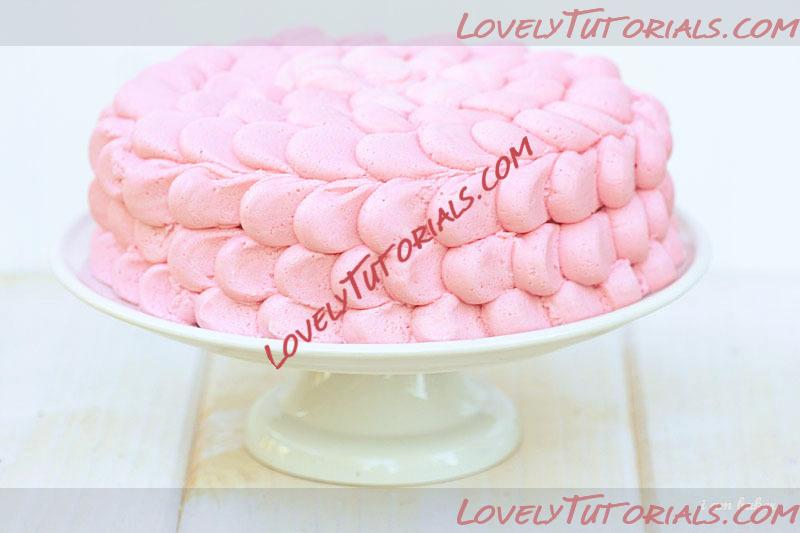
Seriously. It took maybe six minutes to cover the whole cake.
So now YOU can decorate a cake in six minutes.

They sure look alike huh?
Not.
I did use the same technique, just a different sized decorators tip!

This is a 9PT tip. I got it from here.
The original is a #7 tip. (from Wilton)
And this...

is a 2A tip! (also from Wilton and much more common then a 9PT tip!)
  
1. Apply gentle pressure to bag and place some frosting on your cake.
2. Make a 'dot' with your tip.
3. Push down and away. Like you are moving the tip away from the dot, but taking a bit of the frosting with you.
Repeat this 203* times and you have a fun decorated cake!
*total guessitmate

Its a quick process and has a big impact.

Pretty, pink, silly, different, unique, and fun enough to delight any recipient!
|

25.04.2012, 16:57
|
|
Администратор
|
|
Регистрация: 07.09.2010
Сообщений: 7,669
|
|
by EasyBreezy
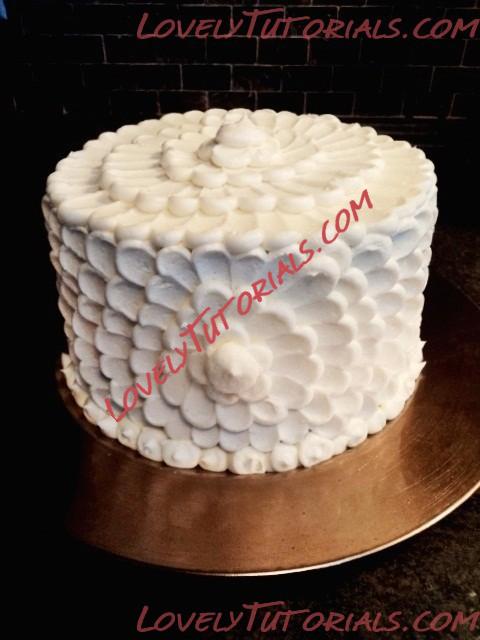
|

25.04.2012, 19:36
|
|
Администратор
|
|
Регистрация: 07.09.2010
Сообщений: 7,669
|
|
|

15.05.2012, 13:35
|
|
Администратор
|
|
Регистрация: 07.09.2010
Сообщений: 7,669
|
|
Автор buttercreamcouture
|
 |
|
|
Метки
|
addım-addım təlimat, adım, adım adım yönergeler, artesanatos passo a passo, bemutató, bolo, buttercream cake decorating, cake, cake decorating, cake decorating techniques, decoración de los lados de la torta, decoración de tortas, decorare i lati della torta, decorare le torte, decorazioni, dekorace na dort, dekoracija, dekoracije, dekorere siderne af kagen, detail zdobení, detalhe da lateral do bolo, dort, ej täckta tårtor, fender, fimo, fondan, fondant, fotopostup, gum pasta, gumpaste, hand-made, handmade, how to, how to decorate the sides of a cake, how-to's, instrucţiuni, instrukcijas, instrukcje, jak na, kage, kage dekoration, kagedekoration, kager, kake, kakebaking, korak, korak za korakom navodila, korak-po-korak upute, krok, krok po kroku, krok za krokem, krok-za-krokem, las instrucciones, las técnicas, lateral do bolo, le tecniche, les techniques, marshmallow, master-class, master-klasse, master-klasy, meistras klasės, metodikas, mistr třídy, návod, opplæringen, pamoka, pap, pas, pas-cu-pas, paso, paso a paso, passo, passo a passo, passo-a-passo, passo-passo le istruzioni, postupak za ukrasavanje, pretty petal effect, recept, schritt für schritt anleitung, schritt-für-schritt, schritt-für-schritt-anleitungen, seiten, sidene av kaken, stap, stap-voor-stap, stap-voor-stap instructies, steg for steg, steg-för-steg, steg-för-steg-instruktion, step, step by step, step-by-lépésre, step-by-step, step-by-step instructions, technieken, techniken, techniki, techniky, technikák, techniques, tecnicas de decoracion, tecniche, tehnici, tehnike, teknikker, teknikler, tips och trix, torta, torte, torten dekorieren, torti, trin, trin for trin, trin-for-trin, trin-for-trin instruktioner, trinn, trinn for trinn, trinn-for-trinn-instruksjoner, tutorial, tutoriale, tutorias, tutoriel, tutorijal, tyllar, tårtbottnen, tårtor, técnicas, ट्यूटोरियल मास्टर वर्ग, कदम, कदम दर कदम निर्देश, तकनीक, étape, étape par étape les instructions, öğretici, žingsnis, žingsnis po žingsnio, 宗師級教程,一步,一步一步的指示� � �技術,udžbenik, βήμα, βήμα προς βήμα οδηγίες, οδηγίες βήμα βήμα, παντεσπάνι art, τεχνικές, φροντιστήριο, инструкция, как красиво украсить бока торта, как сделать, крок за кроком, крок за крокам, покроково, пошагово, пошаговые фотки, пакрокава, миниатюра, мк, майстор-класа урок, майстар-клас, майстер-клас, майстер-класи, маршмеллоу, мастика, мастер-класс, бок, ручной работы, ручная работа, украшение, украшение боковых сторон торта, украшение тортов, сахарная мастика, стъпка, стъпка по стъпка инструкции, торт, торта, техники, техника, техніка, туториал, туторіал, тэхніка, шаг за шагом, інструкцыя, інструкція  |
|

