спасибо огромное
Melissa за МК
I want to show you how to make a checkerboard cake! I started out with four, 6″ round cake layers, leveled. You will need to cut two circles from each layer— I used 2″ and 4″ cookie cutters. The size of your cutters will vary depending on the size of your cake. The more evenly spaced your rings, the better. It helps to see this done in pictures…
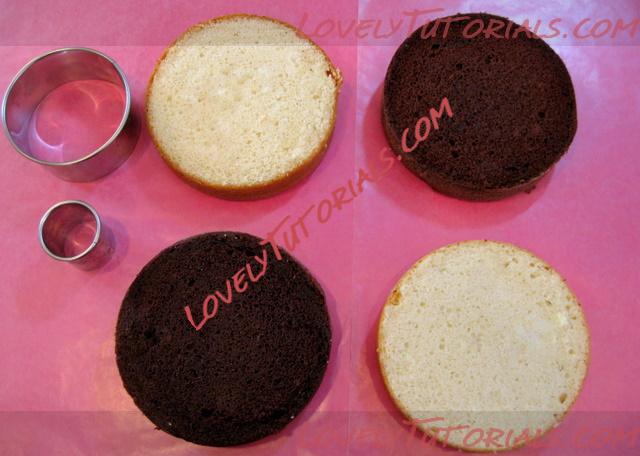
First, insert the smallest circular cutter into the center of each layer (You can also use a template and cut your circles out with a knife.) Carefully remove the center, leaving them intact. ** Note– this cake is most easily cut & assembled when partially frozen.
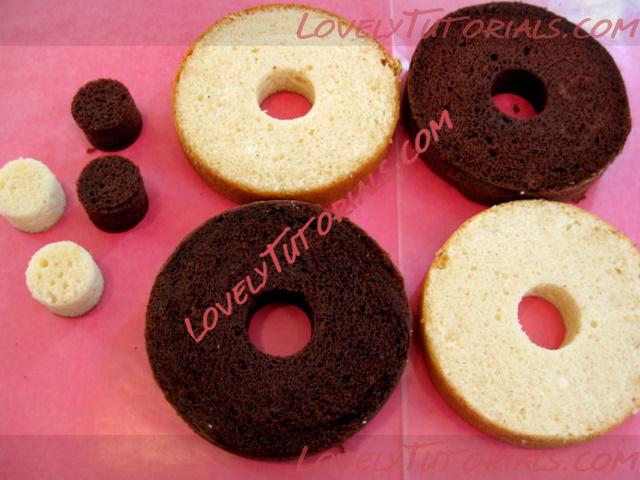
Now, it’s time to cut your larger circles. The idea is to make the width of the cake in each of your rings as equal as possible, so that the squares of your checkerboard will all appear to be equal in size. This is why I used 2″ and 4″ circles for a 6″ cake. For a larger cakes, you’ll slightly adjust the size of your cutters (or templates).
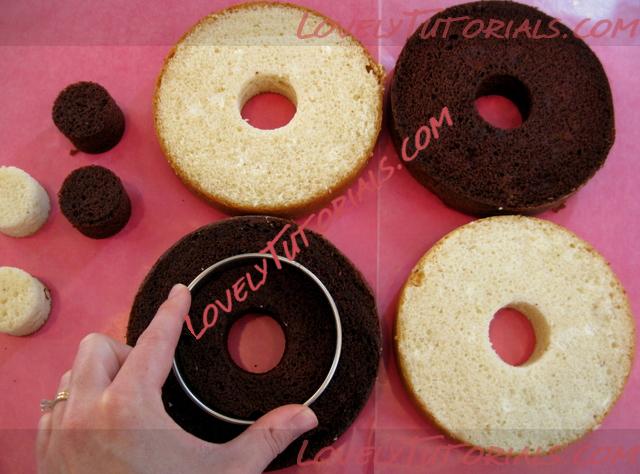
Circles, circles everywhere! These become our puzzle pieces. Let’s put the puzzle back together.

How cool is this? Suddenly…I want to go to Target :0)
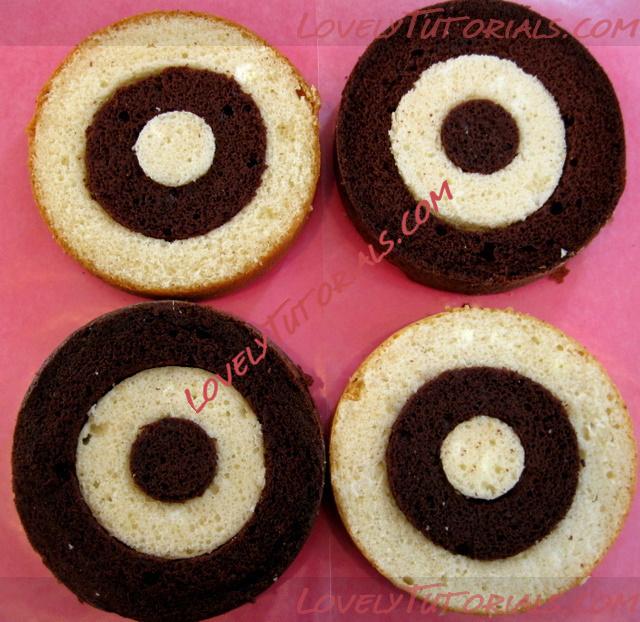
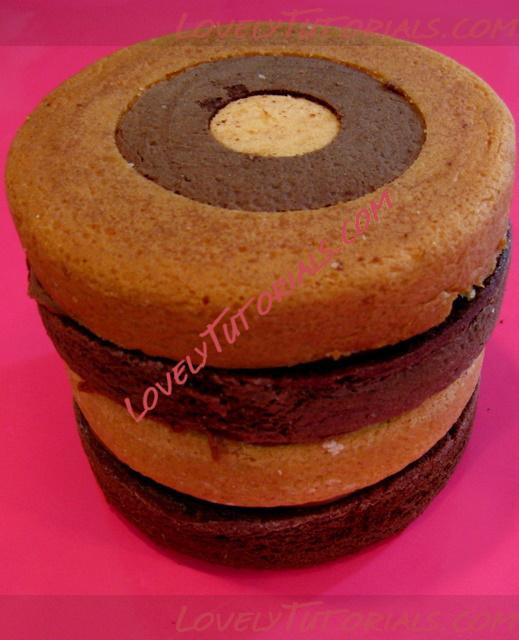
I felt the need to put these in the freezer to firm up a little before stacking. I stacked on a cardboard cake circle, and then stacked my layers with waxed paper in between.

Once your are ready, frost as usual…I’m using chocolate buttercream!!
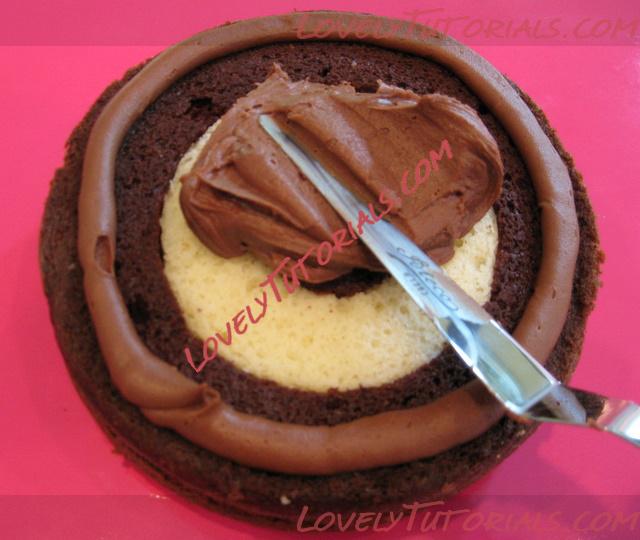
Make sure that the outer rings of your layers alternate as you stack them.
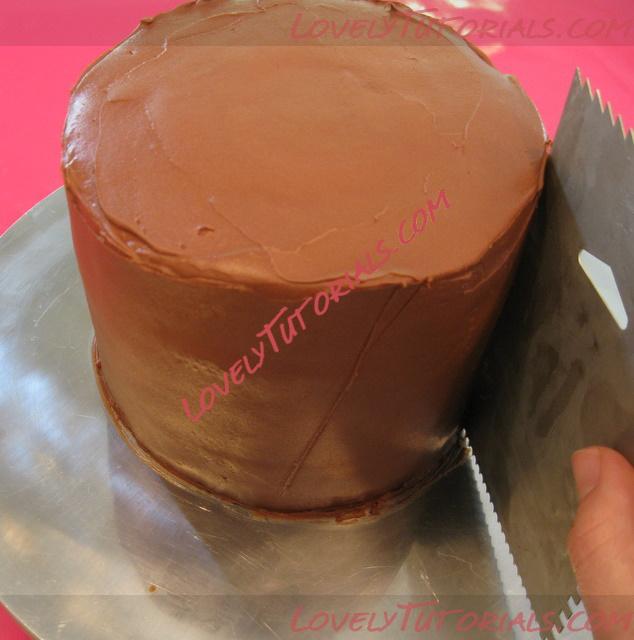
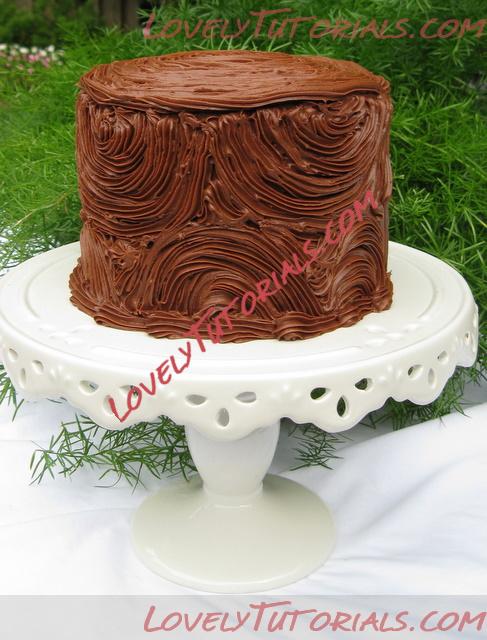
I frosted with a smooth layer of chocolate buttercream, just before breaking out my star tip 21 for a little piping fun…
And here it is! So pretty just sitting there…but you know the inside is even better!

Hope you enjoyed this little tutorial!! Sometimes the most interesting cakes are actually very simple to make! Do they still make checked ice cream? I’m going to have to look into that!

