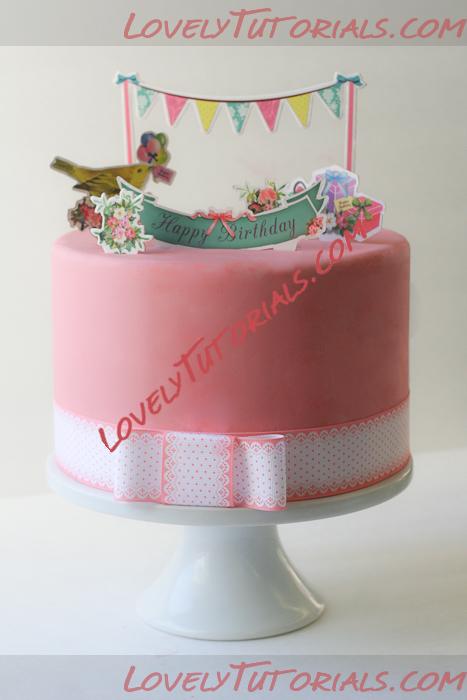
Fondant problems and how to fix them
Как исправить неровности на мастике
Огромная благодарность ericaobrien за Мастер-класс
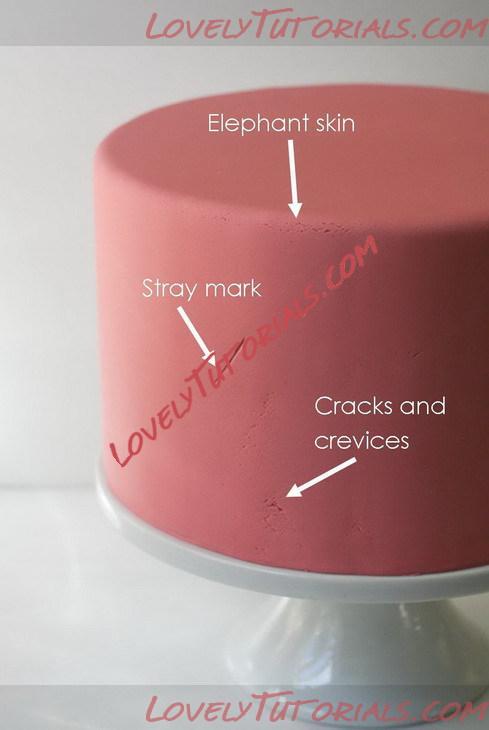
This might mean cracks, accidental nail marks (though you should really keep your nails short), cuts around the base that were accidentally made too high, etc. (For this demo, I beat up my fondant pretty badly to include all possible imperfections. I actually
tried to create fondant with elephant skin. Turns out elephant skin only appears when you don’t want it to. It took quite a few attempts to achieve a proper elephant skin.)
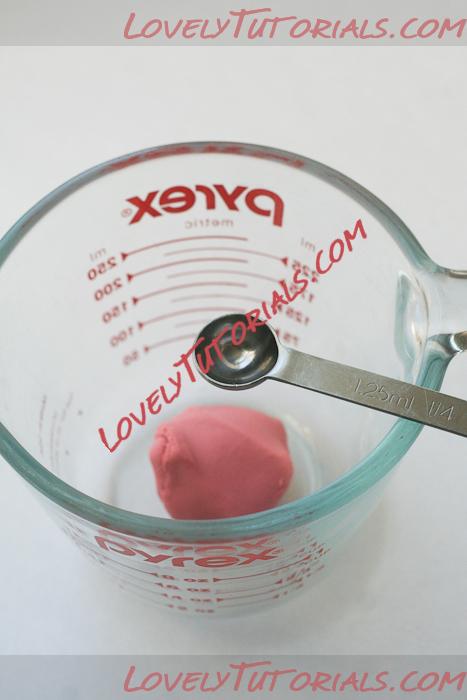
To create the gunge, put a small amount of fondant in a glass–you won’t need too much–and add a small amount of water, 1/4 teaspoon at a time.
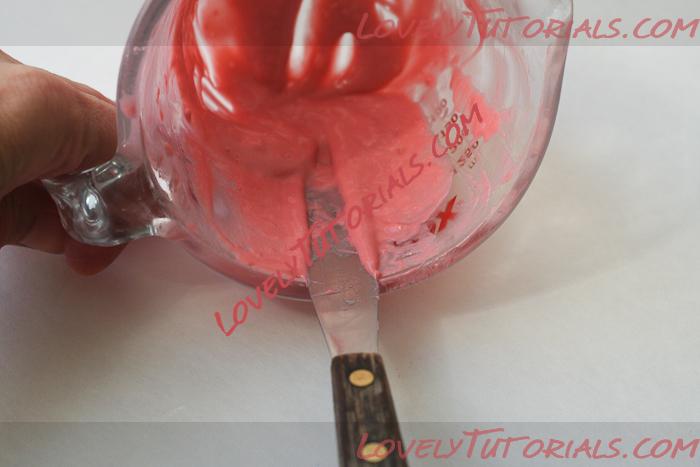
Mix and mush with an icing spatula after each 1/4 teaspoon water addition until fully incorporated. The goal is to achieve a smooth, toothpaste-like consistency. I used 1 ounce of fondant and ended up mixing in 3/4 teaspoon of water.
The gunge can then be used like a spackle to give the cake a flawless finish. I use my food-use only paint palette knives to apply it to the cake.

Simply wipe on a generous amount of gunge to any problem areas and then carefully scrape off.
Important: Be sure to use the gunge method immediately after applying fondant to your cake. If allowed to sit, the fondant on the cake can fade, and then the gunge will not match.
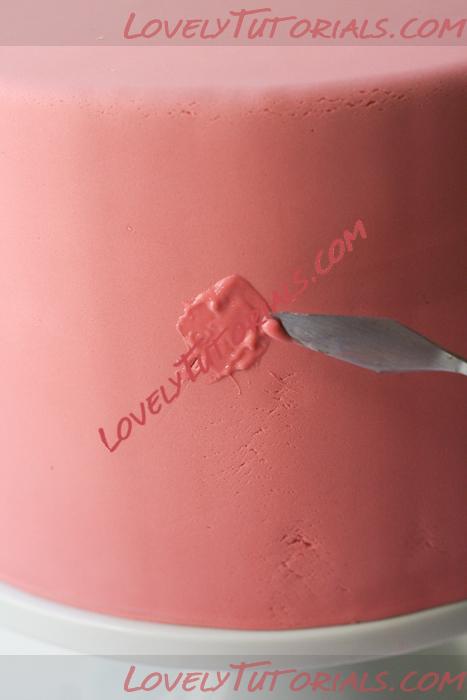
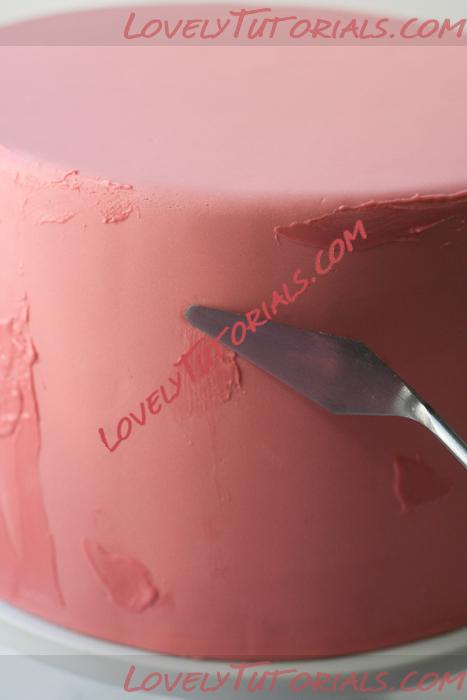
When it is still wet, areas where you applied the gunge might be visible, as in the photo below. The water in the gunge will eventually evaporate and won’t be noticeable at all. Kelsey said it can also be put in a piping bag and used around the base of the cake to fill in any spaces, making the bottom edge appear perfect.
