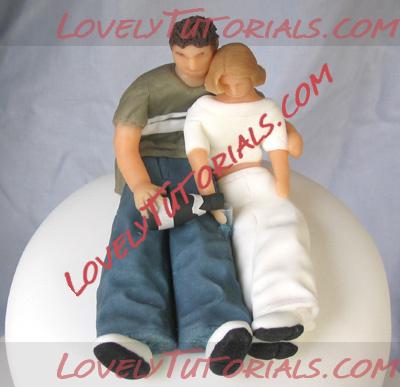
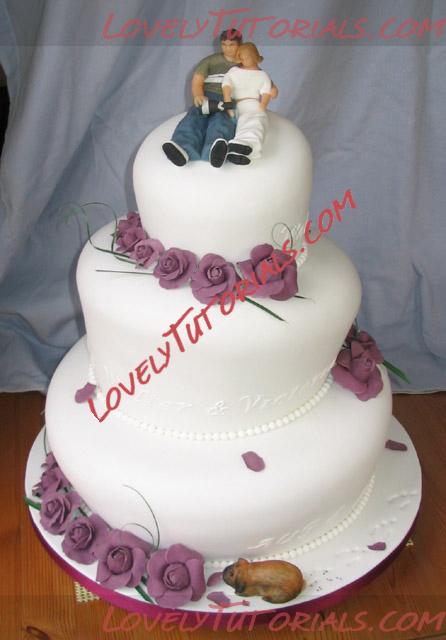
Огромная благодарность
Автору за Мастер-класс
I started with 6 round, very rich fruit cakes
2 of 12"
2 of 9"
2 of 5"
stuck the 12" cakes together with layer of marz or sugar paste (coated each side with apricot glaze)
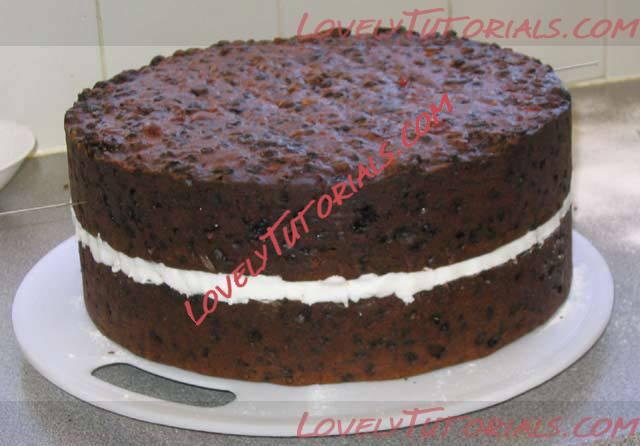
i measured up 4" on one side of cake & put in marker pin
i measured up 3" on opposite side of cake & put in marker pin
also put marker pins in half way round between these pins on either side of cake at about 3 1/2" from bottom
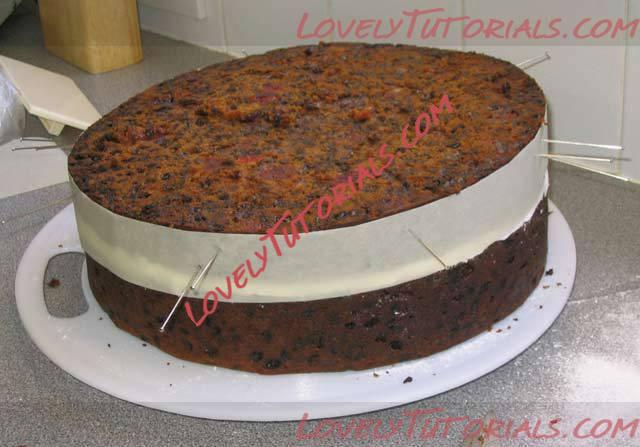
cut 2 strips of greaseproof paper about 4" wide 1/2 the circumference of the cake long.
folded these lengthwise to give 2" wide strip with a good, straight folded edge
& pinned them to cake, liningup the folded edge just under the marker pins
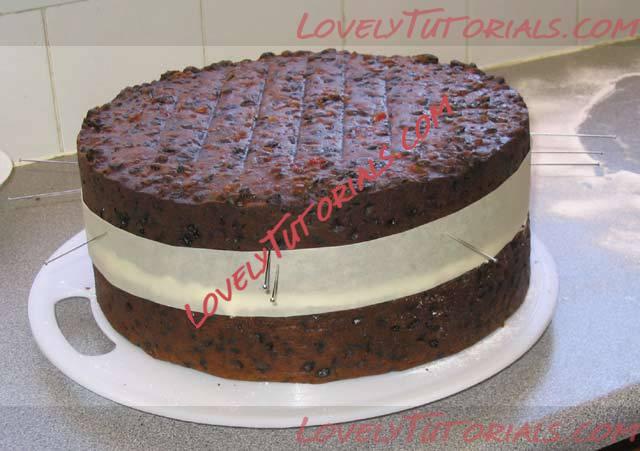
the first cut
then cut the top off, using the edge of the paper as guide, & using the longest, sharpest knife we had. it wasnt long enugh to do it in one cut- i had to cut in from both sides (but i suspect thats a better way of doing it anyway)
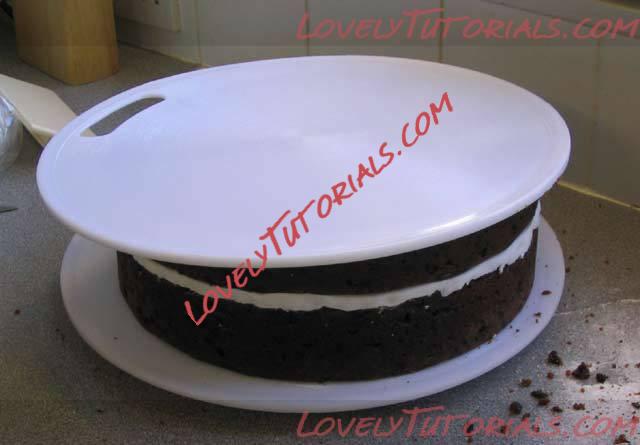
turn over
i put anothe plastic board on top to make it easier to turn over. there was a lot of turning cakes over involved in this!
cake board added
cake now turned upside down
i put 10" cardboard cake board on bottom using watered down s/paste to "glue" it on
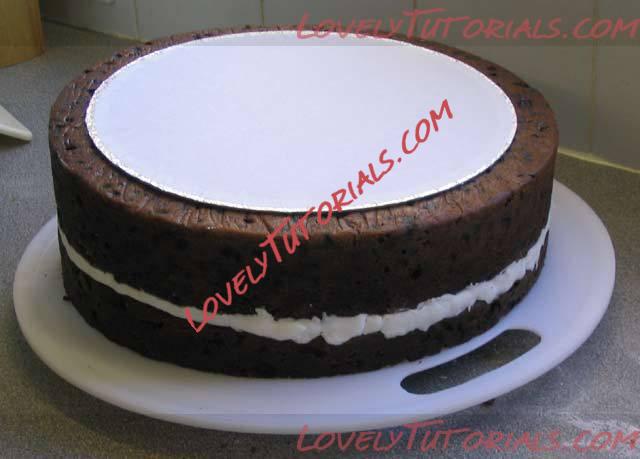
i cut down from edsge of cakebd to mottom adge of cake, all round cake, using same sharp knife
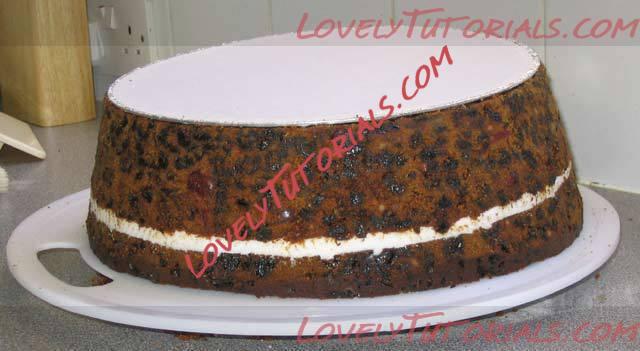
turned cake over again (& admired it for a bit!)
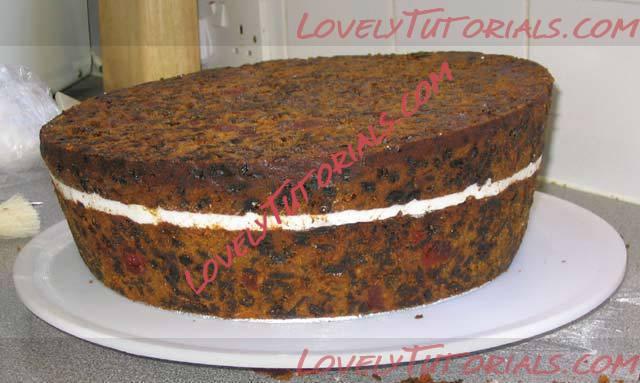
rounded edge
i rounded the top edge using an electric carving knife. i find you can carve fruit cakes with surprising accuracy using one of these. you dont have to apply any pressure or movement to the knife so it doesnt collpse/distort the cake (you prob all know this already!)
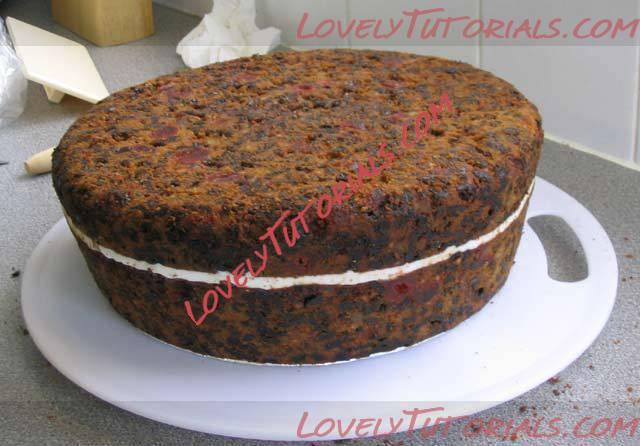
plugged holes
filled the biggest surface holes with marz or s/paste
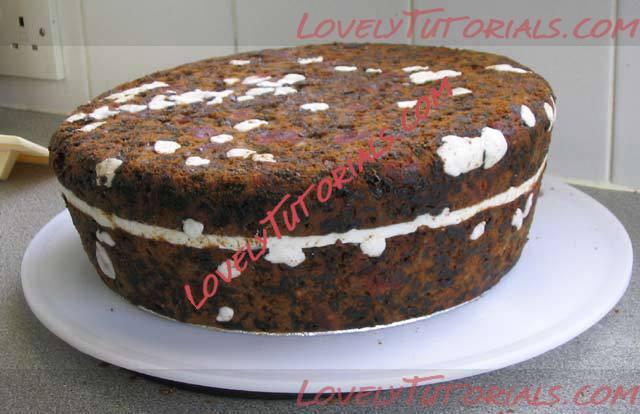
marzipanned
covered cake with marz, about 1/4" thick. coated cake first with apricot glaze to stick marz. i rolled out about 2 1/4 kilo of marz & was left with about 1 1/4k afterwards
used plastic smoother (which i'd never even heard of till i started on this project!) to smooth itout
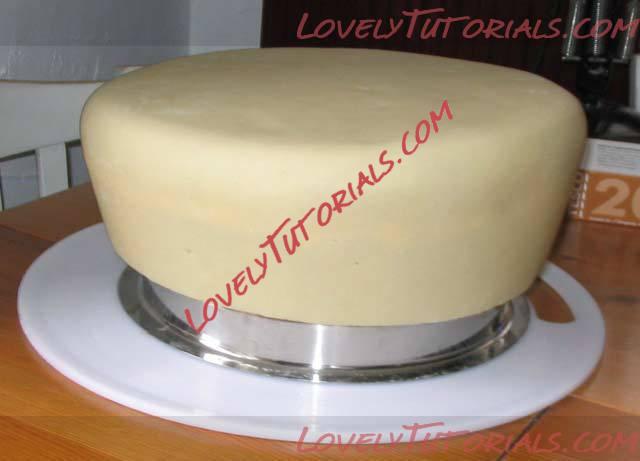
my practice cake i marzipanned wuth it sitting straight on a plastic board, but i couldnt get a very good edge round bottom of cake that way, so all the "real things" i raised up on a pan asin foto, so i could smooth all way down side & make horizontal cut round bottom of cake
left this to "skin over" for at least a day
middle tier
as with bot tier
2 9" cakes on top of each other
cut top so it sloped from 5" high on one side to 4" high on opp side
turned upside down as in pic
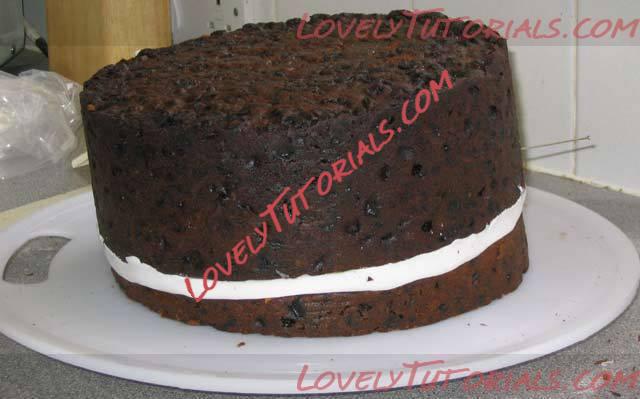
cutting mid tier
pinned paper guide so it was 5" high on tall side of cake & 3" high on opp side (ie i cut a sloping slice off both top & bottom of this tier- to end up with with a wedge-shaped cake which sloped from 5" to 3")
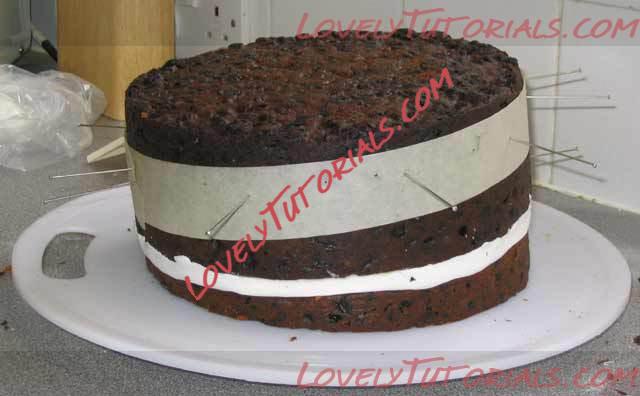
cakeboard on mid tier
i turned cake upside down & "glued " (watered down s/paste) 7" cakebd on bottom of mid tier. the board had about a 1 1/4" hole in the middle
in the UK the cakebds are made of cardboard & covered on top side only with aluminium foil- i needed a board which would allow a UK plastic dowel rod (wooden ones are banned in the UK!) to pass through the center, like a big nail hammered in from top to bottom of cake
there's no chance of the dowel piercing its own hole in a cardboard board, & i didnt fancy cutting a hole in the cakebd & then burying it between 2 tiers of cake (thought it might go soggy & yukky!), so i cut myself a plastic board out of a cheap food chopping board, & cut a hole in the middle
i then sloped the edges of cake , as with bot tier, sloping from edge of cakebd to bot edge of cake
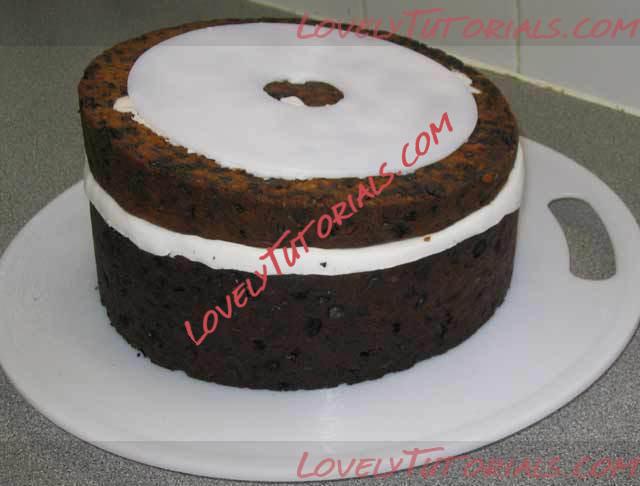
mid tier cut
i turned cake over again & rounded edges
then marzipanned it
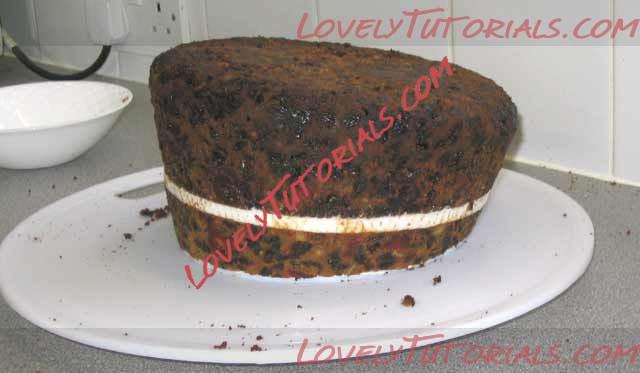
top tier
similar procedure but slightly different order (this way gave better slopes to cake sides)
2 of 5" cakes on top of each other
cut slope off so it measured 4 1/4" on one side & 3 1/4" on opposite.
without turning cake over i stuck a 4" plastic cakebd with a 1" hole in mid (sawn from chopping board as before!) onto the cake surface that i'd just cut/sloped
i then sloped the sides of the cake, cutting down from the edga of the cakebd to the bottom edge of the cake , as before
then turned cake over, so it was now sitting on the plastic cakebd, & cut another wedge off the top of cake, so that it measured 4 1/4" high on one side & 2 1/4" high on opp side.
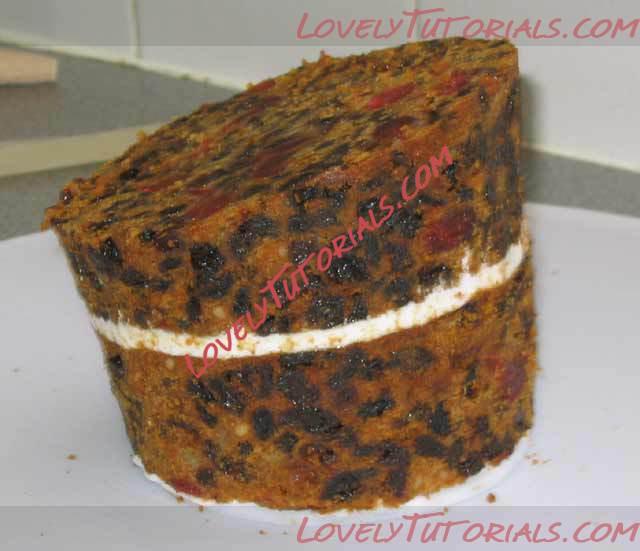
bottom tier s/pasted
covered in s/paste about 1/4" thick. i didnt worry too much about smoothing the central part of the top cos the mid tier is gonna cover that
i scratched a 7" circle, centrally, in the s/paste on top of the cake to mark where the mid tier was going to sit, & then inserted 4 plastic dowel rods evenly spaced within the scratched circle. the dowels were 1/4" thick, & pushed down vertically into the cake till they were standing on the board at the bottom. i cut them off flush with the top of the cake using (clean!) garden secateurs.
these dowel rods are to support the weight of the cake above. i forgot to take a pic of them tho, i'm afraid!
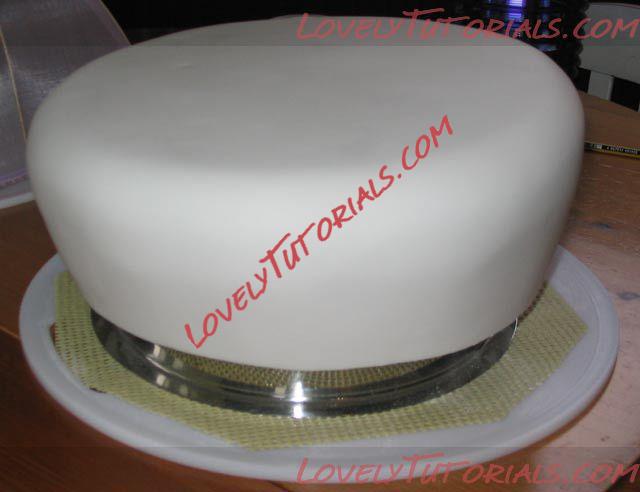
mid tier s/pasted
i covered all 3 tiers individually, first in marz. then in s/paste, so i had 3 separate, finished cakes ready to assemble
i rolled out about 2kg of paste for the mid tier, & had 1kg left over after covering
as with bot tier i inserted dowels. only 3 this time (not so much room!) & the scratched circle was 4" diam.
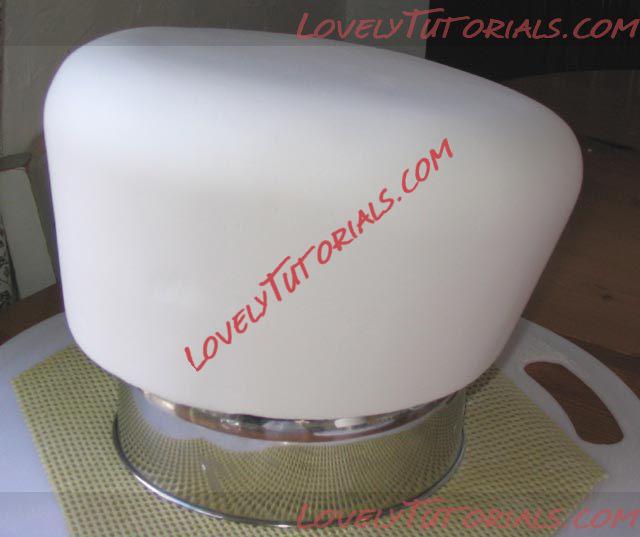
top tier s/pasted
i made a hole in the centre of top where the final dowel would go, cos i didnt know if the dowel would crack the s/paste once it had hardened
i left all three cakes & s/pasted board to harden for about a week
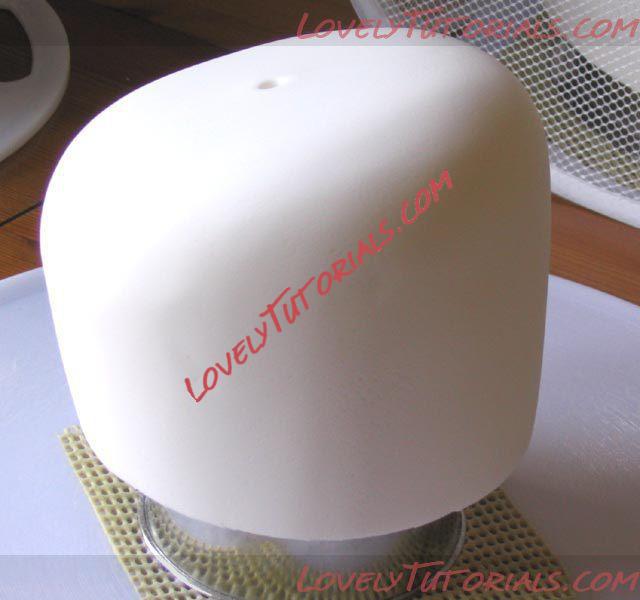
footprints
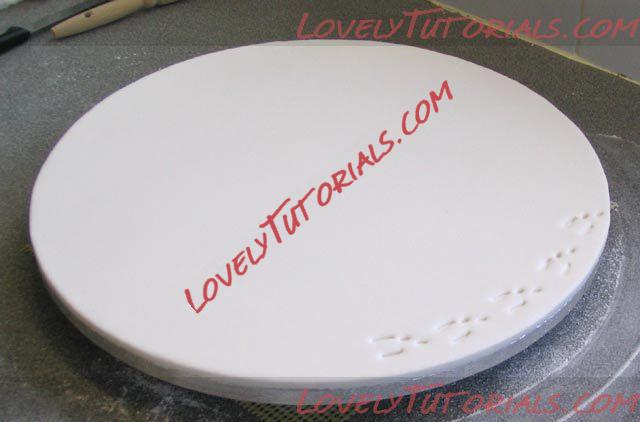
i put a covering of 1/4" thick s/paste on the top of a 15" (by 1/2" thick) UK cakebd & then made the rabbit's footprints (using a "tool" i made from some scrap metal).
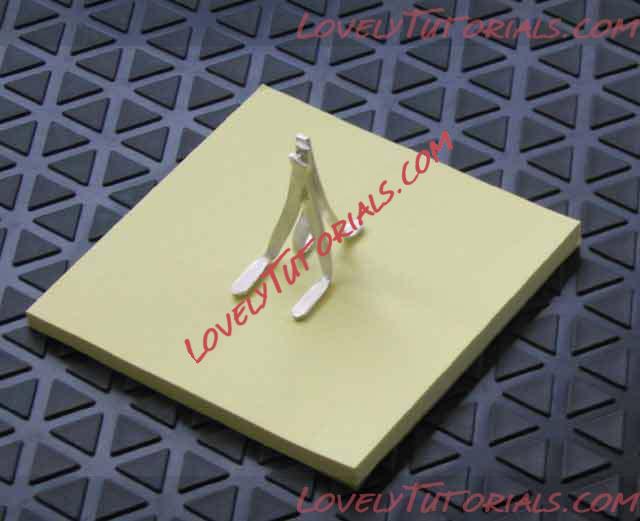
rabbit footprint tool
i soldered 4 bits of scrap silver together & bent them till they made the right pattern. i got a print out of a cottontail's footprints from the internet! there is absolutely nothing you can't find on the web!!
assembly
i let the board & cakes harden for about a week
to assemble i scratched a 10" circle centrally on the iced cakebd, spread some watered down s/paste within the circle & bedded the bottom tier in it
then spread watered s/paste within the scratched circle on the top surface of bot tier & bedded the mid tier in that. you only get one go at positioning it correctly, & i did in fact, accidentally, put this one about 1/2" off center- but with a "wonkey" cake that sort of thing doesnt show, fortunately!!
the watered down s/paste had to be as thick as poss, so as to provide a good "bed" for the cake but not too allow it to slide off. on my practice version i mixed it too sloppy, and the top tier started to (very slowly) slide down the slope on the mid tier- i had to quickly "nail" in the central dowel to hold it in position till the paste dried! there was no sign of slipping with the final cake tho!
when i'd got all 3 tiers on top of each other i pushed a 12" dowel down thru the center of the the whole cake , to " nail" them all together. this dowel, of course, has to pass thru the central holes in the middle & top cake boards (which thankfully it did- a bit of prayer invoved there!)
on my practice version i recessed the top of the dowel rod about 1/4" - 3/8" to allow room for a plug of paste, but the cake "settled" a fair amount and the dowel pushed the s/paste plug back out (after a few weeks). so on the real thing i omitted the plug of paste till the last minute (in the end i didnt actually put one in cos i knew the b&g figures would cover the hole!)
